I am proud to present my latest short film that I've been working on for the past few months! So without further ado, please enjoy! (And by "enjoy," I mean watch it in HD in full screen with the sound turned way up!)
TMA Creative Sample - Steven Bills from
Bills Films on
Vimeo.
It all Started with an Idea
So the idea for this film came to me one morning while I was working on my 1:48 scale P-40 Warhawk model. I was sanding some puddy from the joint where the wing meets the fuselage, and I thought, "What if I filmed this crashing and blowing up?" Then my next thought was, "I would need an actual reason to do that!" Well, as my luck would have it, I DID have a reason to do that. I am applying to the Media Arts program at BYU, and as part of the application, they require you to submit a "creative sample," a video which you have made recently. Anyway, this was back in the early part of January, and the application is due on March 3rd at midnight. So I had some time.
I had recently taken a Production Management class, where I learned about all of the details and the logistics that the producer deals with when making a film, and I knew that it all began with a script. So I sat down for a few days (in early January) and wrote the script. The sixth revision of the script became the shooting script that I marked up and used for the breakdown.
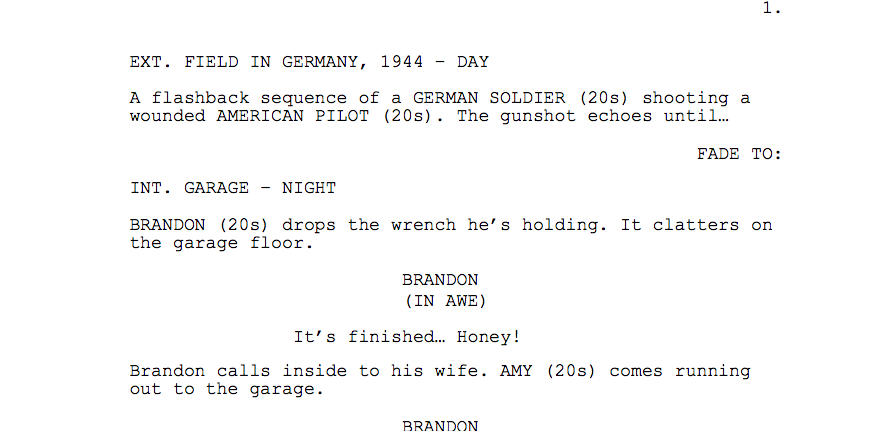 |
| An excerpt from the sixth revision of the script |
I did a script breakdown and made a shotlist as well:
Pre-Production
The script called for a lot of things that I wasn't sure I'd be able to pull off, one of them being a few shots of a P-40 flying through the air and crashing. I also knew that I wanted to do as many of the effects practically as I could, rather than in the computer (think ILM in the late 1970s). So instead of finding a CG model of a P-40 airplane and going through the process of animating it, lighting it, etc..., I went onto eBay and found a 1:32 scale plastic model (which, I came to find out, was originally released in 1967, and had been sitting in a guy's basement for 47 years! Also, another note about the model being from 1967: The normal process for applying the declas is to let them sit in a bowl of water for a few minutes, then put them onto the model. Well, I put them into the bowl of water and then went to apply them, and they literally disintegrated in my fingers! So I actually ended up using the decals from the 1:48 scale model on the 1:32 scale model, but I don't think anyone will mind). All the pieces were there, and it turned out to be a very quality model! Pics of the building process are below.
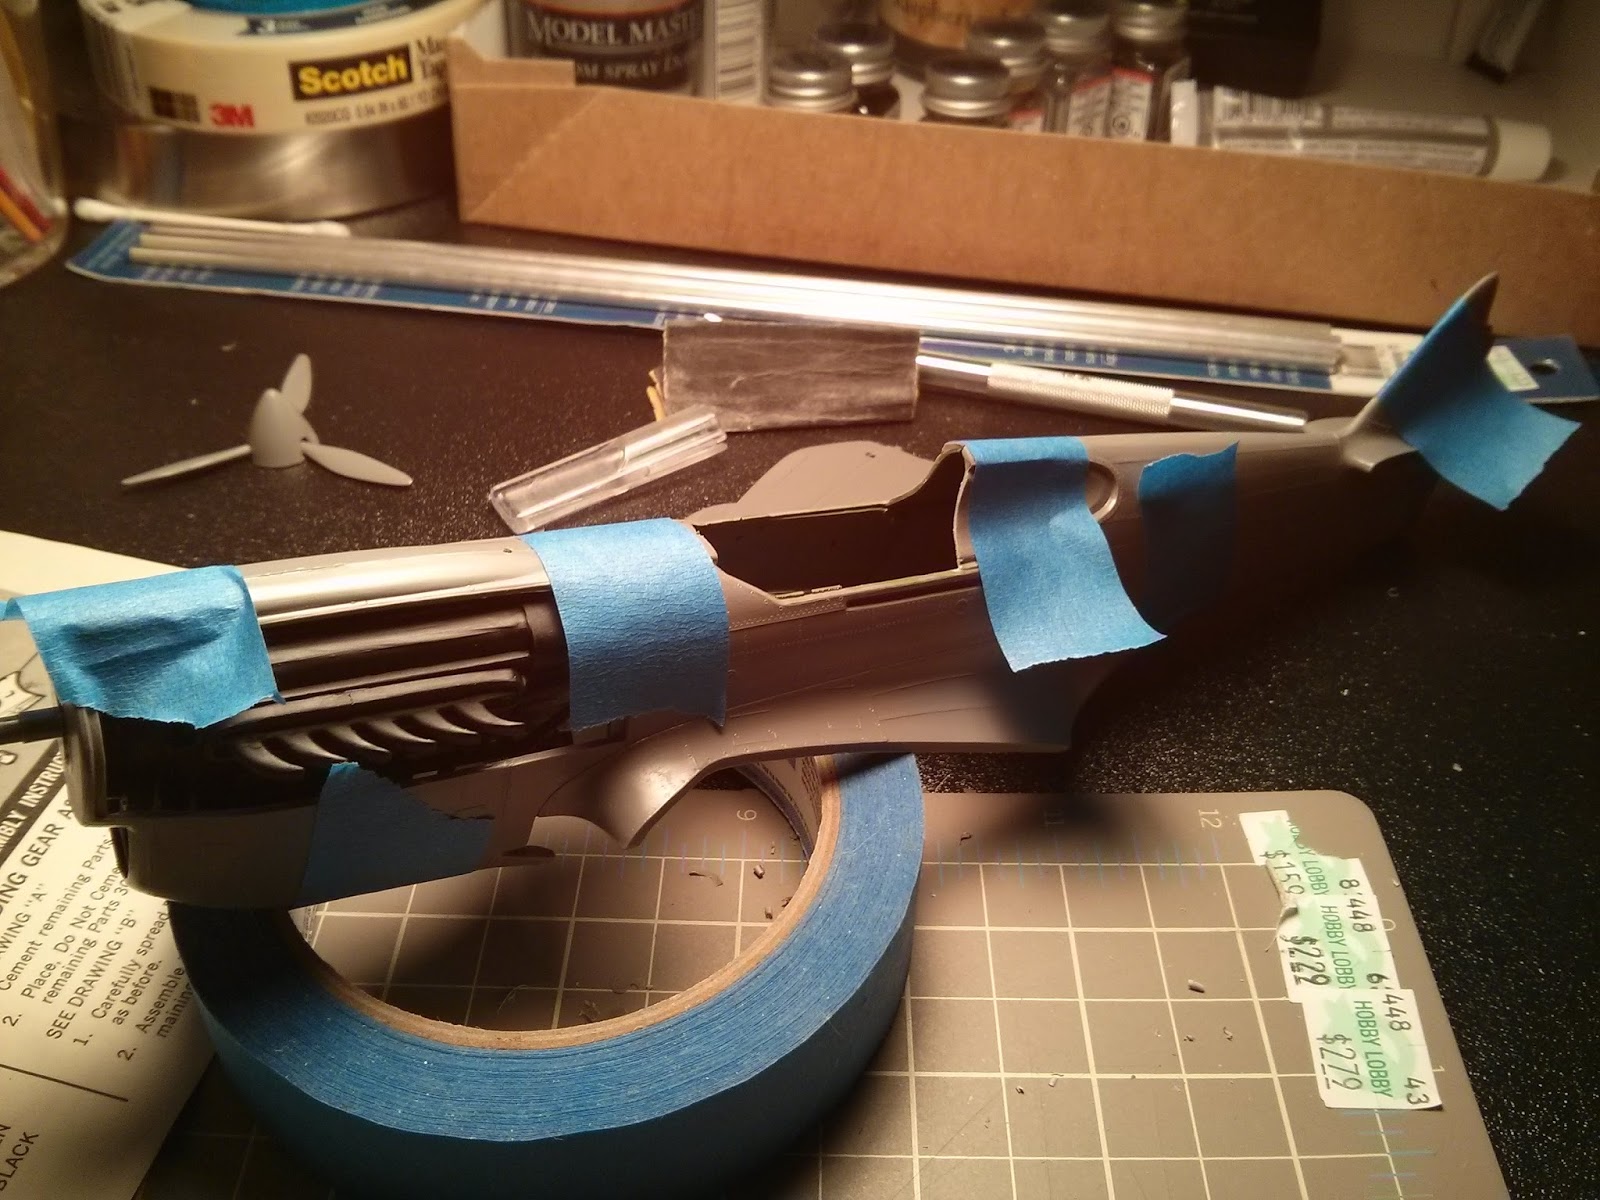 |
| Tape holds the fuselage together while the glue dries |
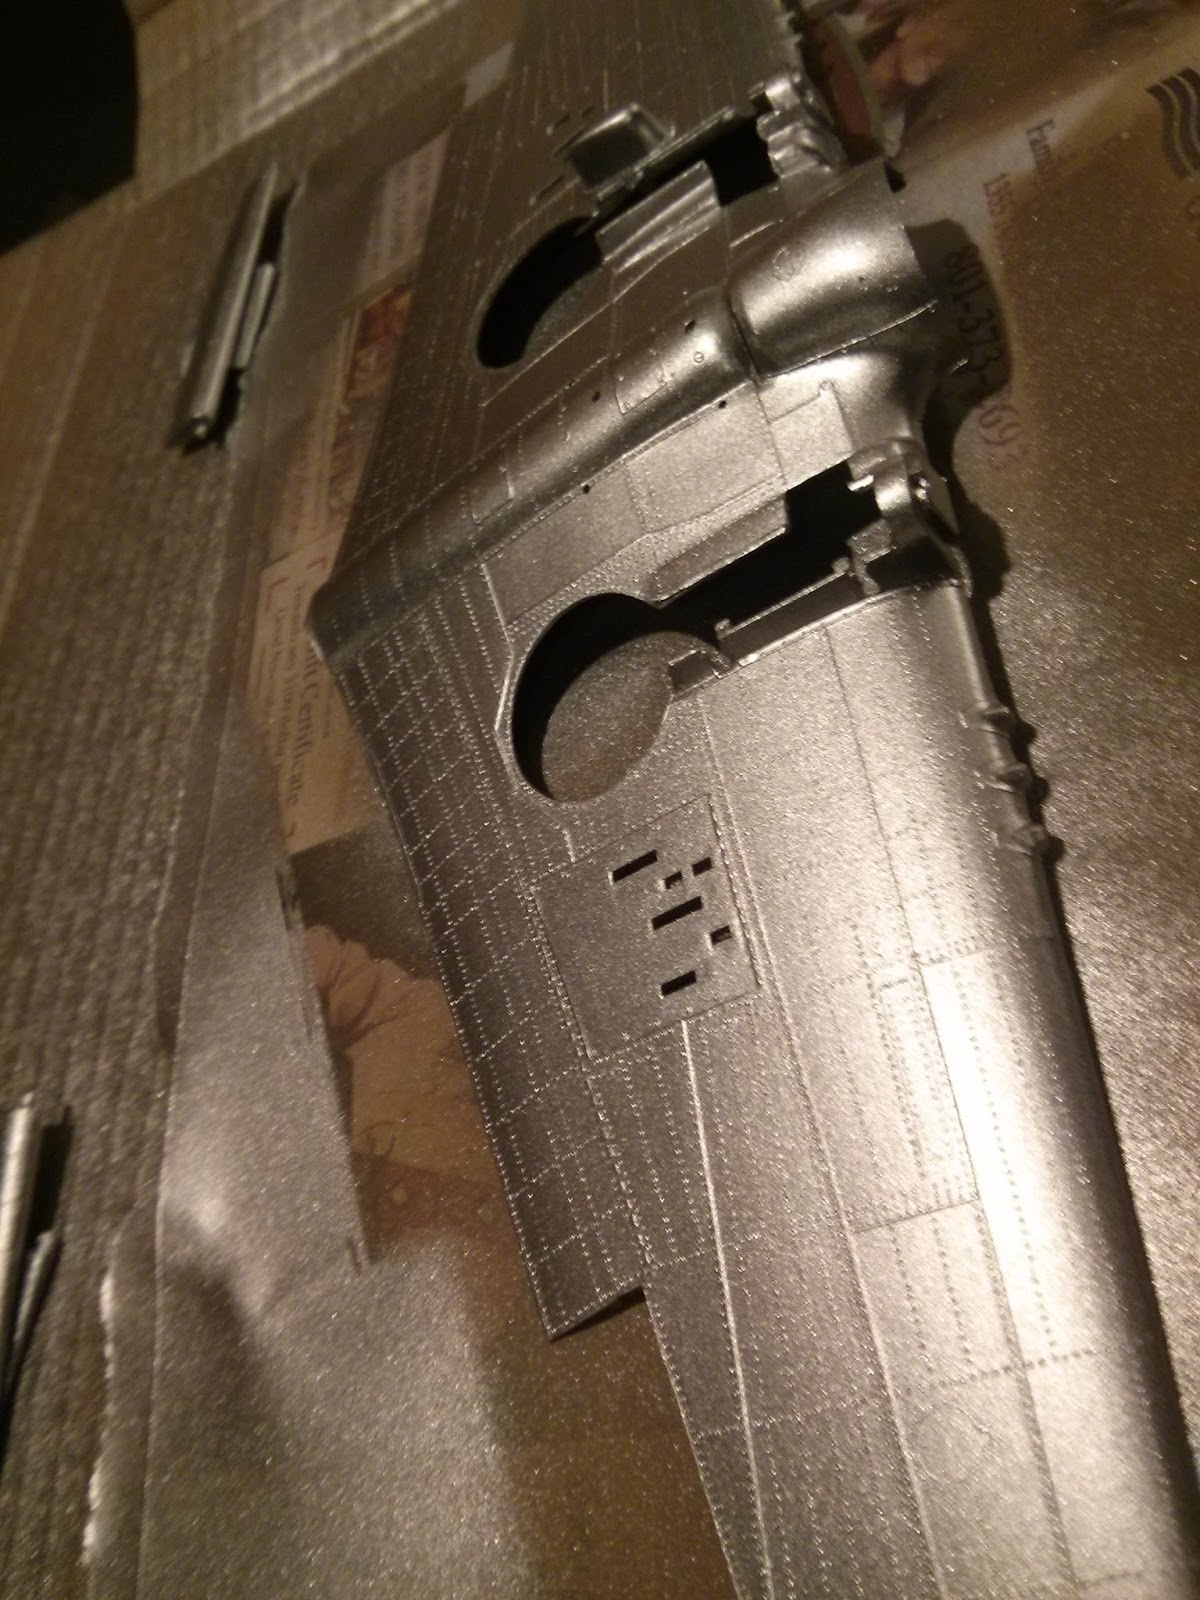 |
| I painted everything silver first, so when I got to weathering the plane later the silver would show through the top coat of paint |
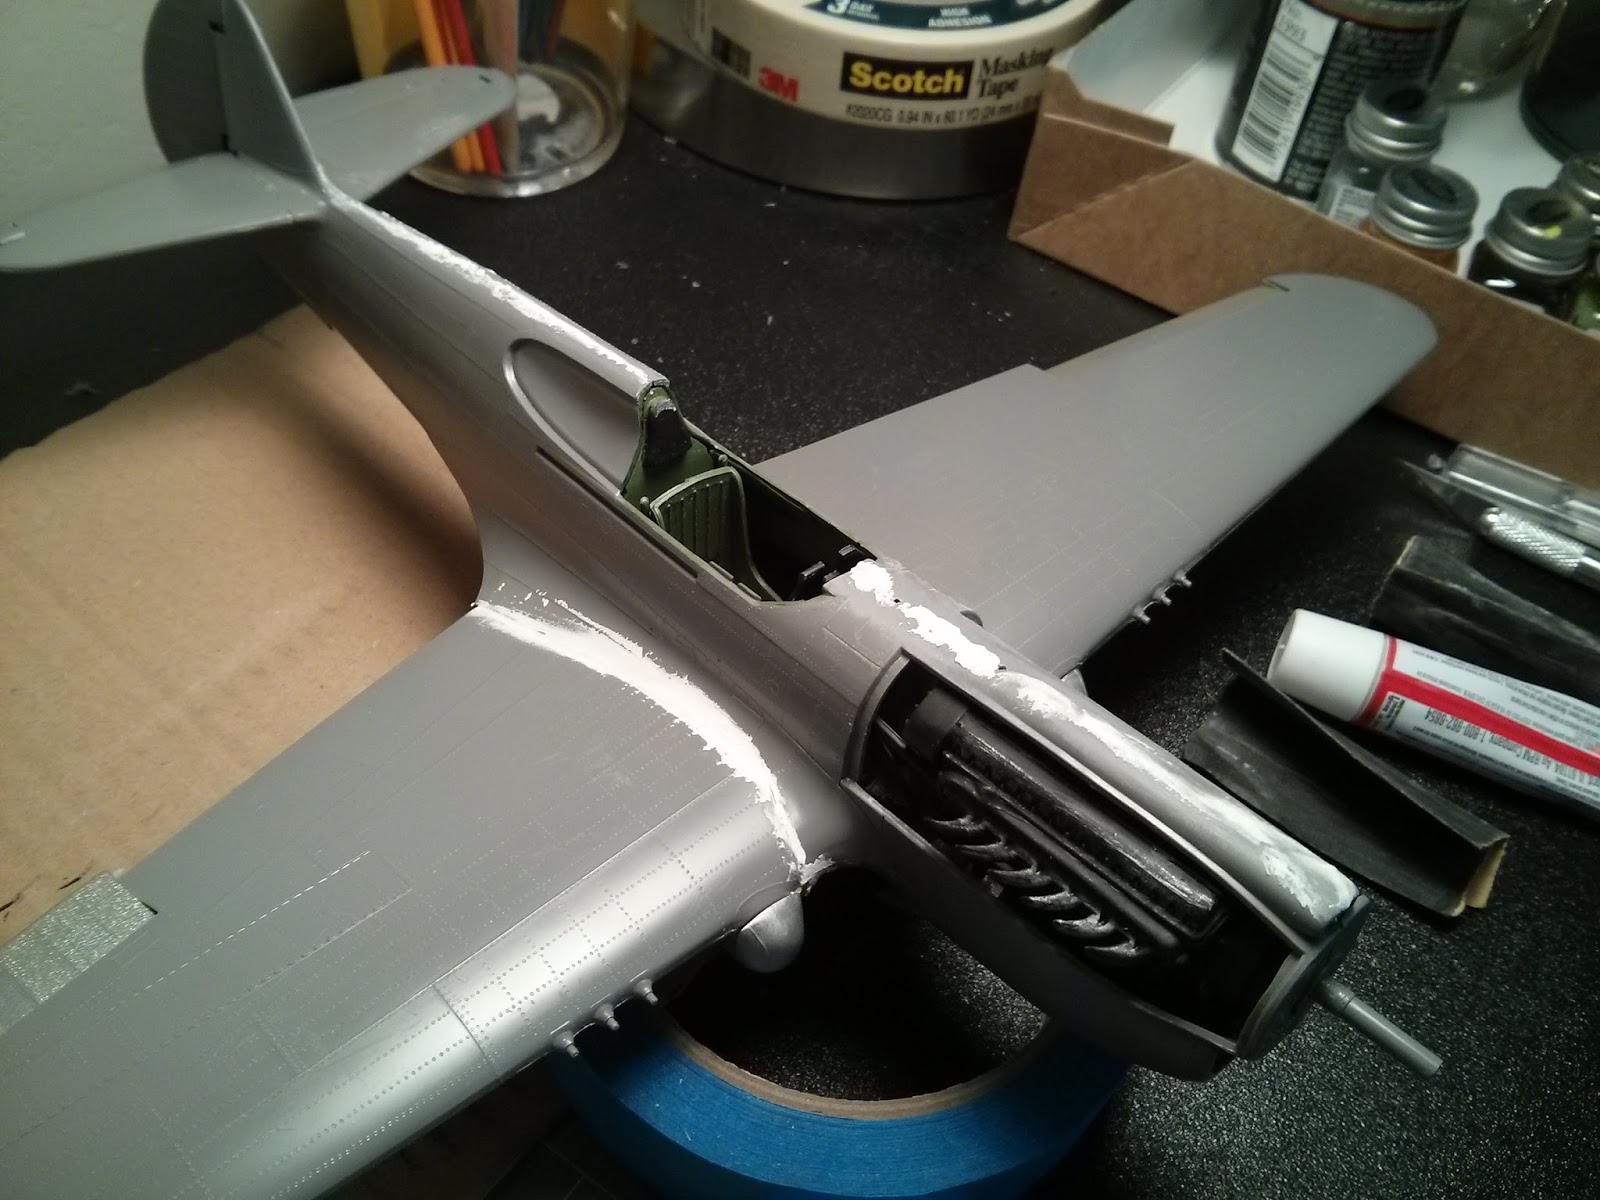 |
| Adding puddy to the wing/fuselage joint, and along other joints that didn't glue together smoothly |
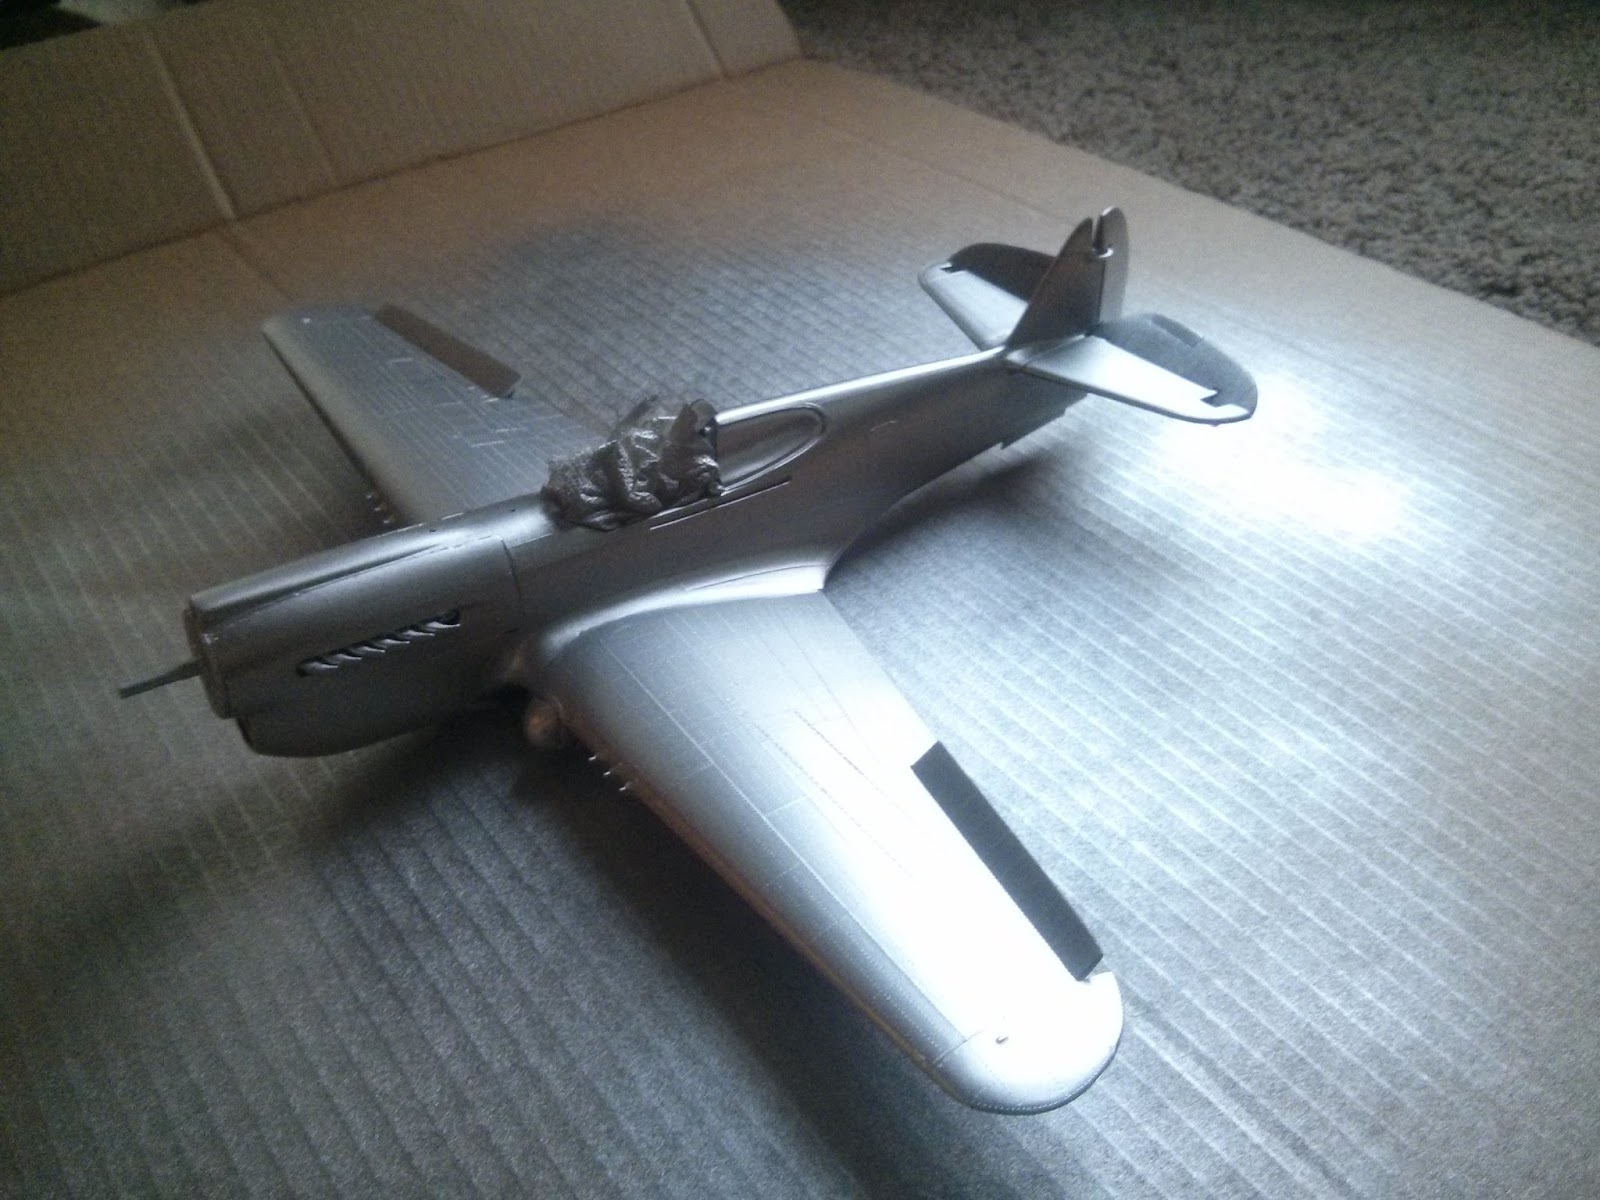 |
| Painted the whole plane silver for weathering purposes |
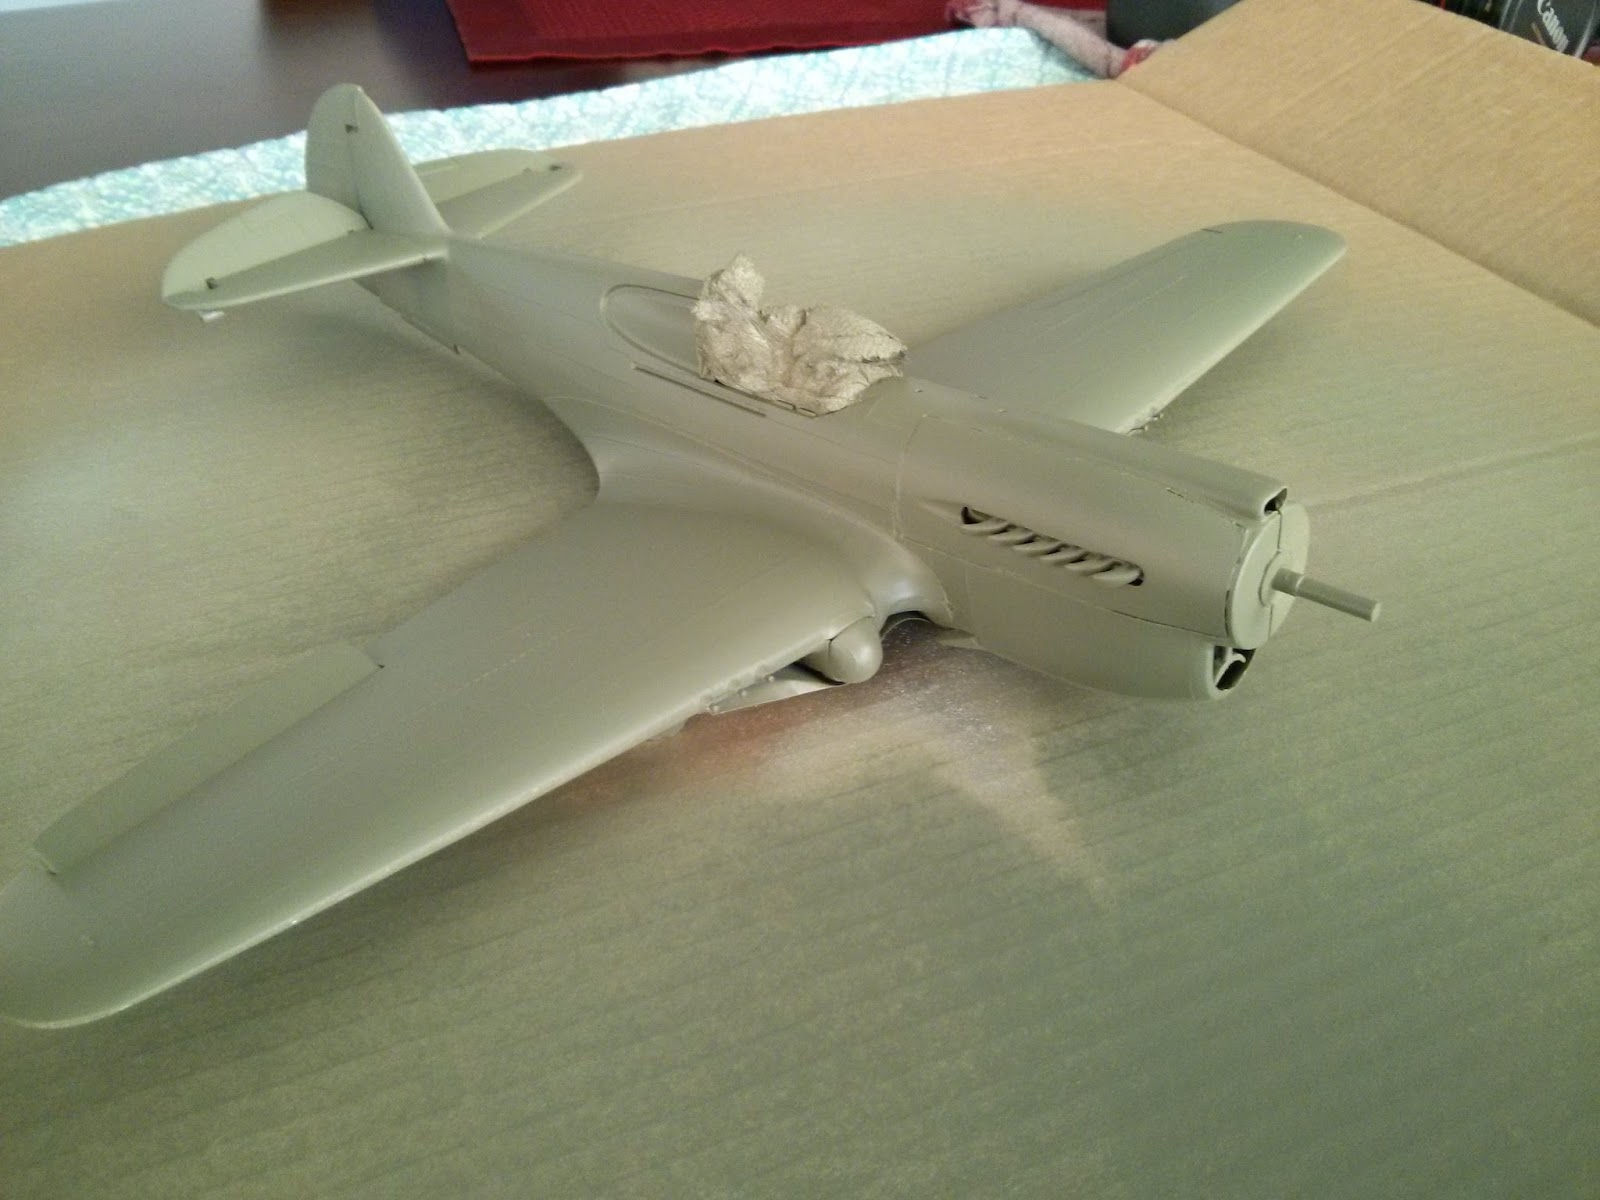 |
| I decided to paint the topcoat a "bomber green" color, even though it's not historically accurate. |
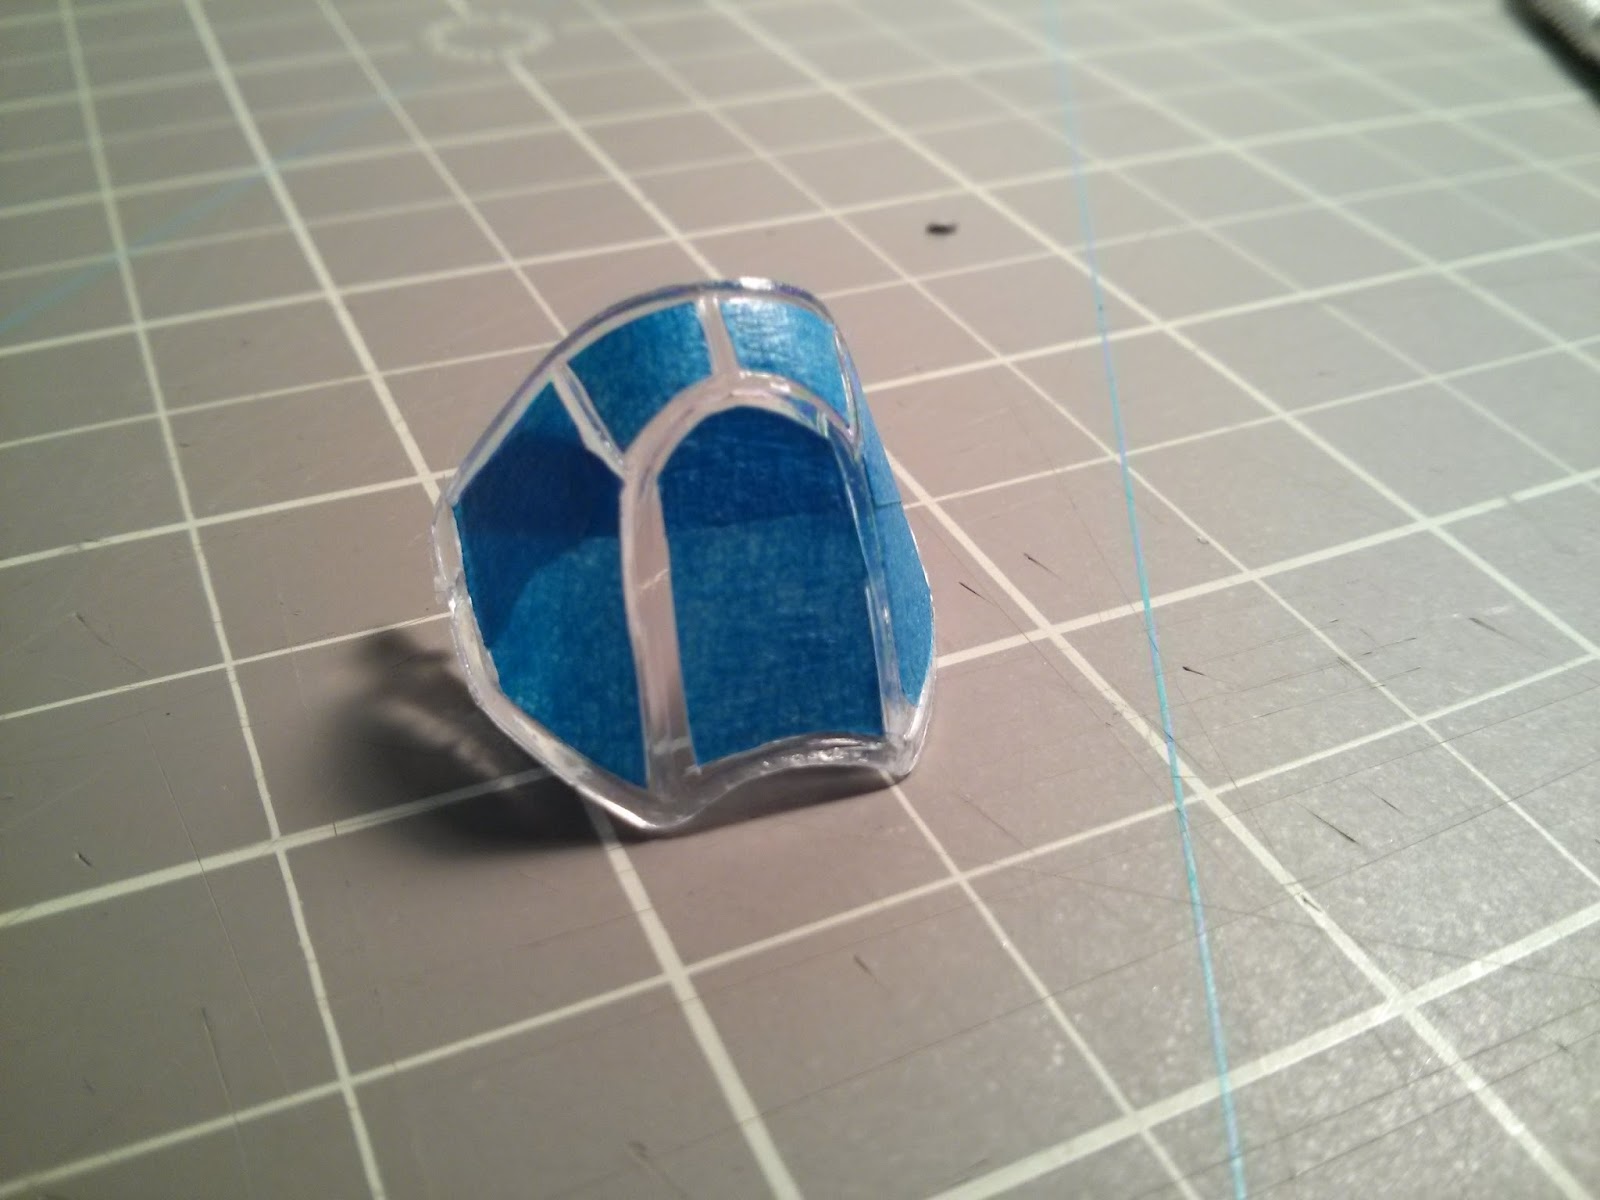 |
| Masking off the canopy is tricky! |
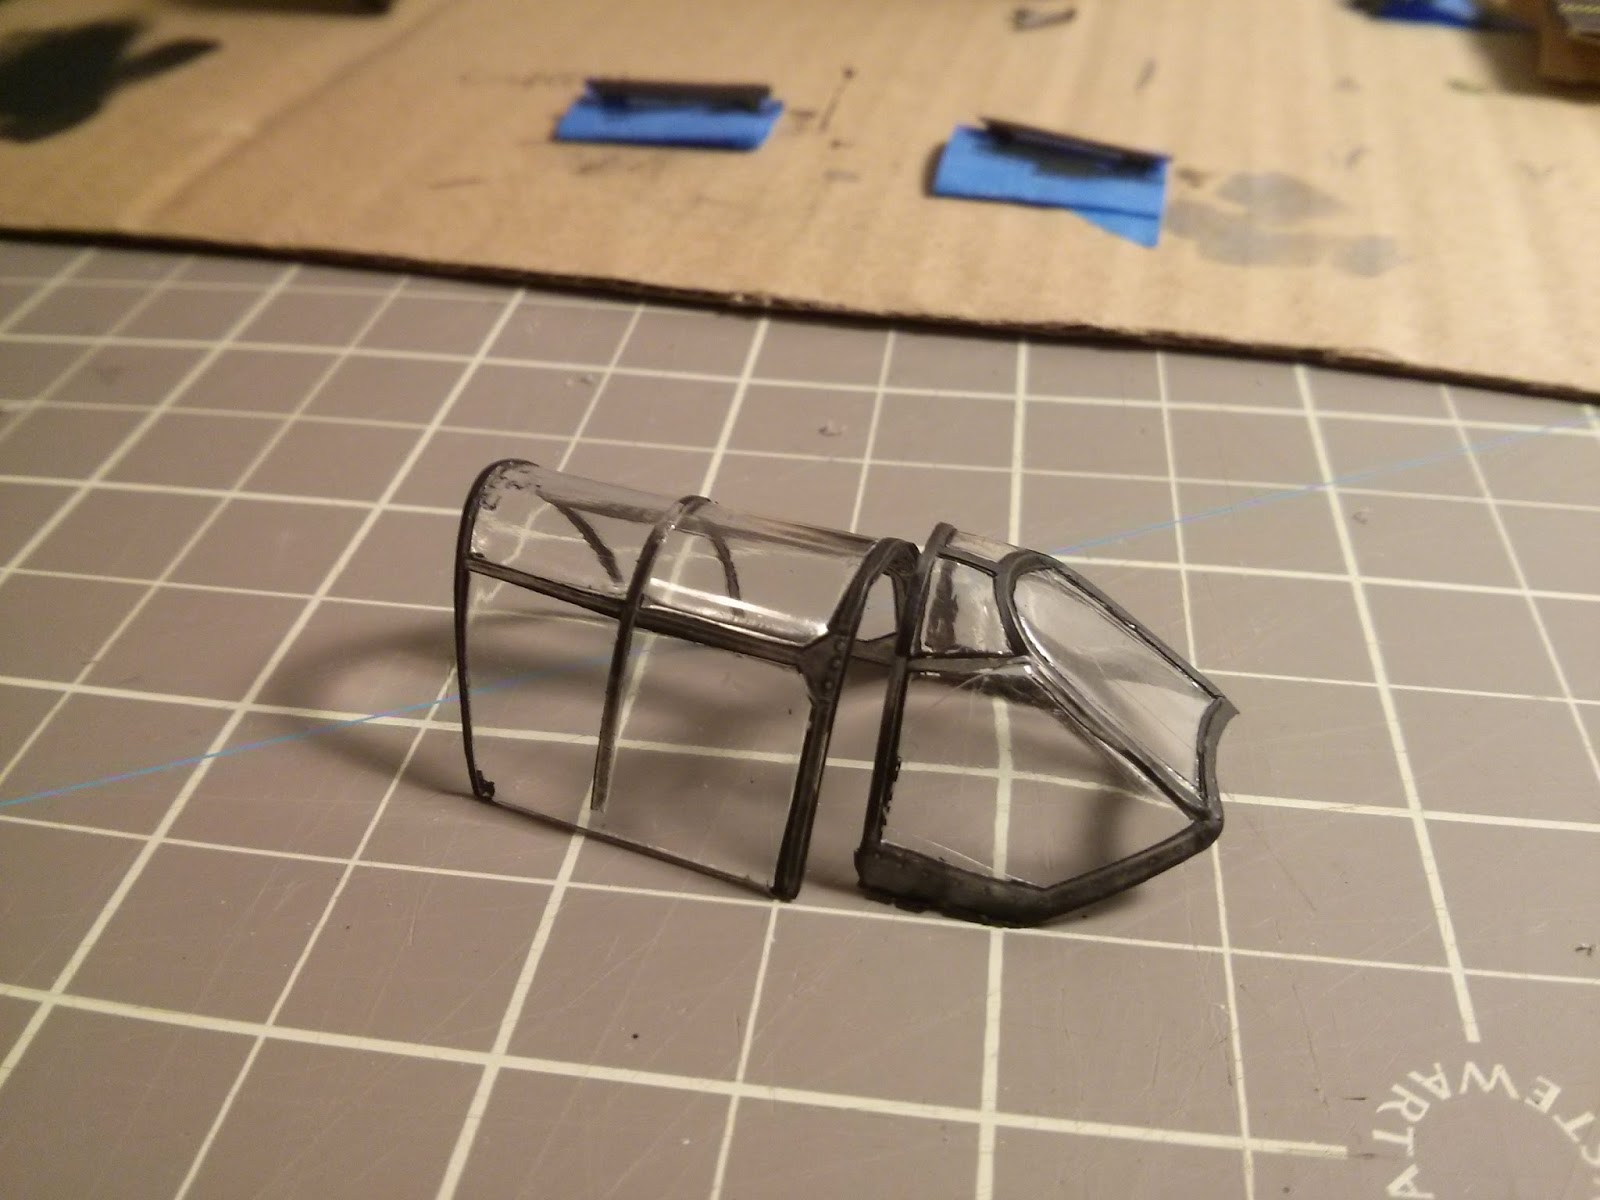 |
| The painted canopy |
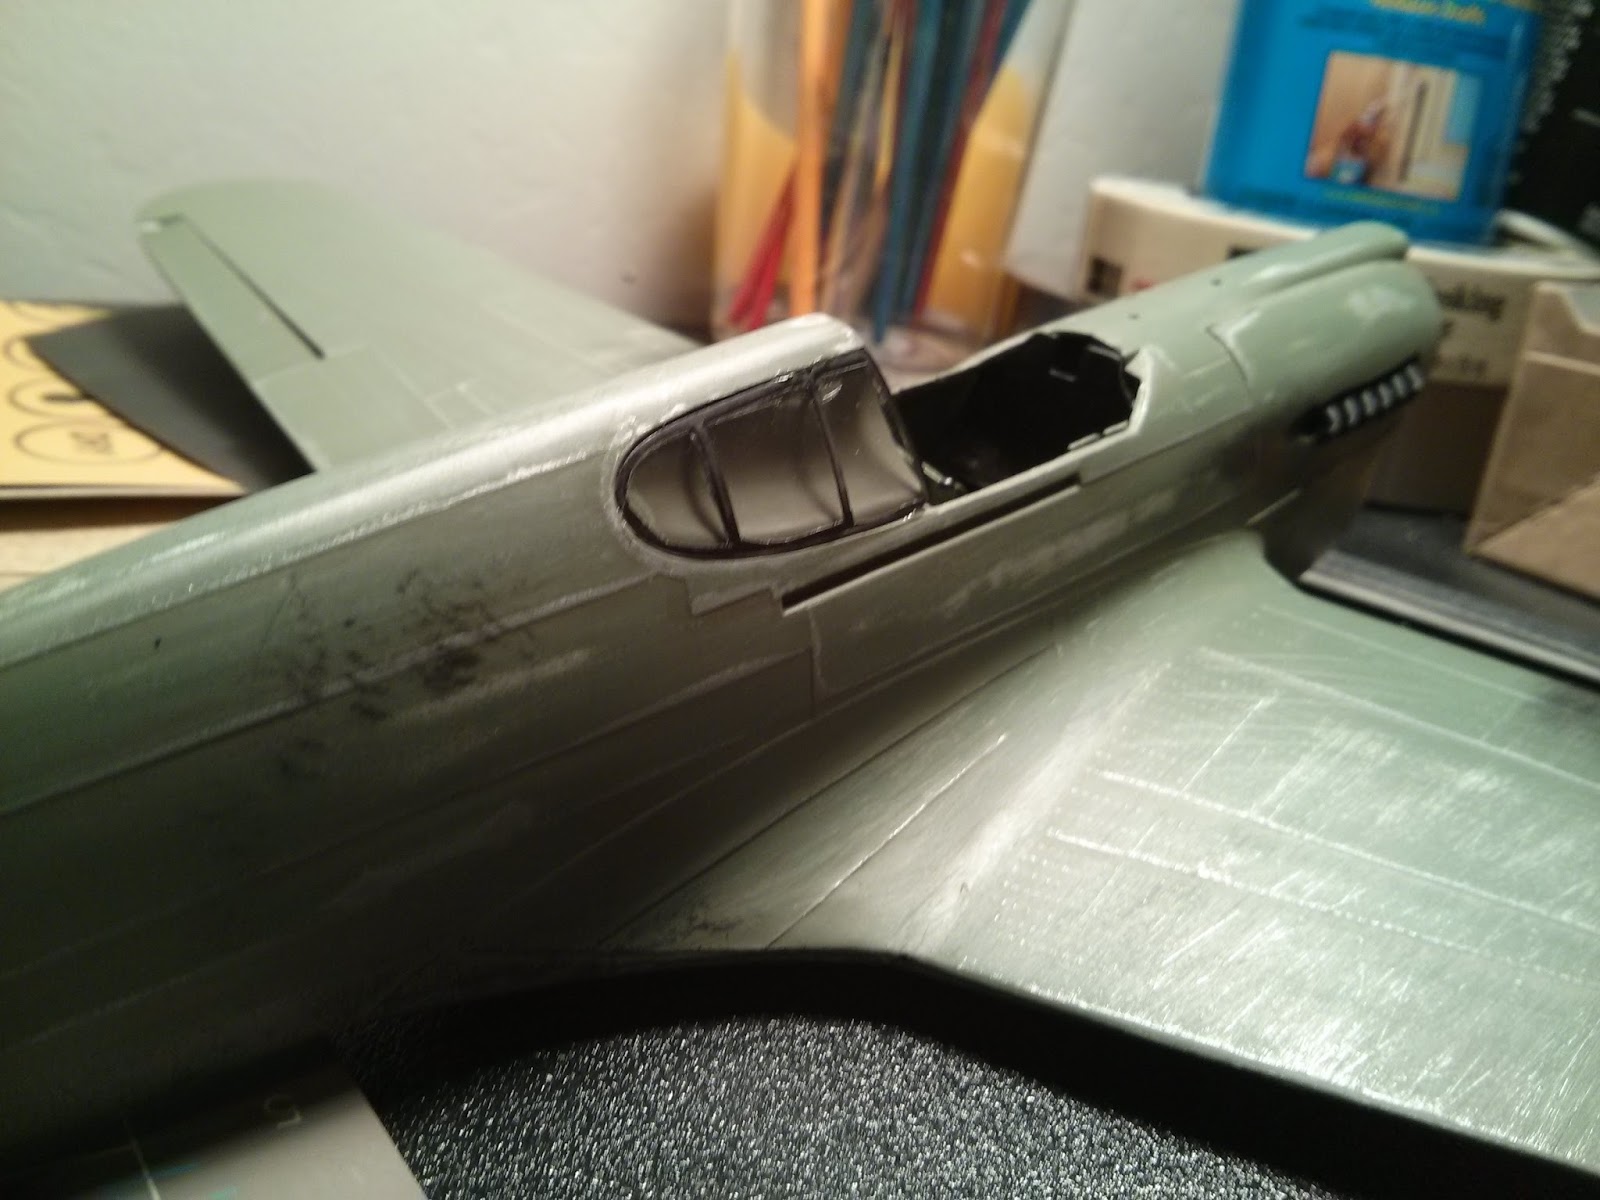 |
| You can see some of the weathering in this photo (the exhaust, the guns, etc...) |
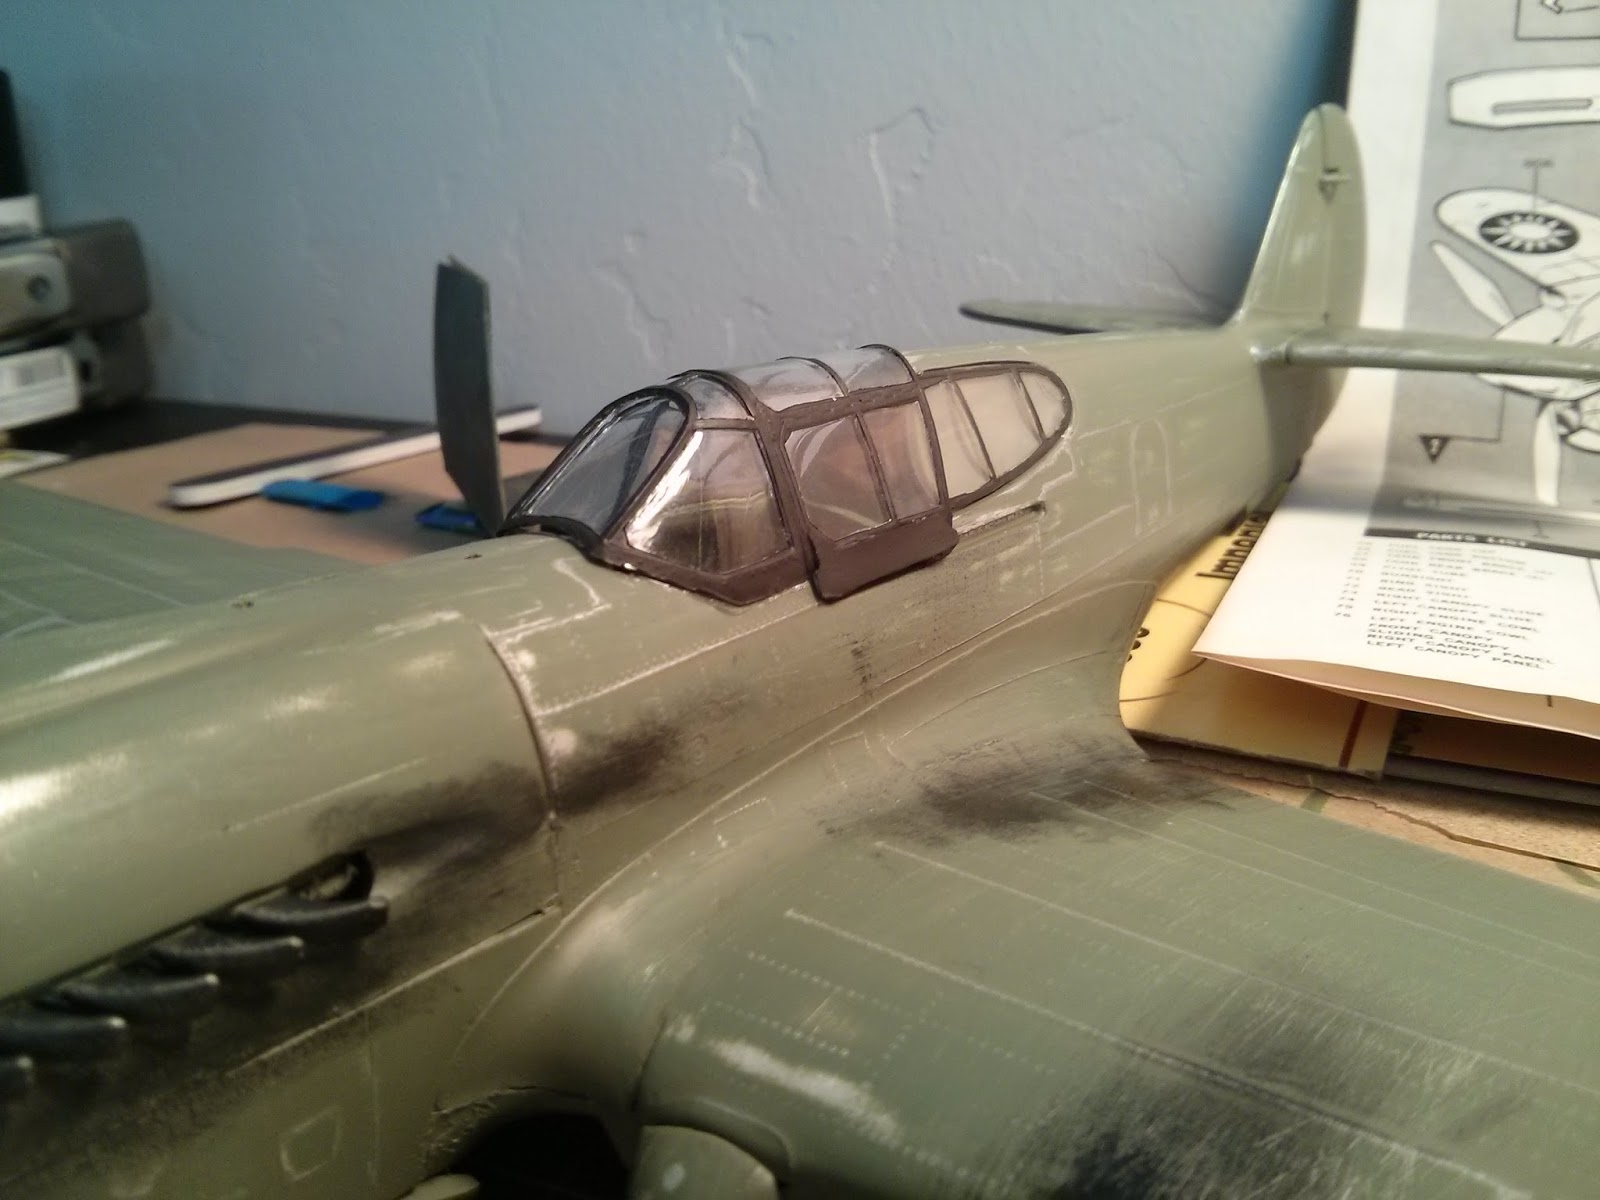 |
| The attached canopy with weathering. I also added decals (which add a LOT to the look of the plane), but I didn't take a picture of them... |
 |
| The propeller. I ended up gluing a 1/8" drill bit into the propeller so that it would spin evenly on it's axis when I was filming it. |
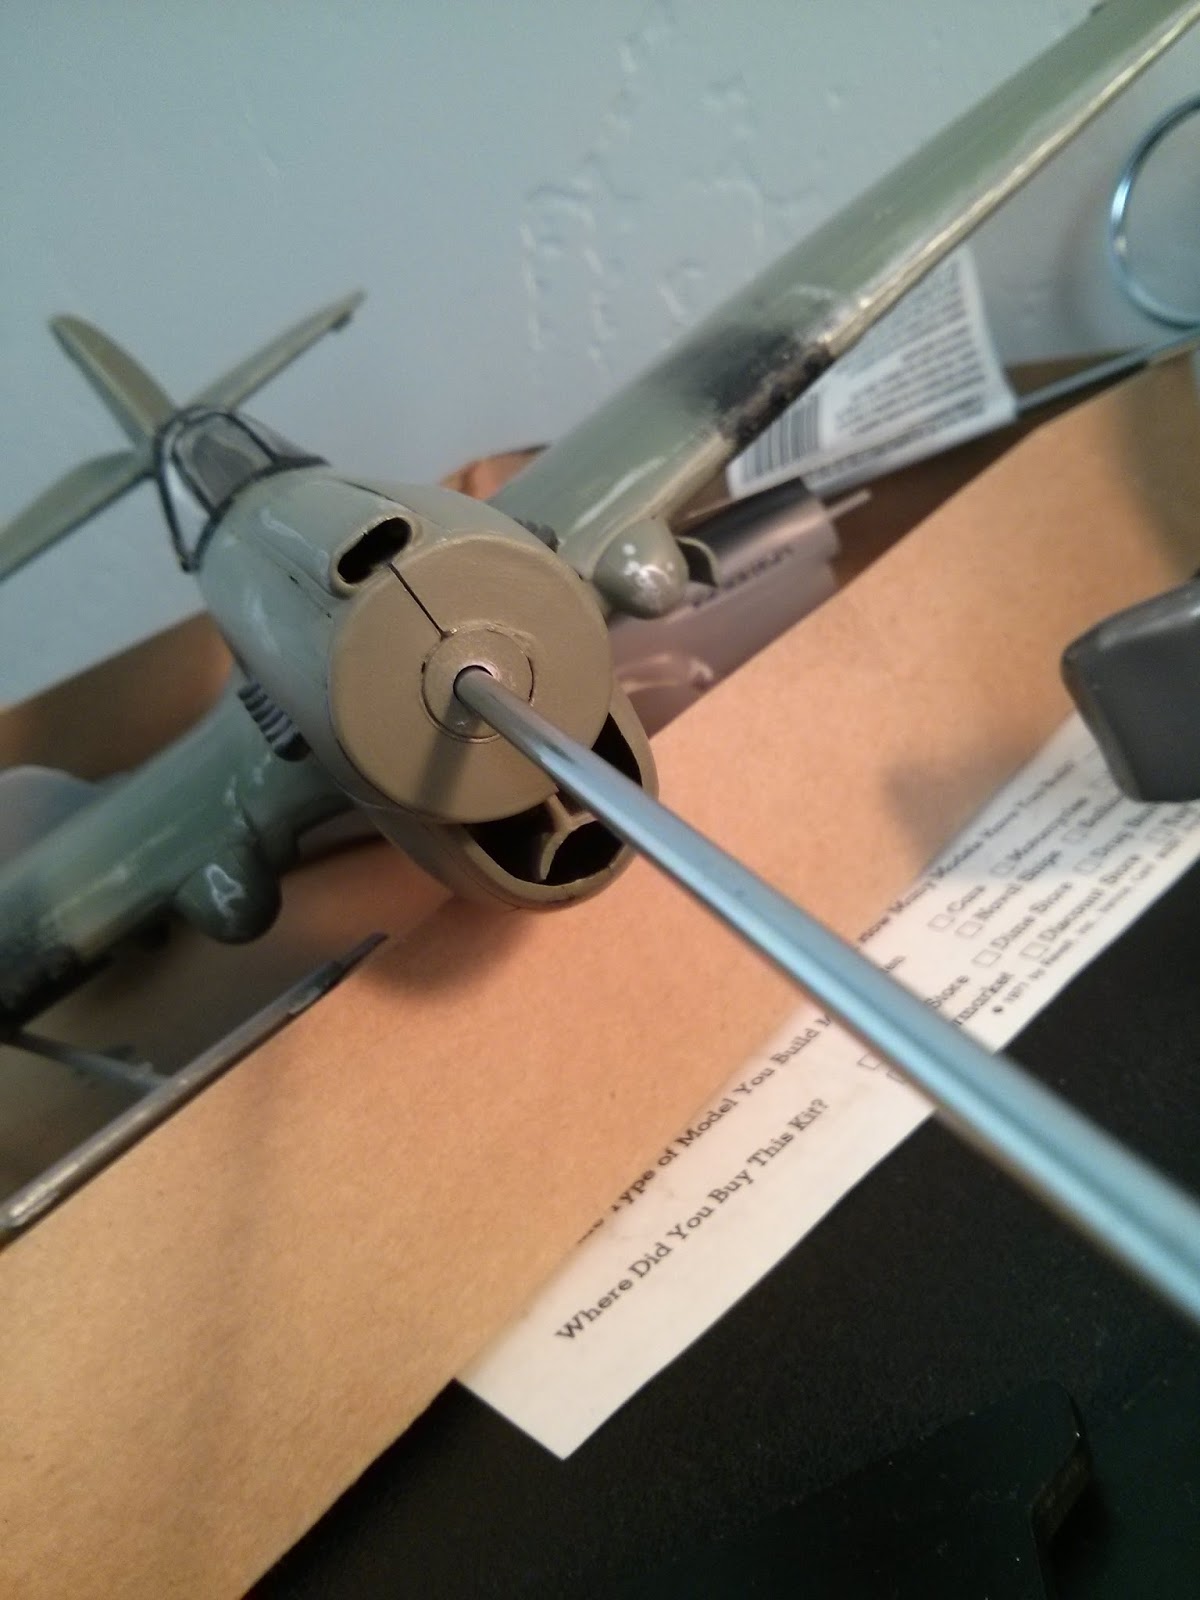 |
| Glued a 1/8" steel rod into the plane so that I could control it when I was filming. |
The model went together pretty quickly, as I was aiming for an early-February shooting date. While I was building the model though, I was also on the lookout for costumes for the German soldier and the American pilot. I was checking Goodwill and eBay constantly, and found some pretty decent props and wardrobe for pretty cheap. I found the German's helmet on Amazon for a few bucks, but when I got it, it looked like this:
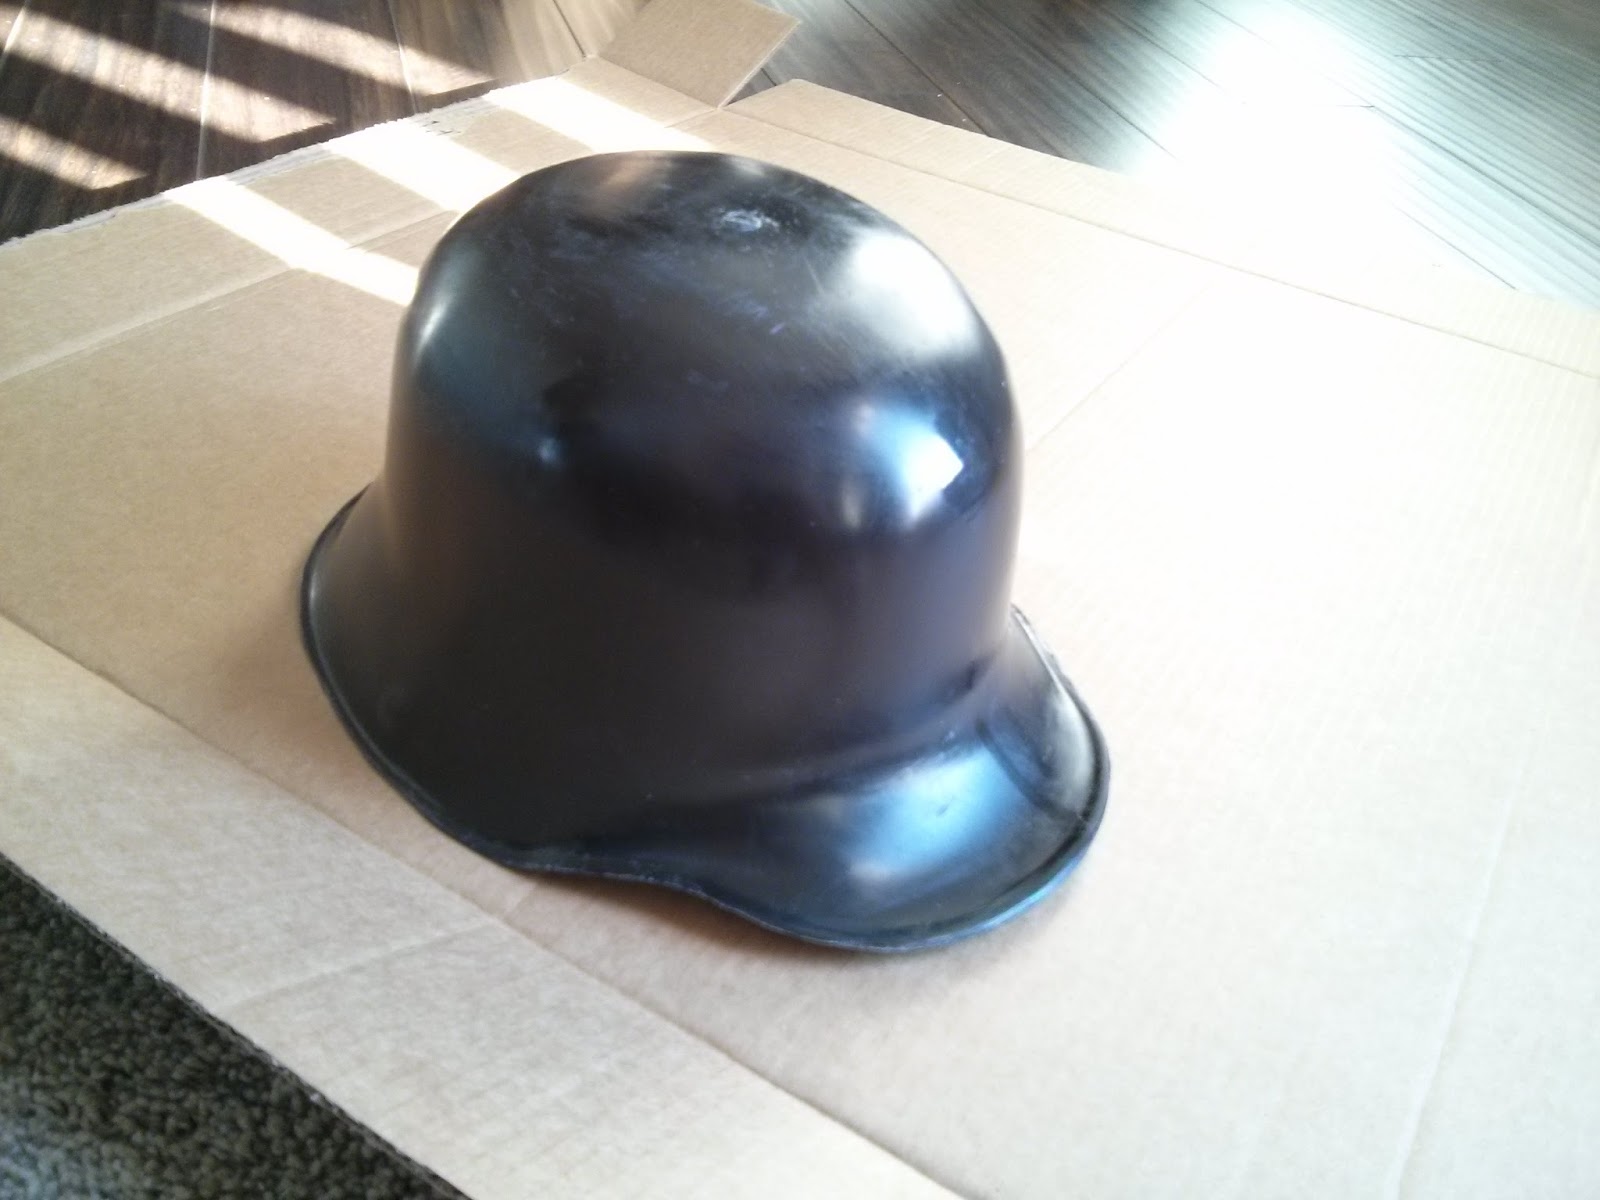 |
| German helmet, before painting/weathering |
So I trimmed around the edges with my knife to clean it up, and then painted it flat black, and then added some silver weathering to it to make it look old and beat up:
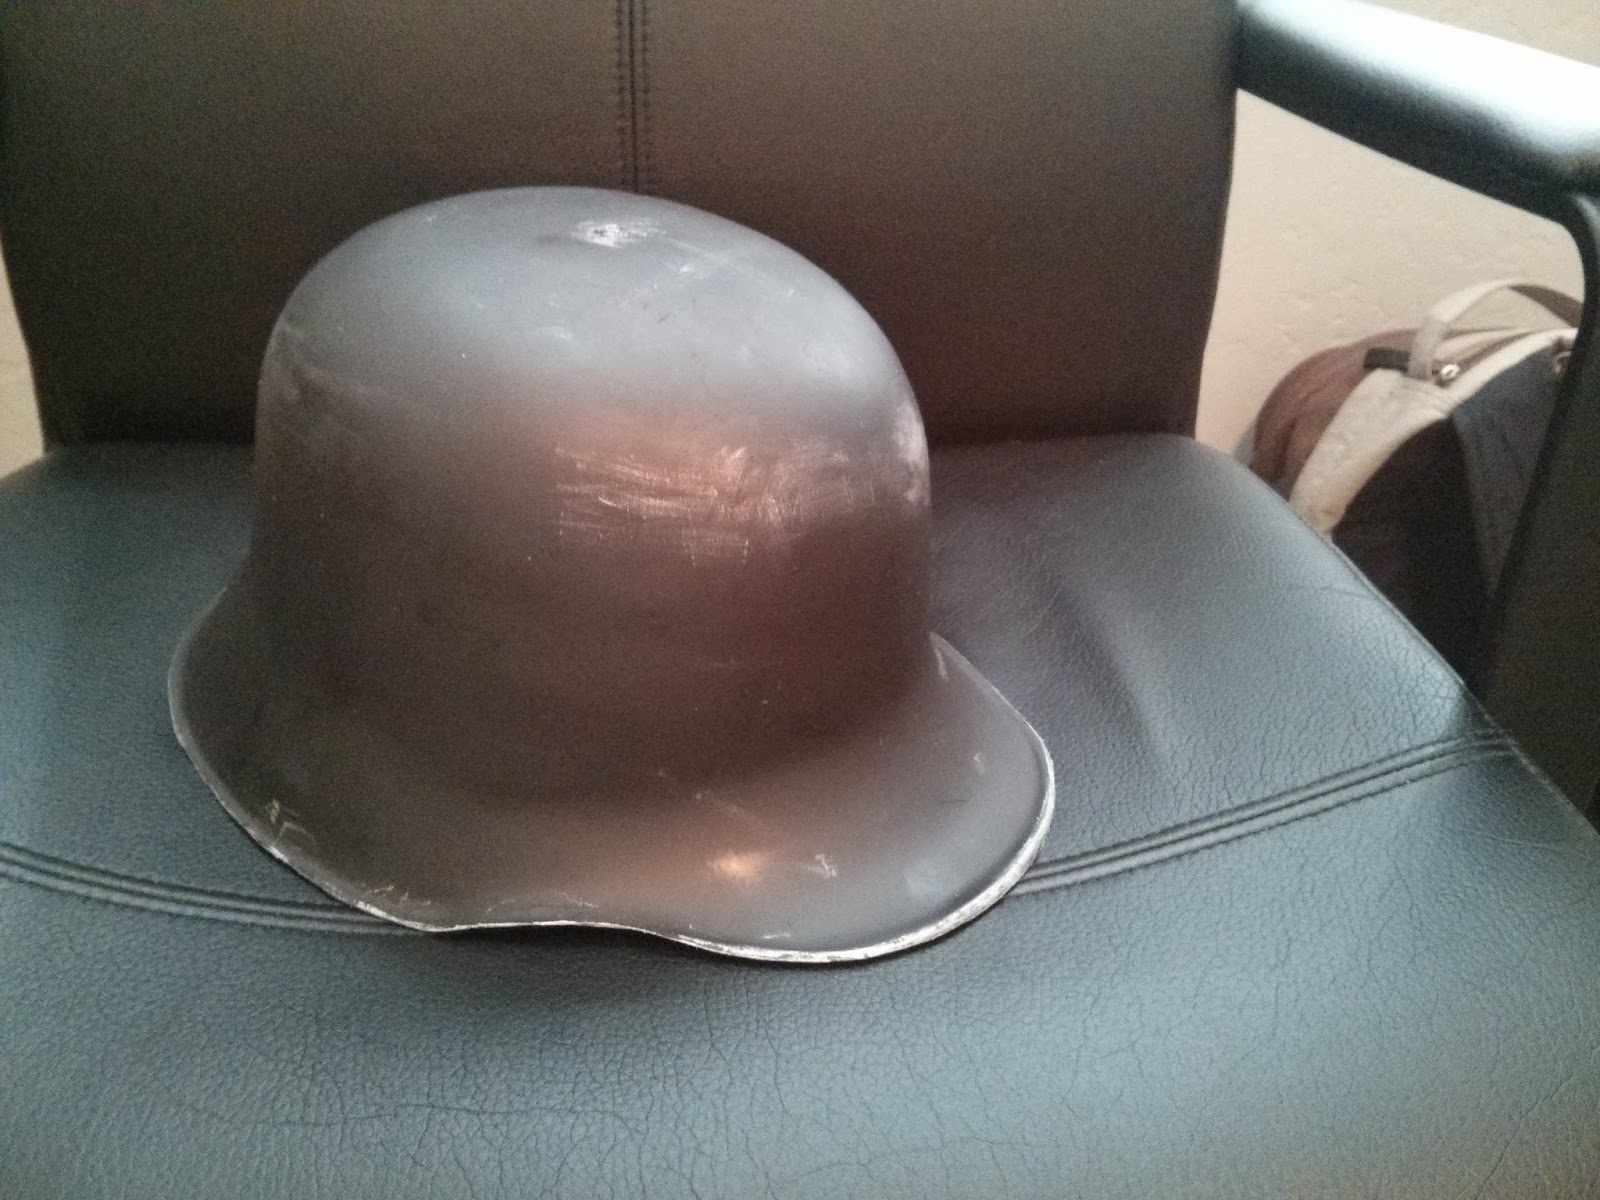 |
| German helmet, after painting and weathering |
I was also wondering where I was going to get the WWII combat knife that the pilot is carrying. Thankfully, I found this guy on Amazon for a couple bucks:
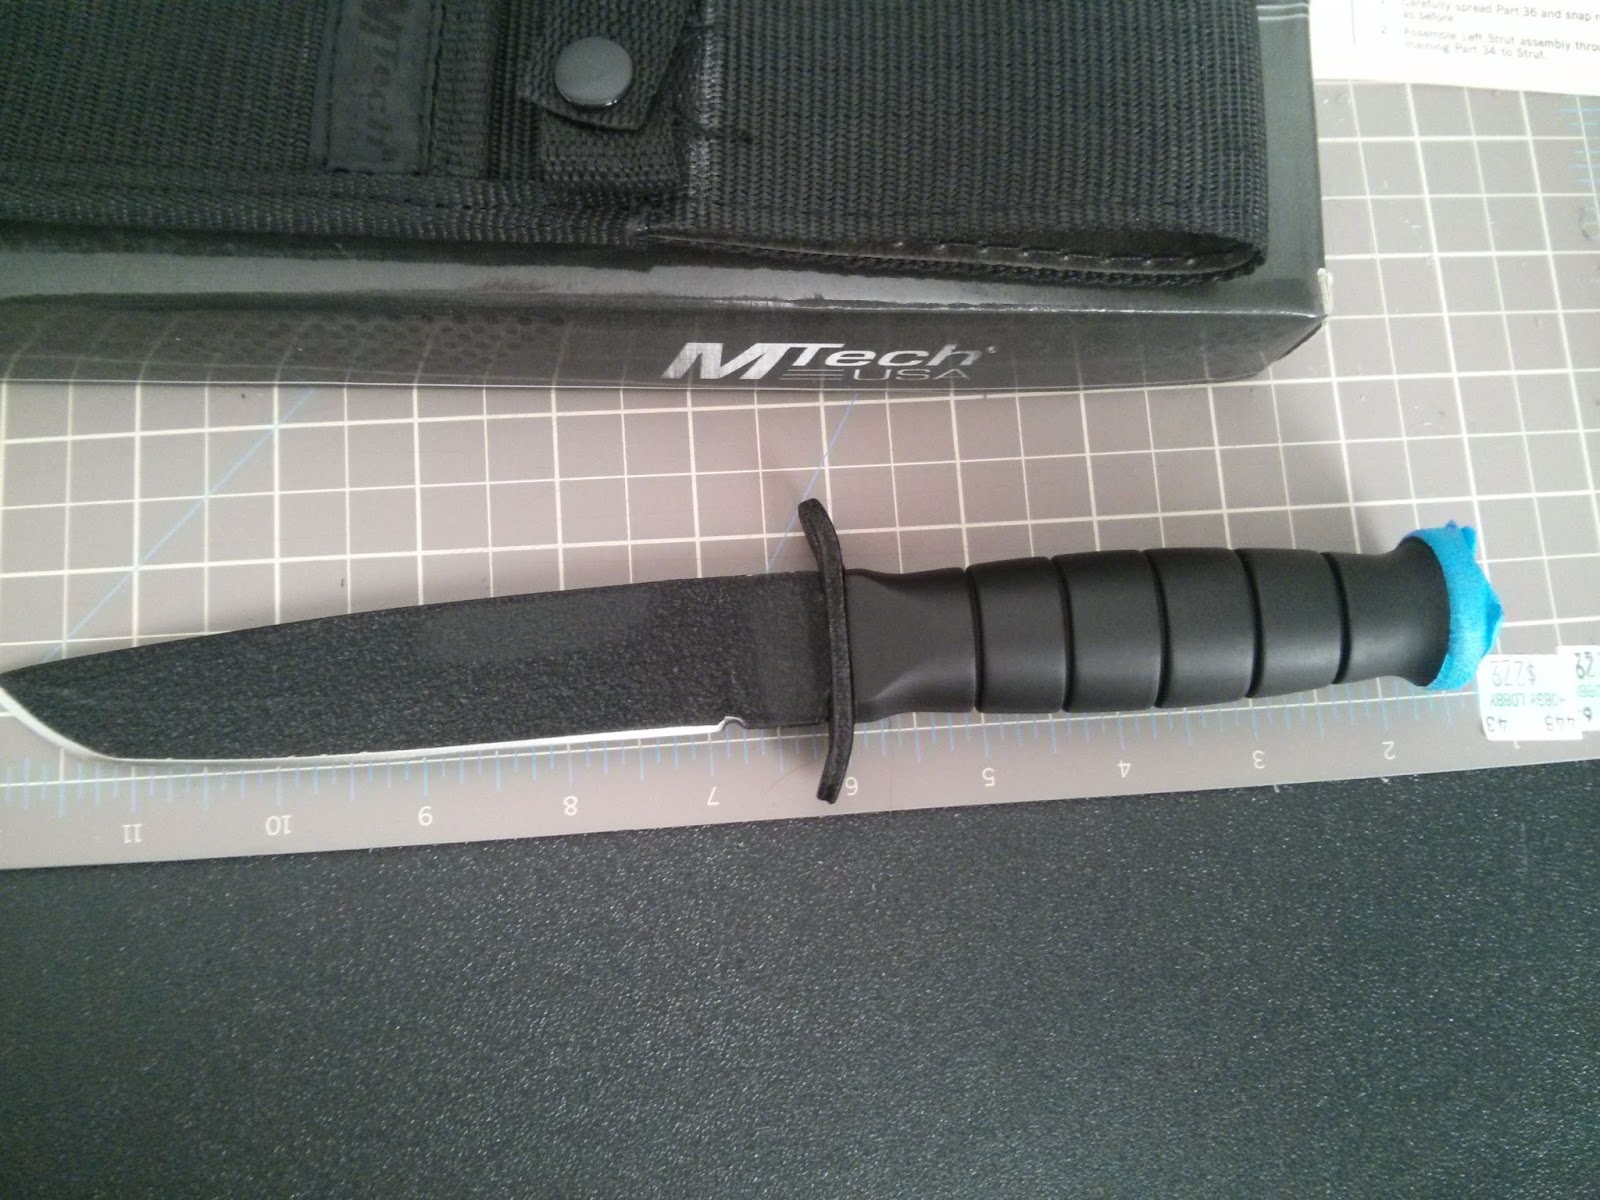 |
| Knife before the Dremel tool... |
I then took the Dremel tool to the blade and made it dull (ie: safe for filming!), and then took the black texture and paint off the blade as well. I also painted the handle a "wood" color (I know it doesn't really look like wood, but it worked!):
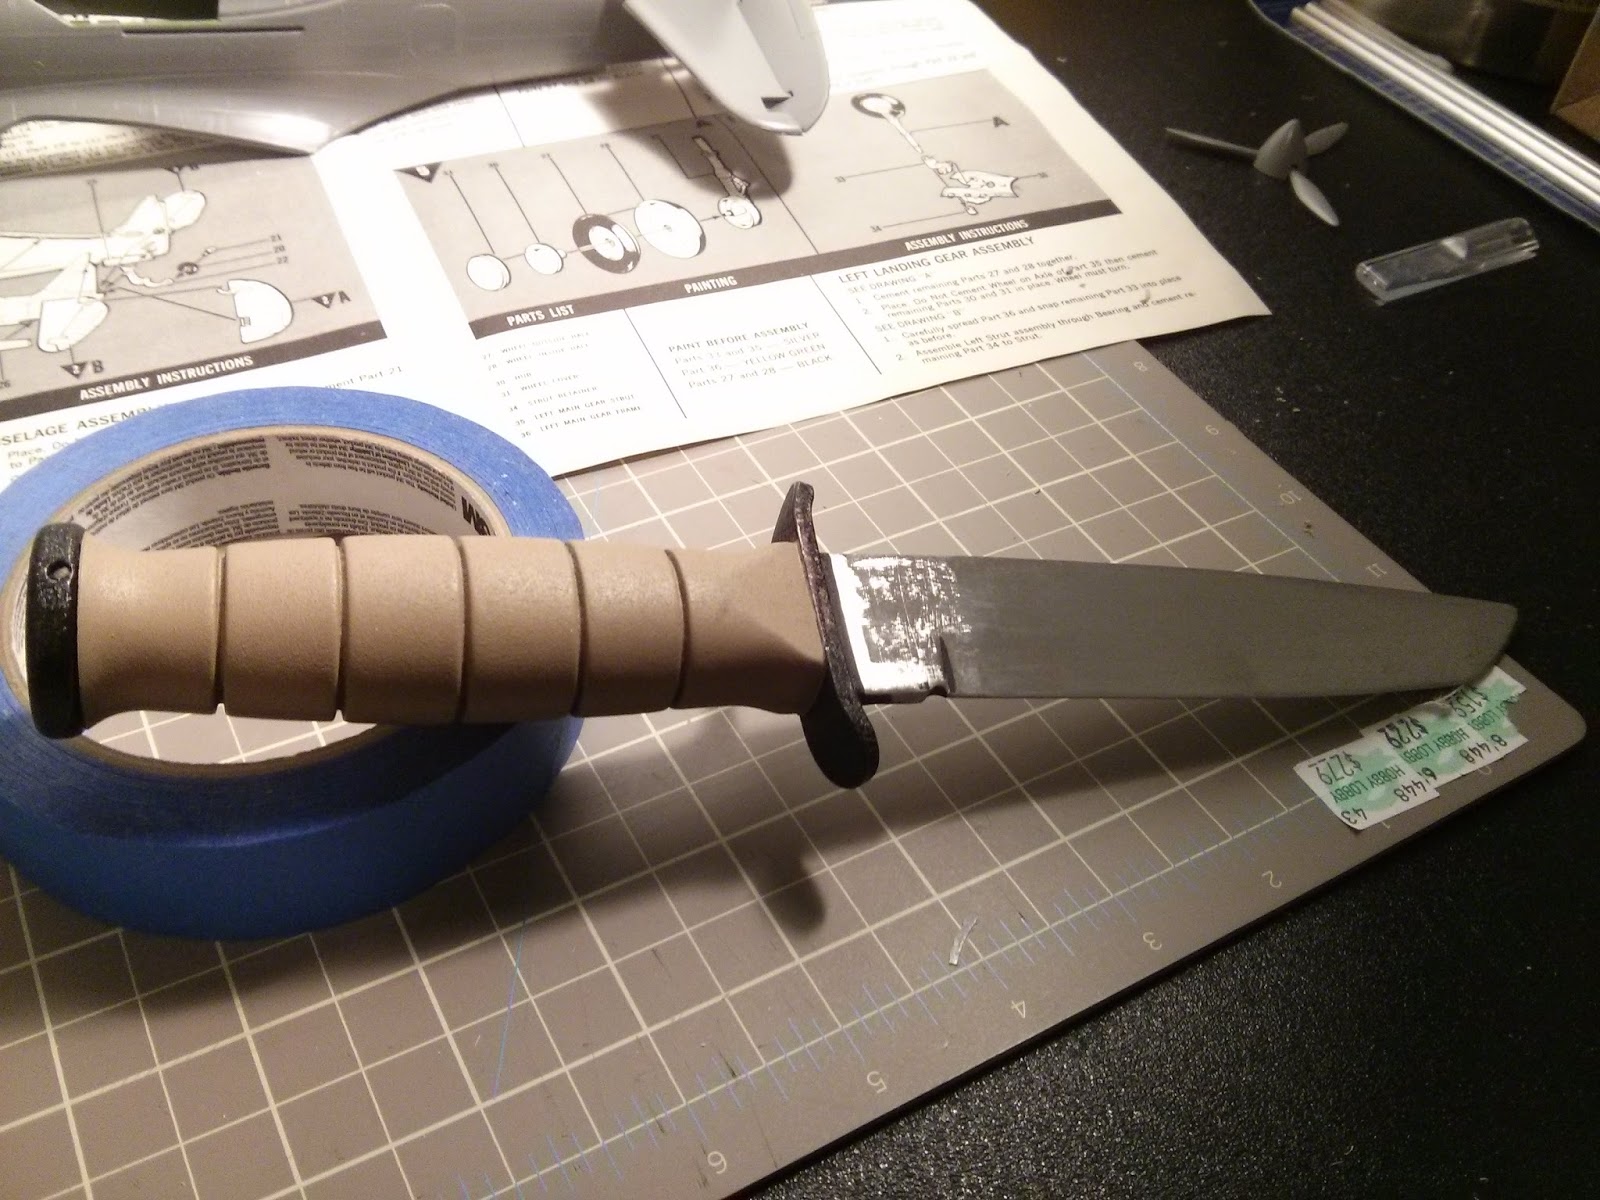 |
| The knife after the Dremel tool and paint |
I found the Pilot's costume at Goodwill:
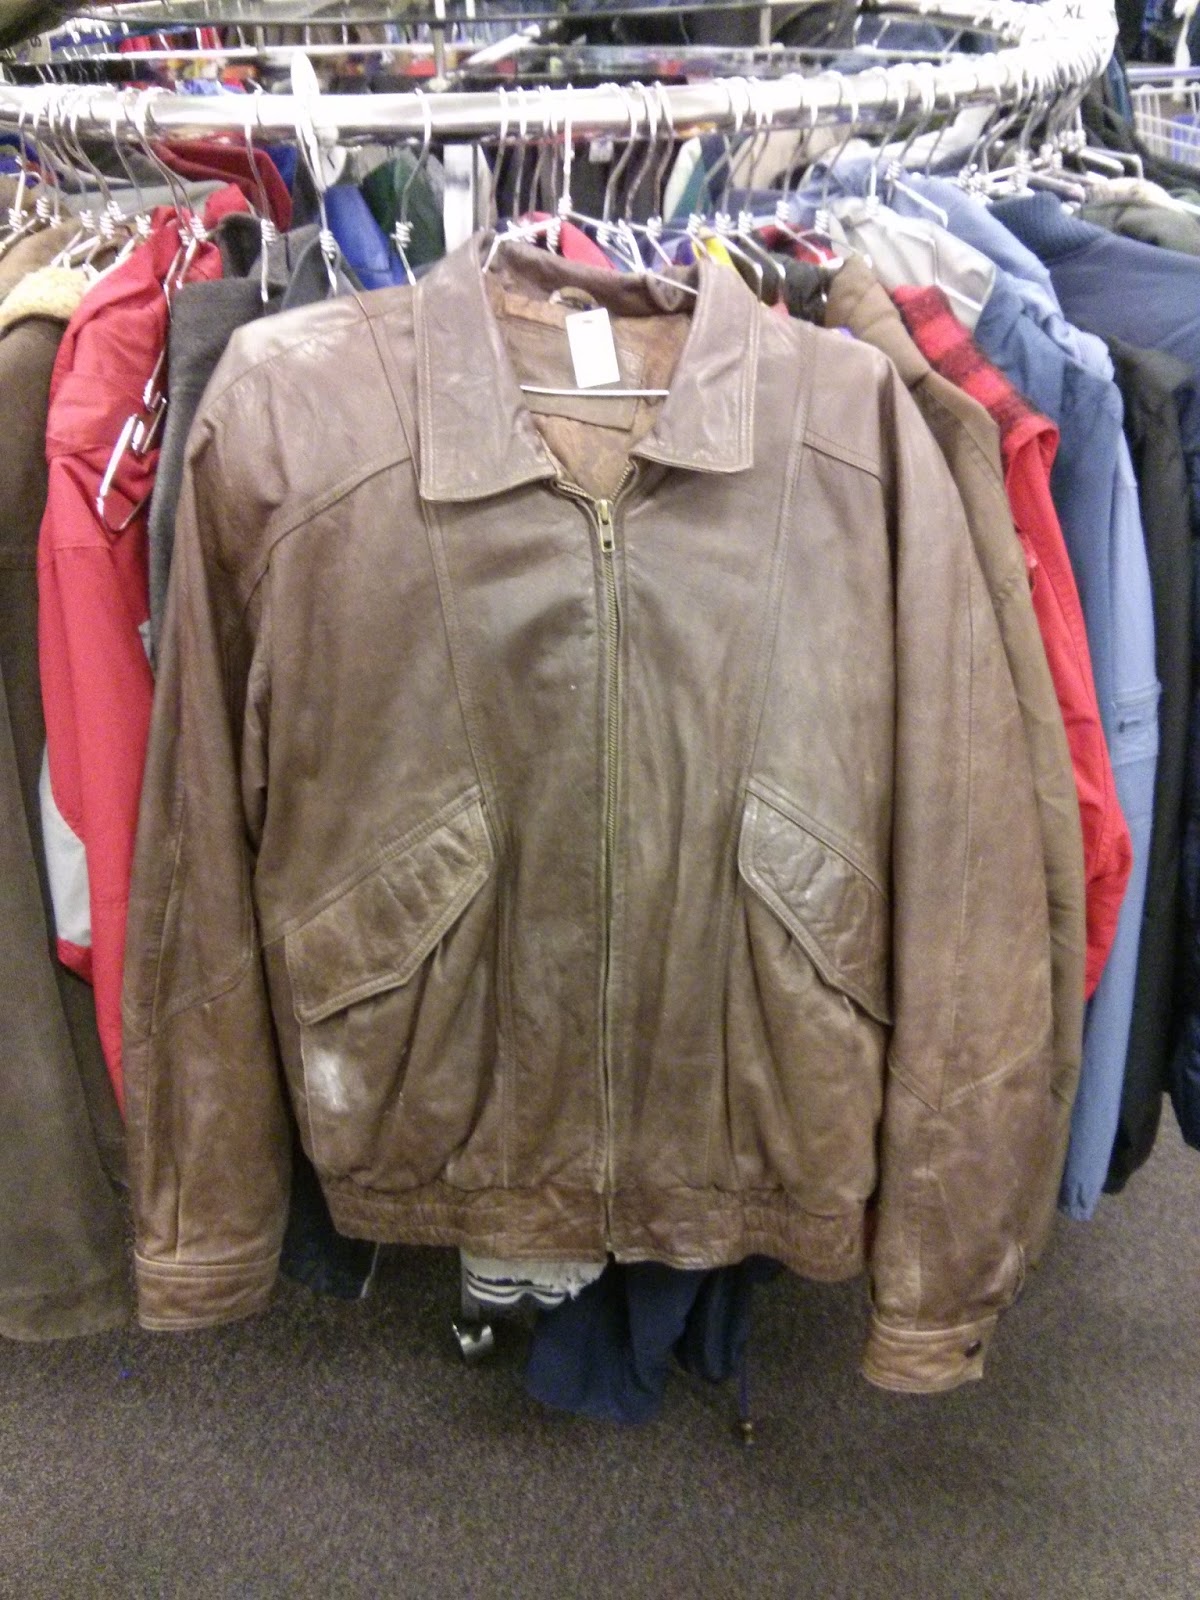 |
| Leather Jacket for the pilot. |
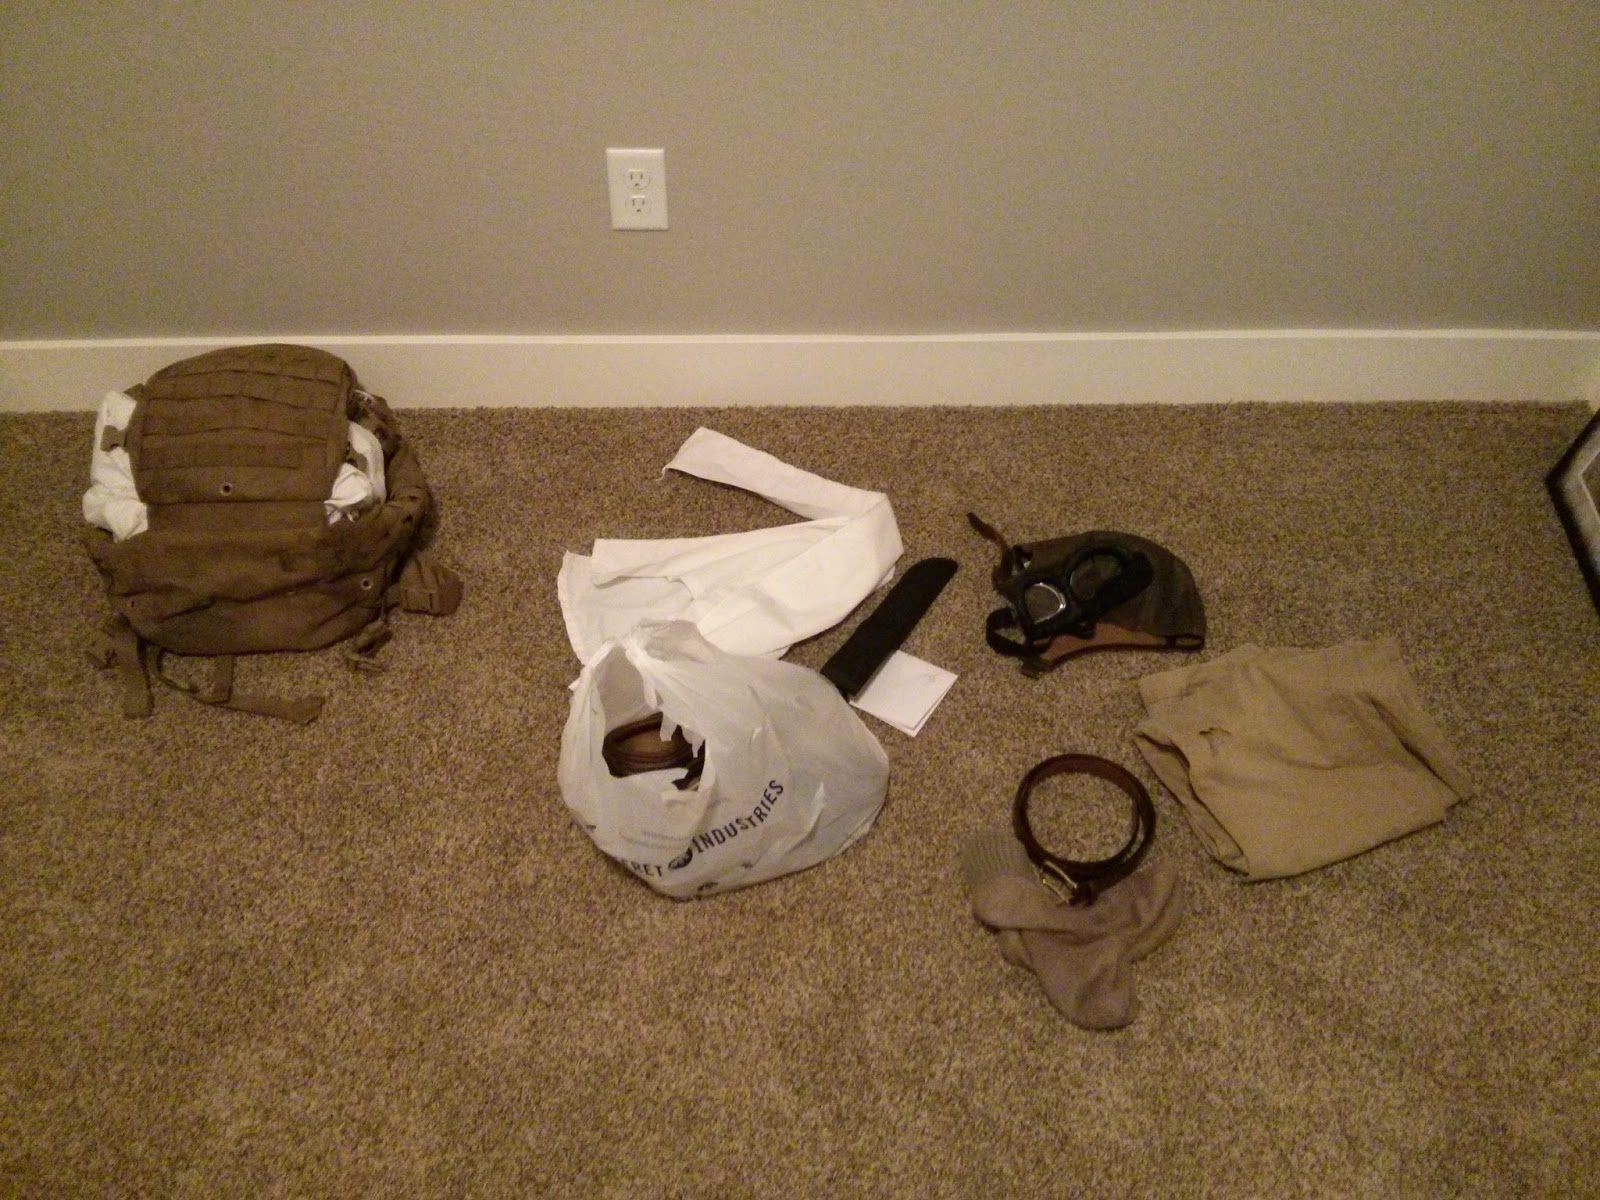 |
| The leather skull cap and goggles were found on eBay for just a few dollars. I'll get to the parachute in a moment. |
I also found the German's costume (the jacket, pants, boots and gloves) at Goodwill:
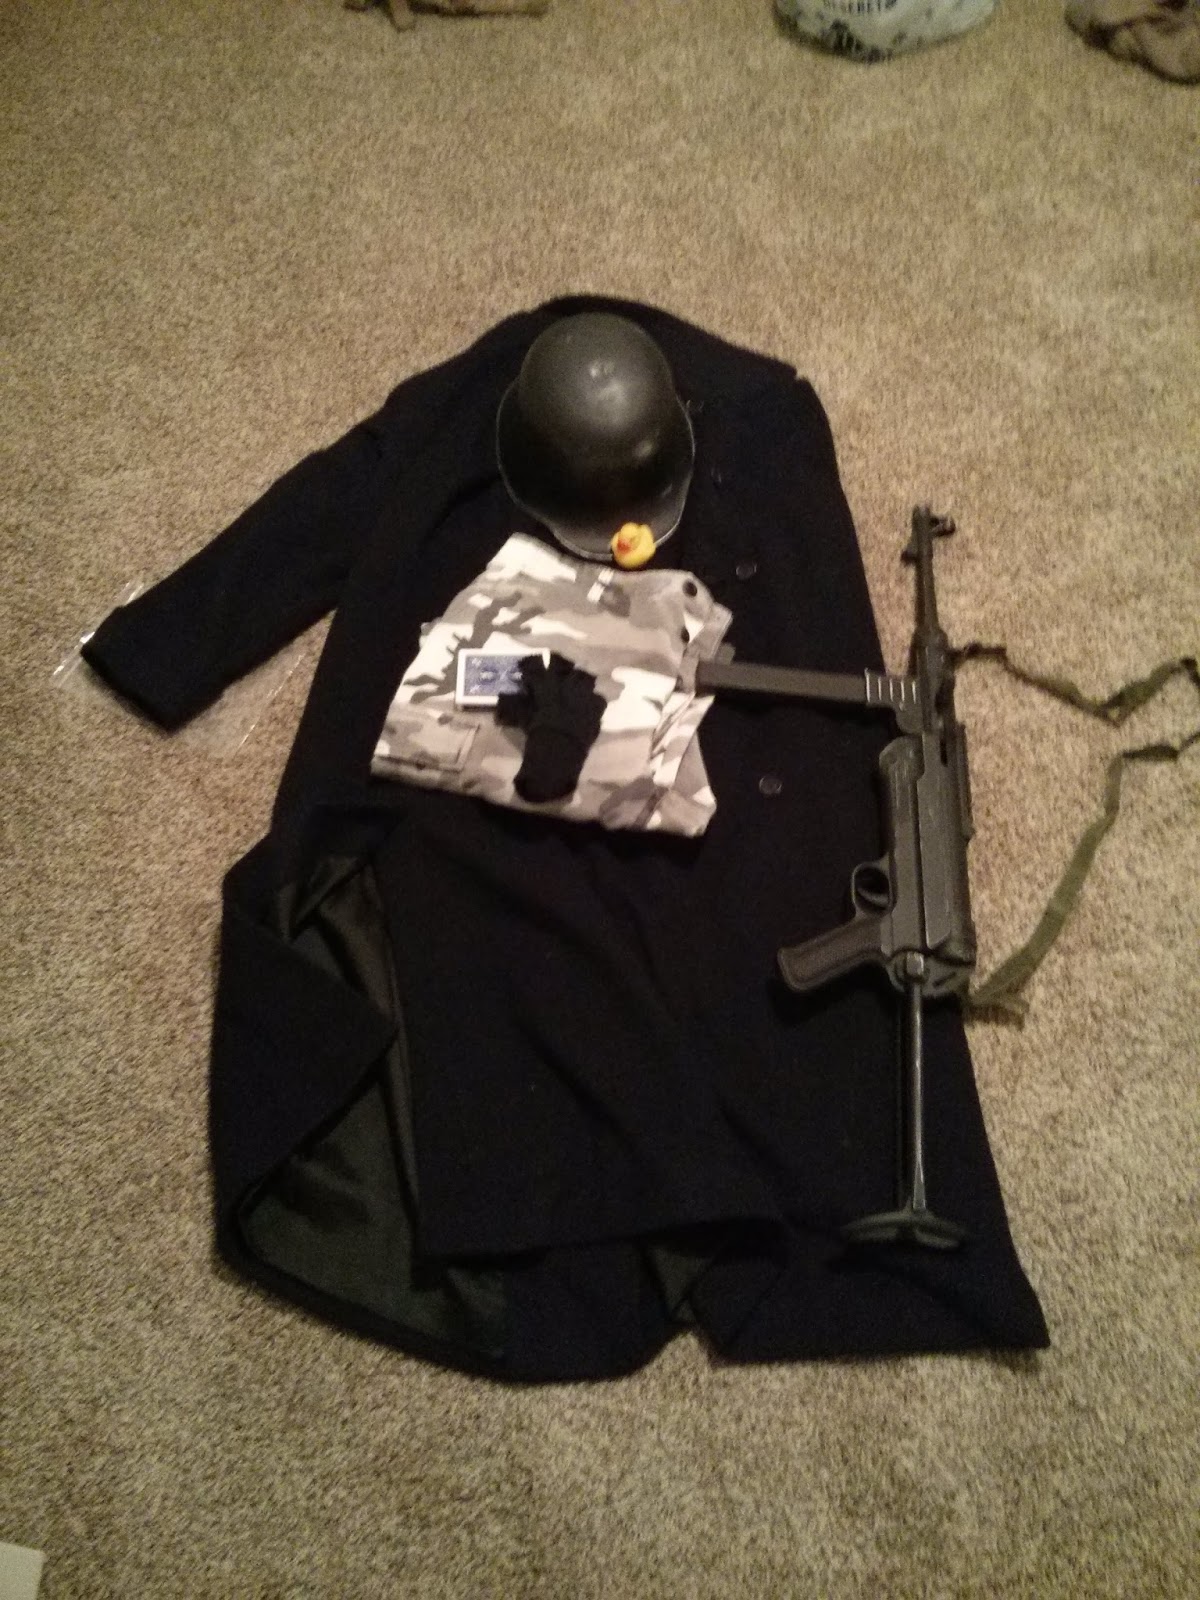 |
| Found the MP-38 airsoft gun on eBay and painted it and weathered it so that it looked more authentic. |
The parachute was an interesting challenge. The script called for the American Pilot to bail-out of his crashing P-40, and to parachute to the ground. Where was I going to get a parachute? Well, I found an Army Surplus store locally who rented out parachutes for events (like weddings), so I went in and asked them how much it would cost to rent a parachute for a day. They said $79 per parachute, with a $200 deposit. I didn't have that sort of budget for this short film, so I thanked them and went back to Goodwill! I ended up getting two queen-sized white bedsheets for a few dollars a piece, along with 100' of paracord. I went home and bribed my wife into sewing these two sheets together into something that slightly resembled a parachute:
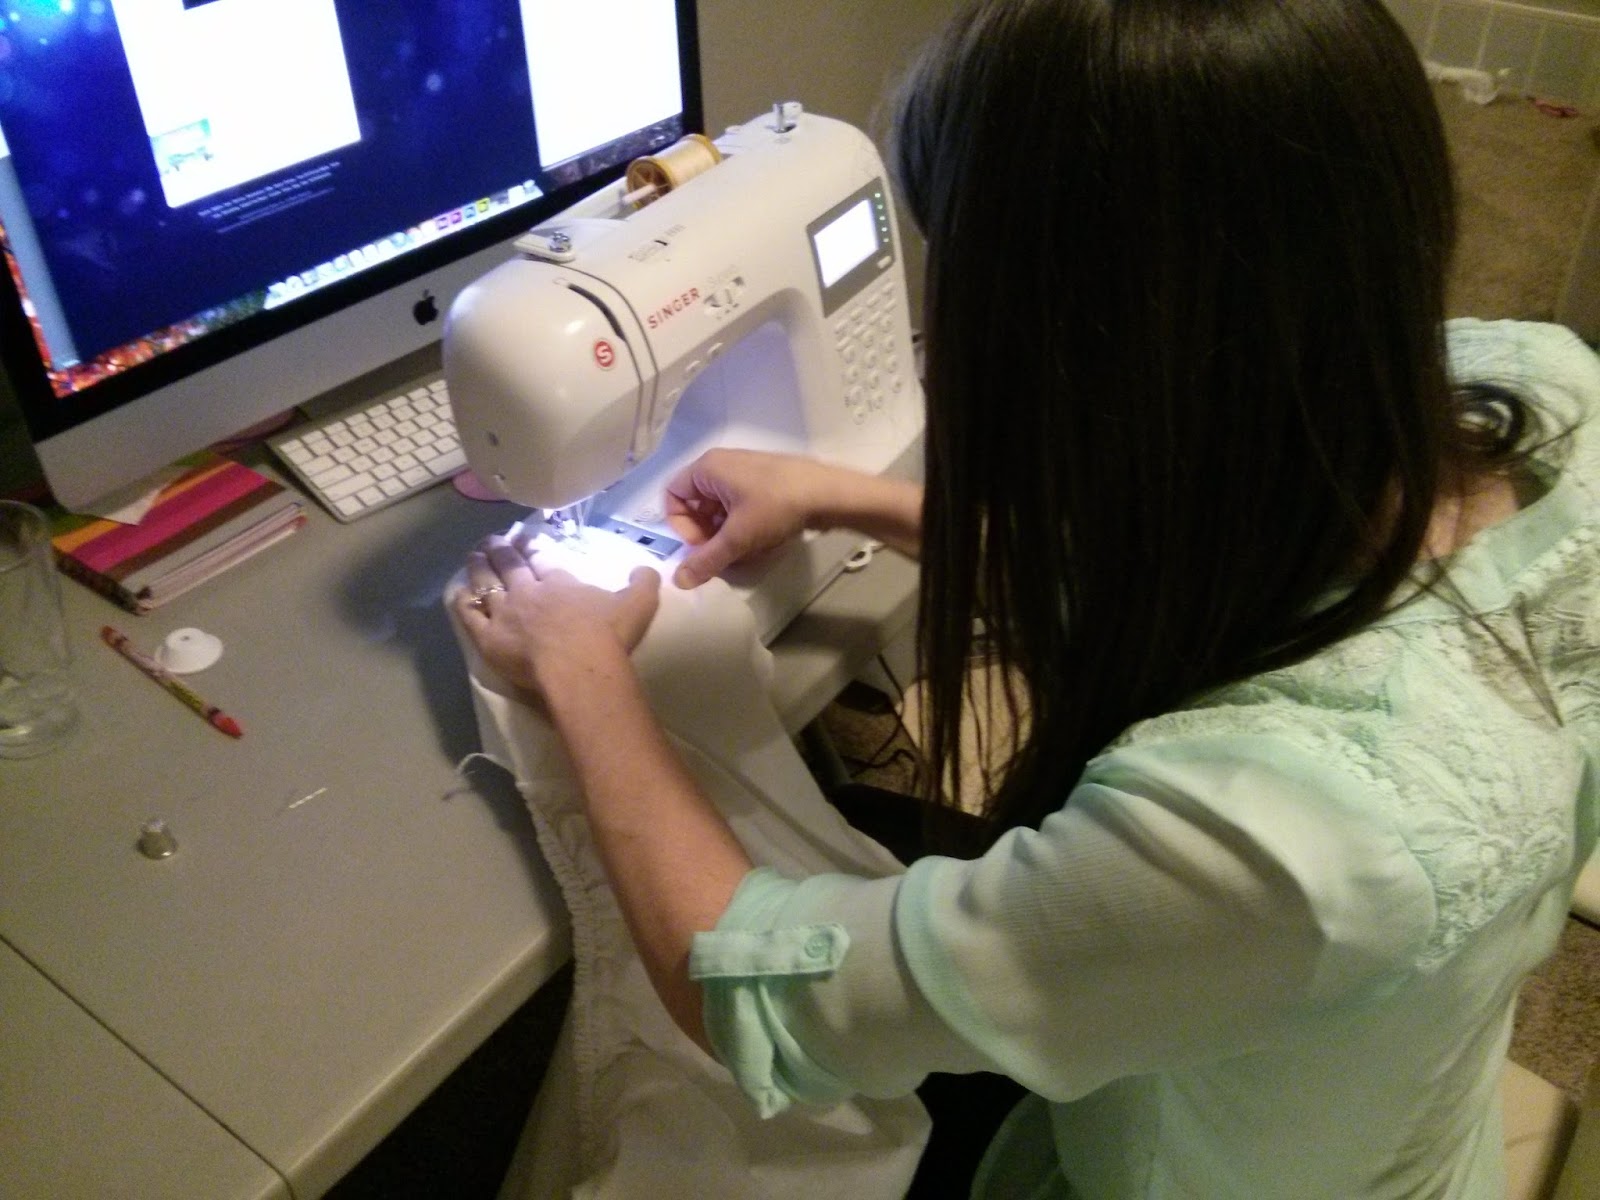 |
| My wife is the best! AND she knows how to sew! |
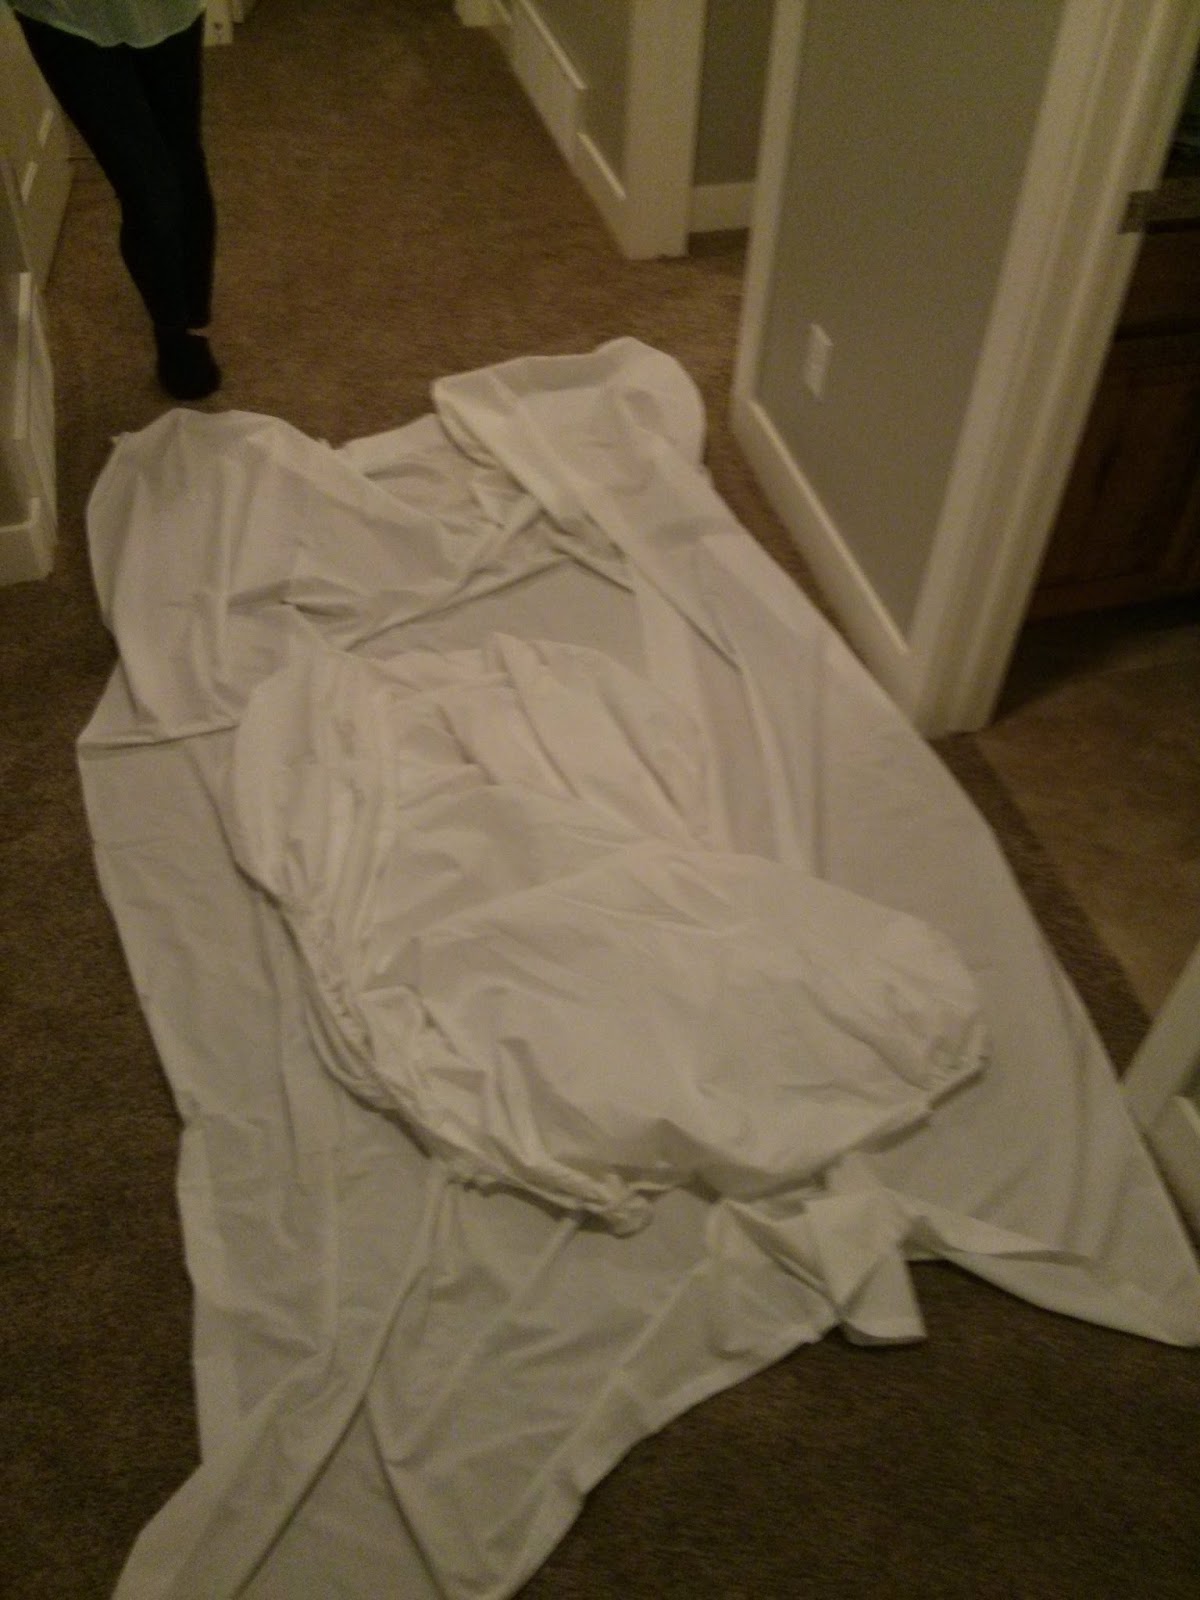 |
| Just looks like a big white mess of fabric. |
I cut eight lengths of 10' paracord, and attached them to the parachute using simple knots I learned back in Boy Scouts, and vwalla!! There's my $10 parachute!
So I had most everything ready for the shooting day, which was just over a week away, but I didn't have any actors cast yet. Yeah, I might need actors if I am going to make a short film! I really wanted the German to be somebody who had that German "look," and someone who spoke the language fluently (because I feel that you just can't fake it!). Luckily, my wife knew a friend from High School who fit both of those categories, and he was ready and willing to help me out:
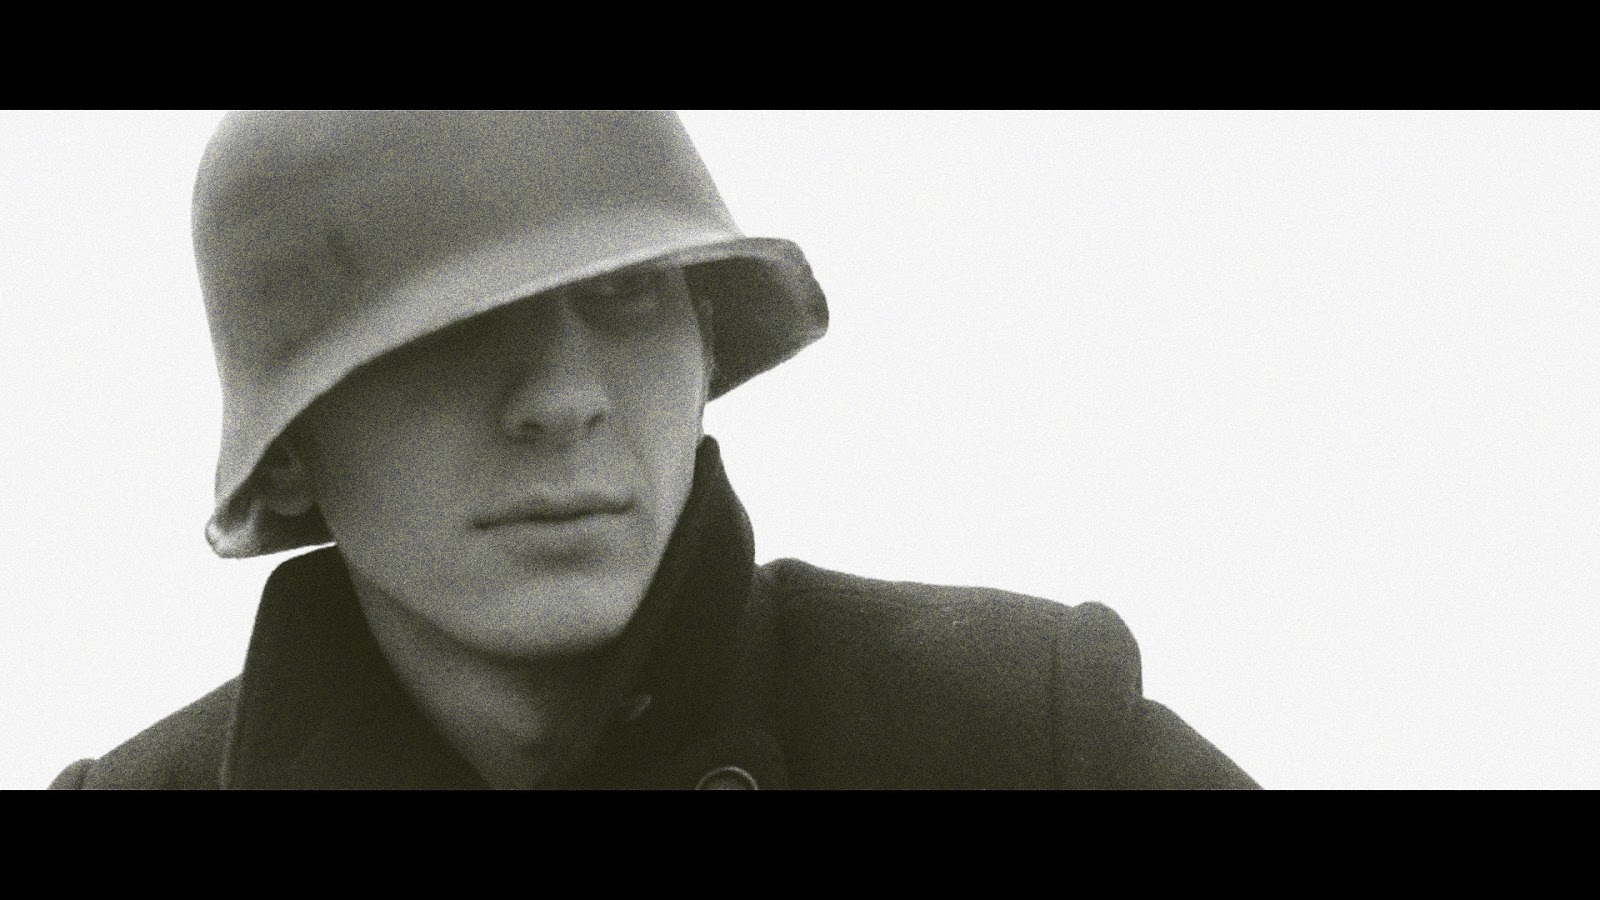 |
| Josh both looked and acted the part |
For the American Pilot, I cast my cousin, who I've collaborated with in the past:
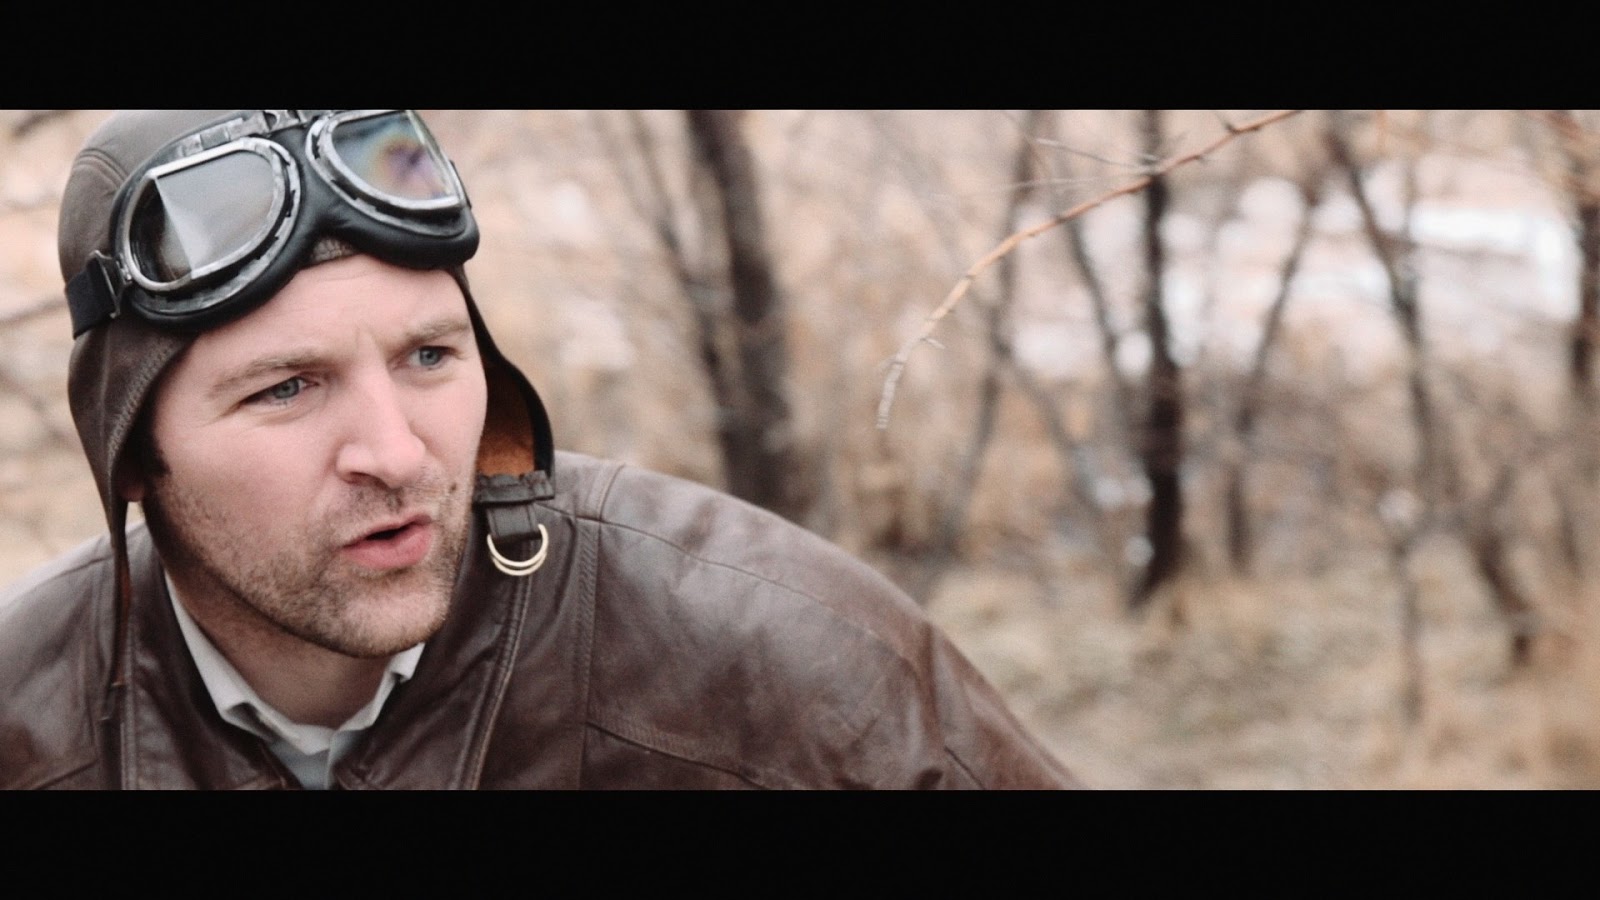 |
| Austin as the American Pilot |
Production
We shot the "Field in Germany" scene on an overcast Saturday morning. Overcast was perfect for this scene, as it added nicely to the mood.
I had originally scouted a location for the field, and it was actually a frozen-over Utah Lake:
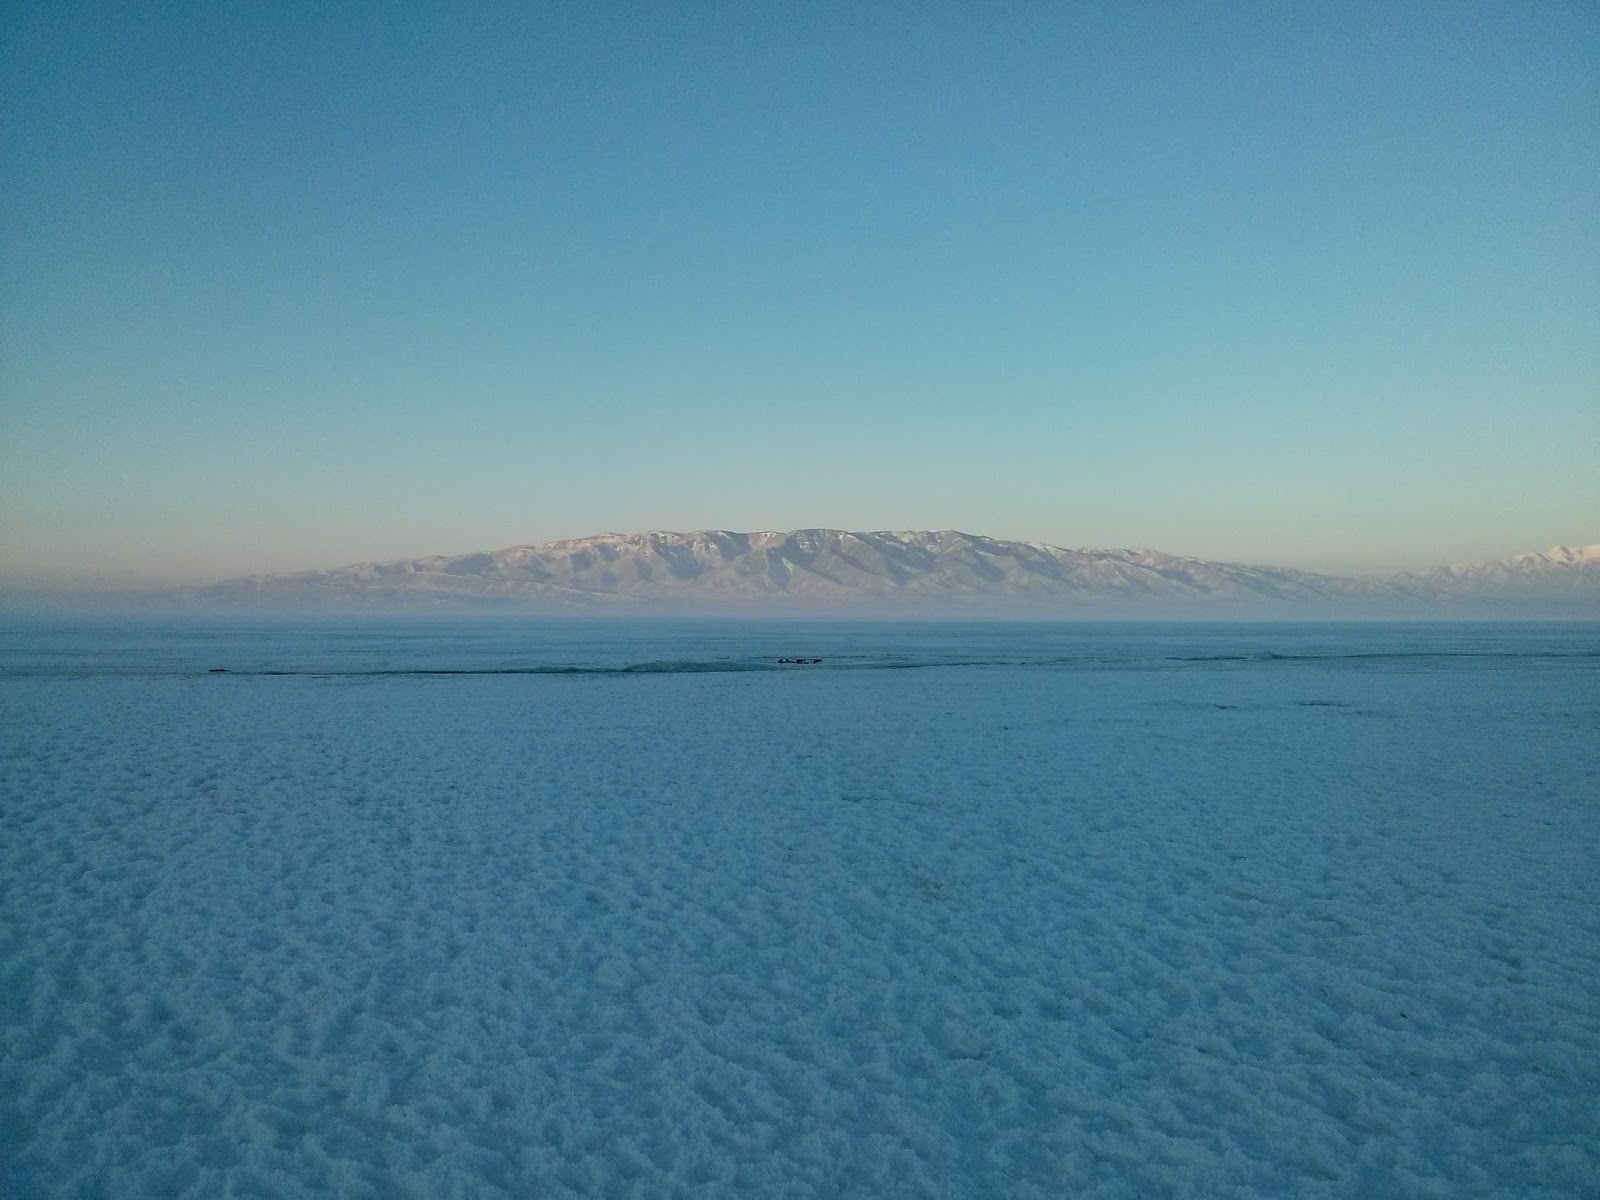 |
| Frozen-over Utah Lake. The low-hanging fog would have added perfectly to the scene. |
I wanted it to look barren and desolate, and this fit the bill perfectly! Unfortunately, I scouted this location in late January, and we didn't actually end up filming until the middle of February, and so on the morning of shooting, we went out to the Lake and it was all melted! I couldn't believe it! There was my perfect location (what I had in mind while writing the script), and now it was a lake.
On the way back to my house to think about some other options, we drove by a field that looked like it would work, so we stopped and scouted it out. This is the location that we eventually used, and it worked out great! It wasn't the frozen lake, but it was the next best thing!
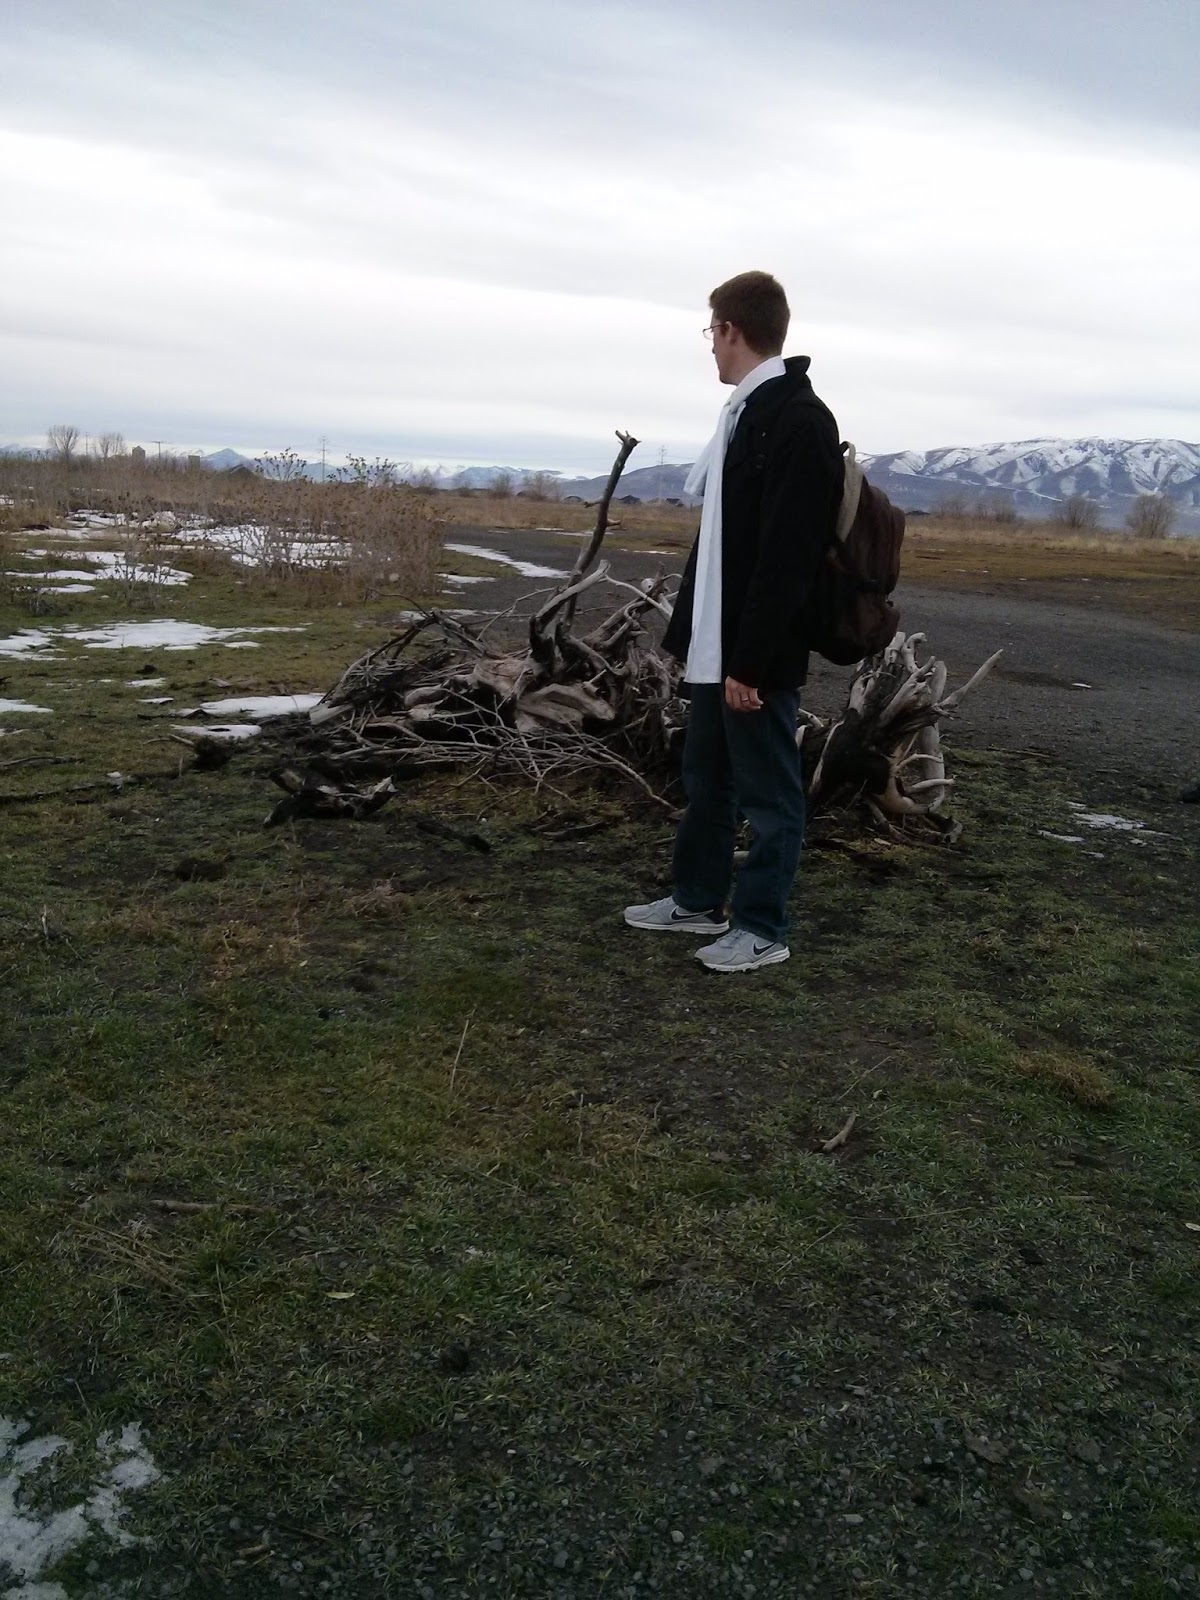 |
| Scouting out the alternate location... |
We decided to shoot there, as we were running out of time. Everyone has a schedule, it seems...
We shot the scene basically chronologically, starting with the German playing cards with the rubber duck. This tells us a lot about his character: he's been there a while, there's not that much action on this side of the war, he's going a little crazy, etc...
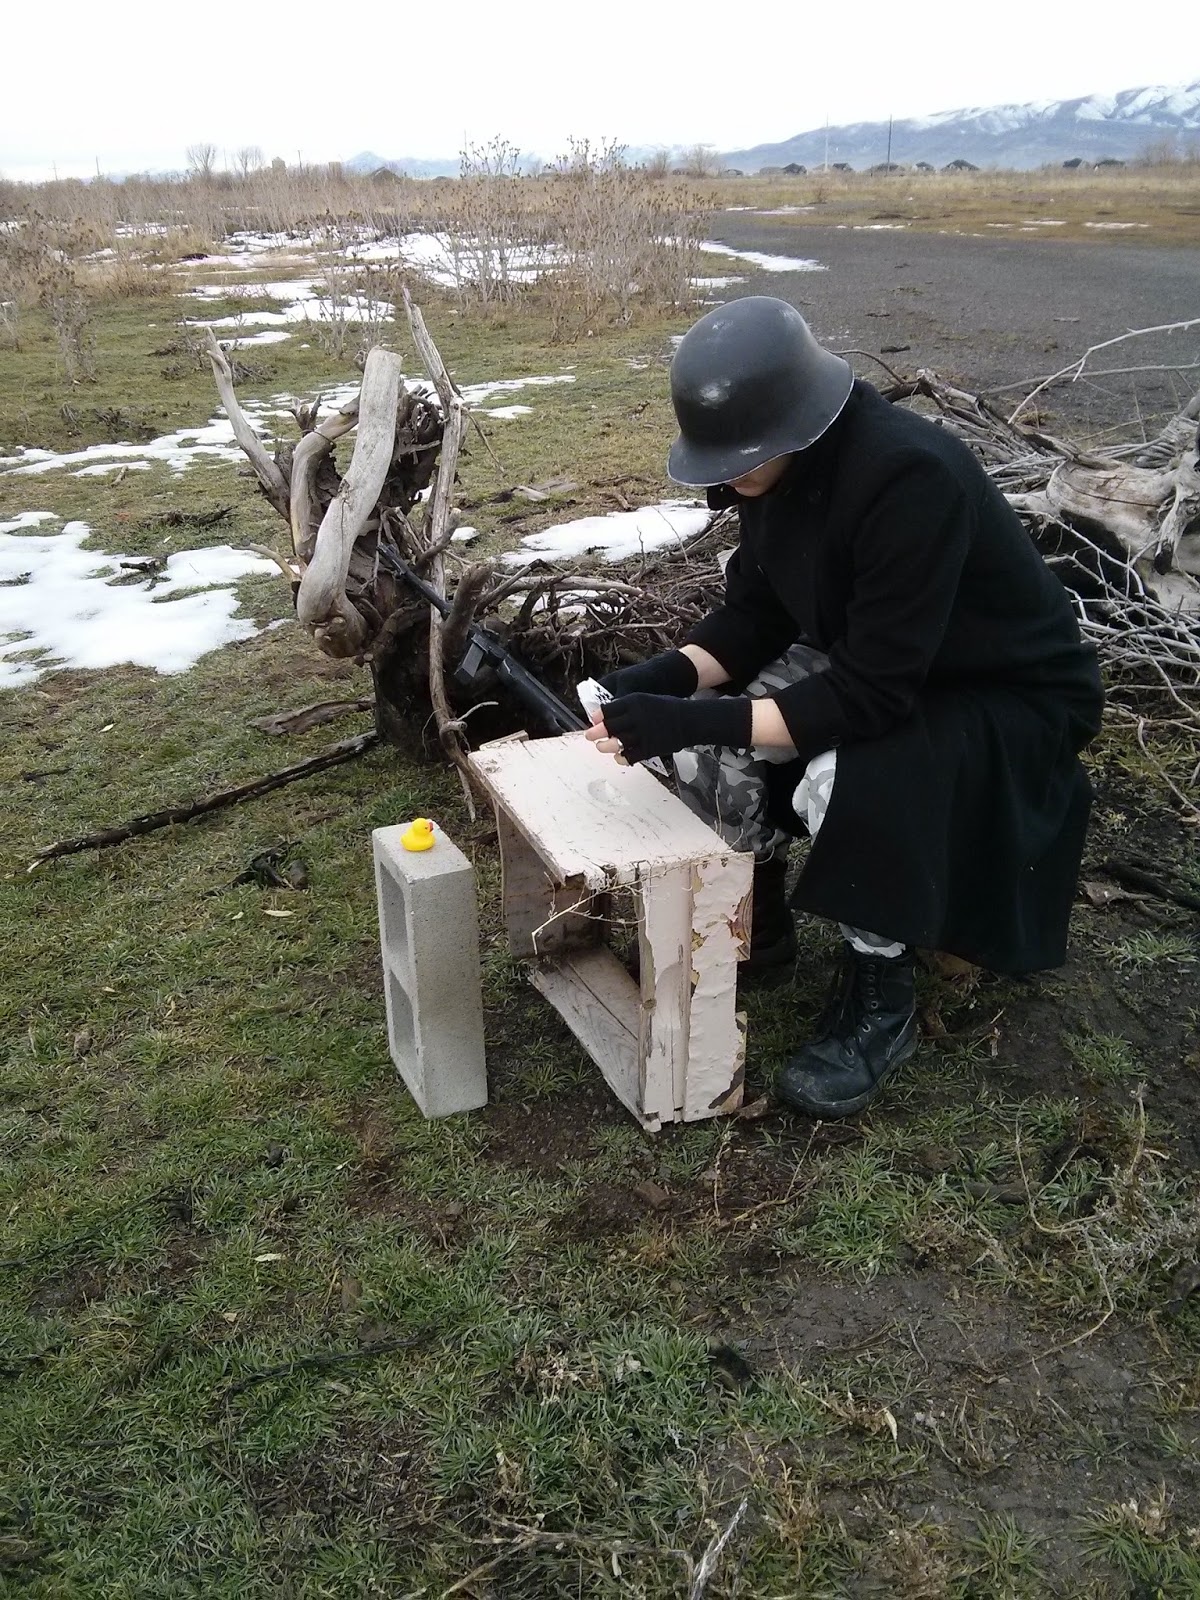 |
| Free production value: we found the cinder blocks and the broken drawer on the location. |
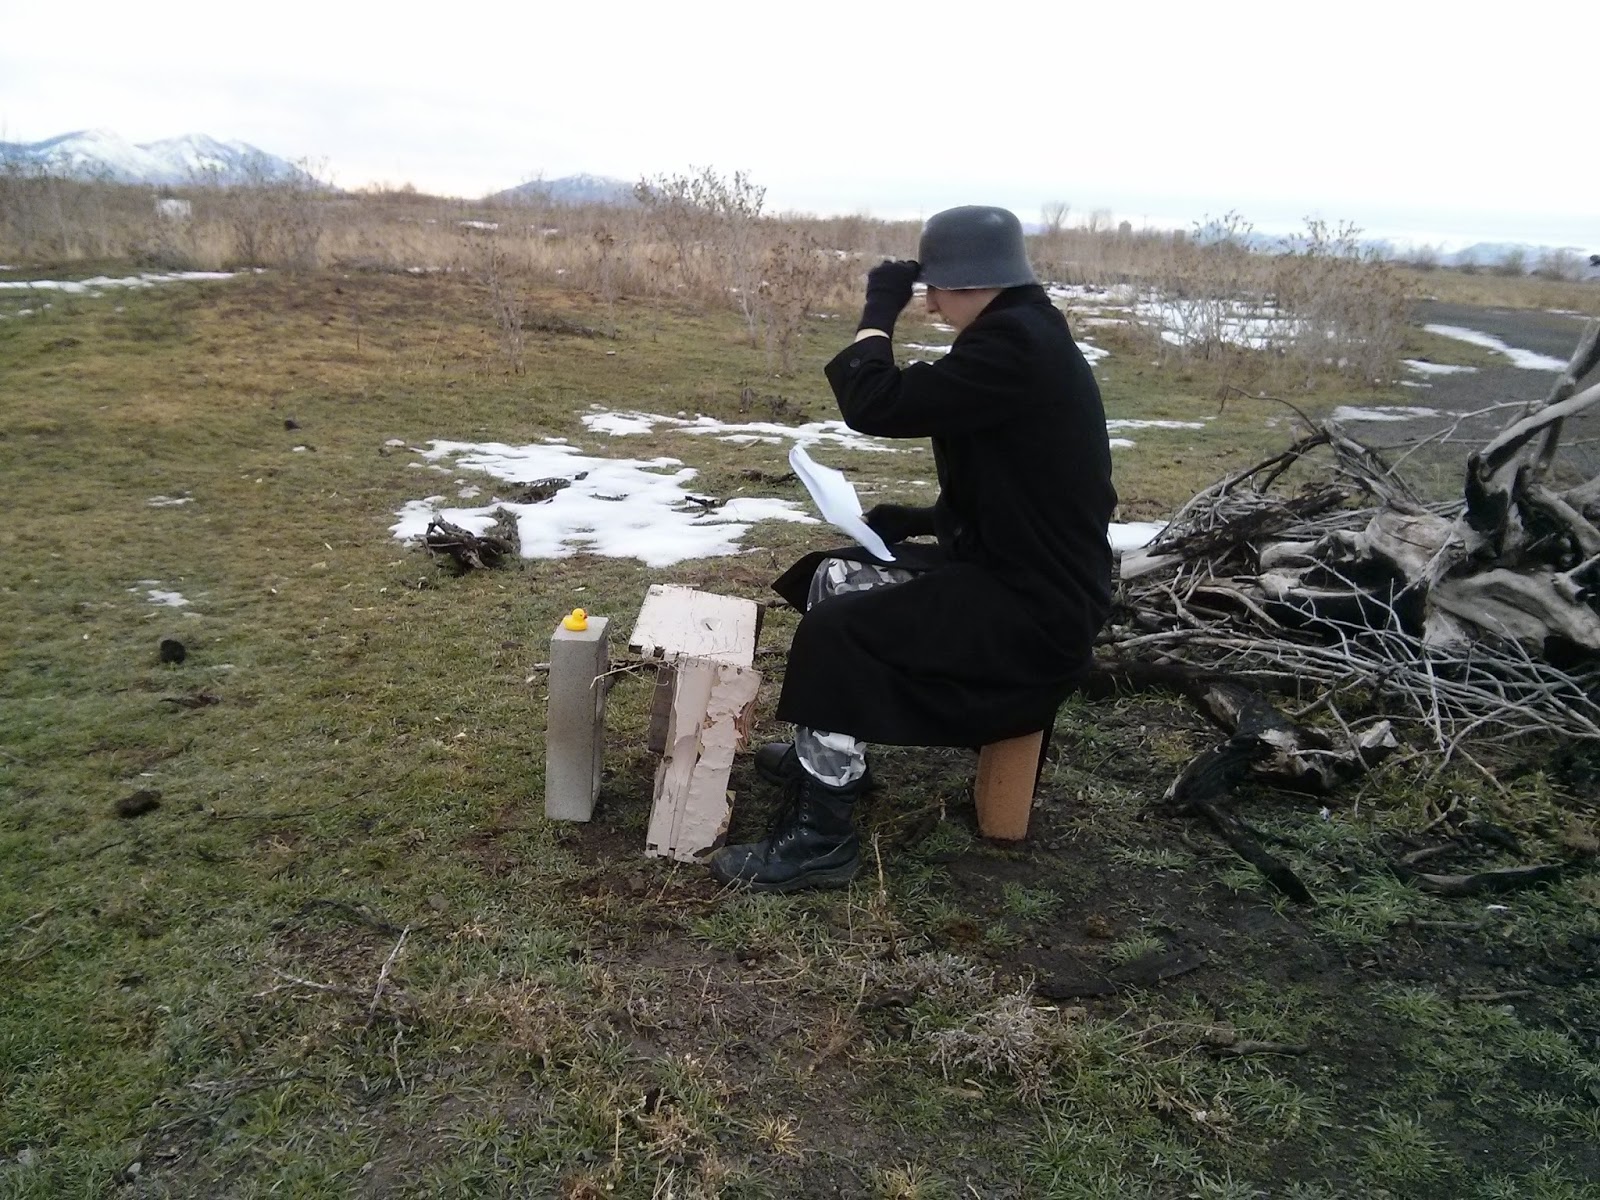 |
| Josh reviewing the script before we start shooting |
Since I was the one operating the camera, I obviously couldn't be doing the sound at the same time, so my lovely wife once again stepped up and helped me out!
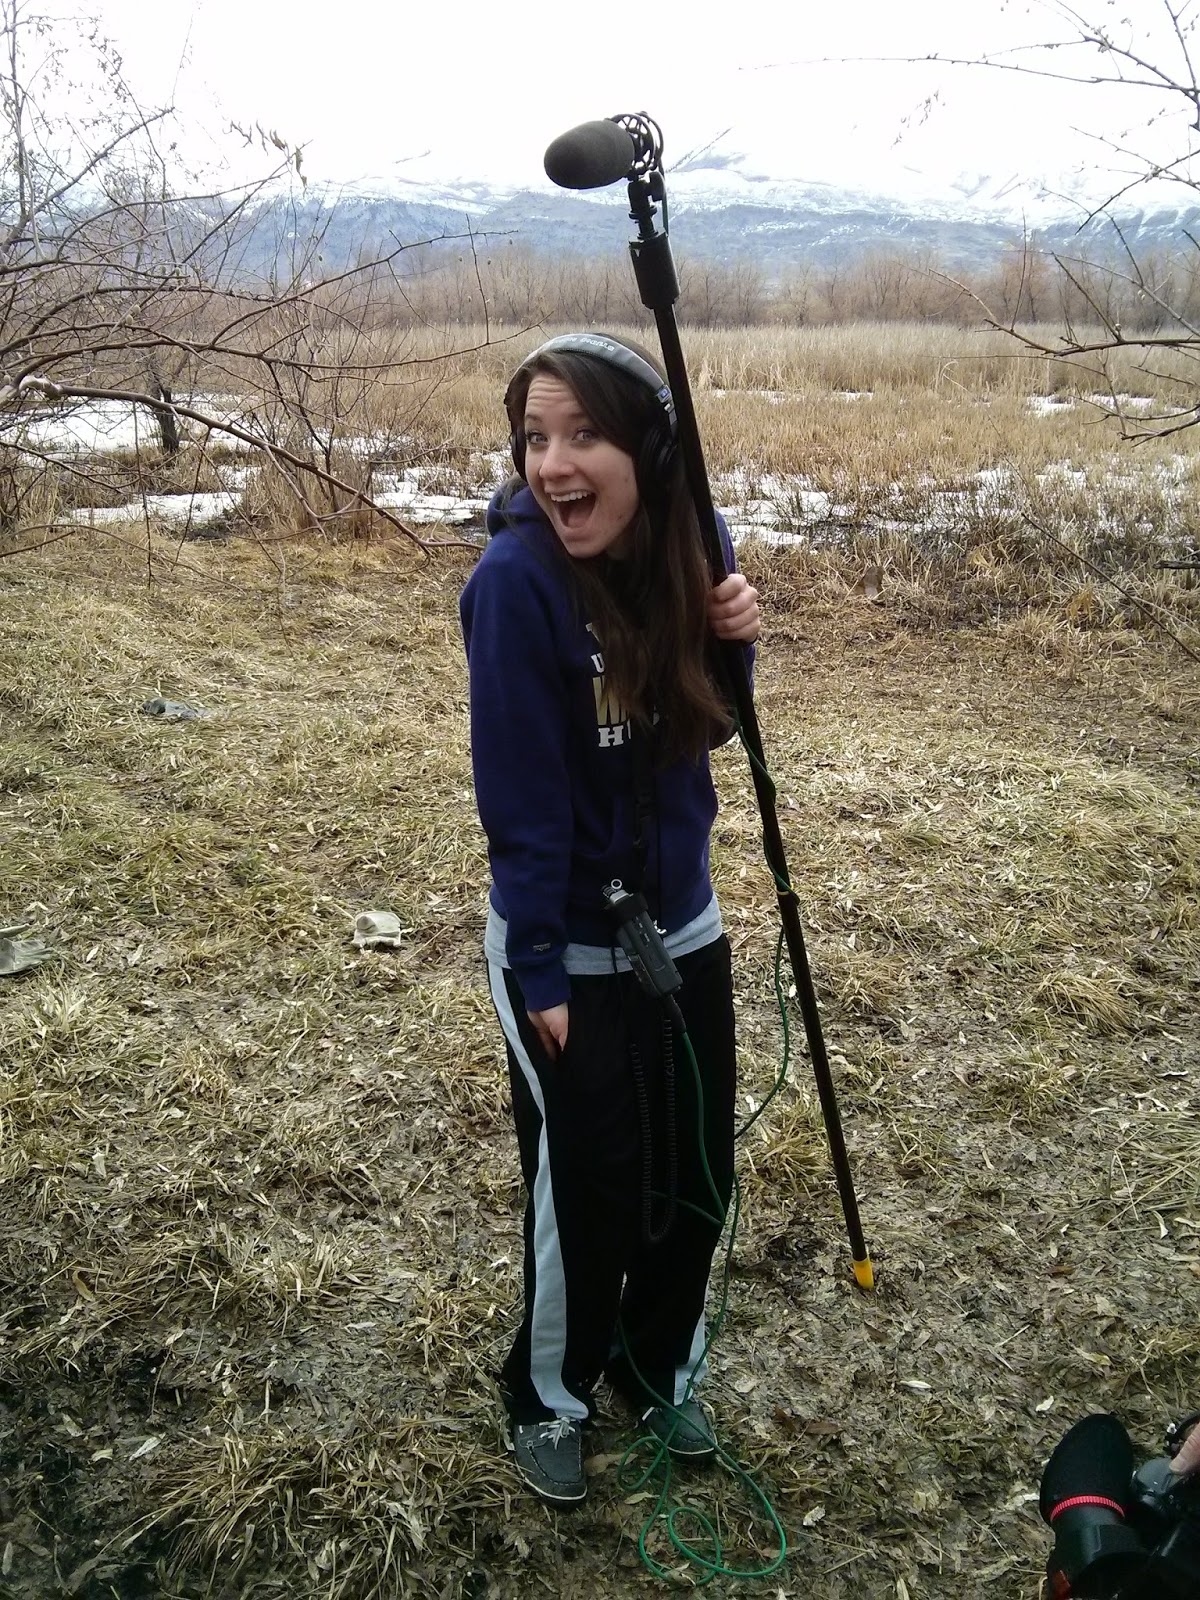 |
| Best boom operator out there! :) |
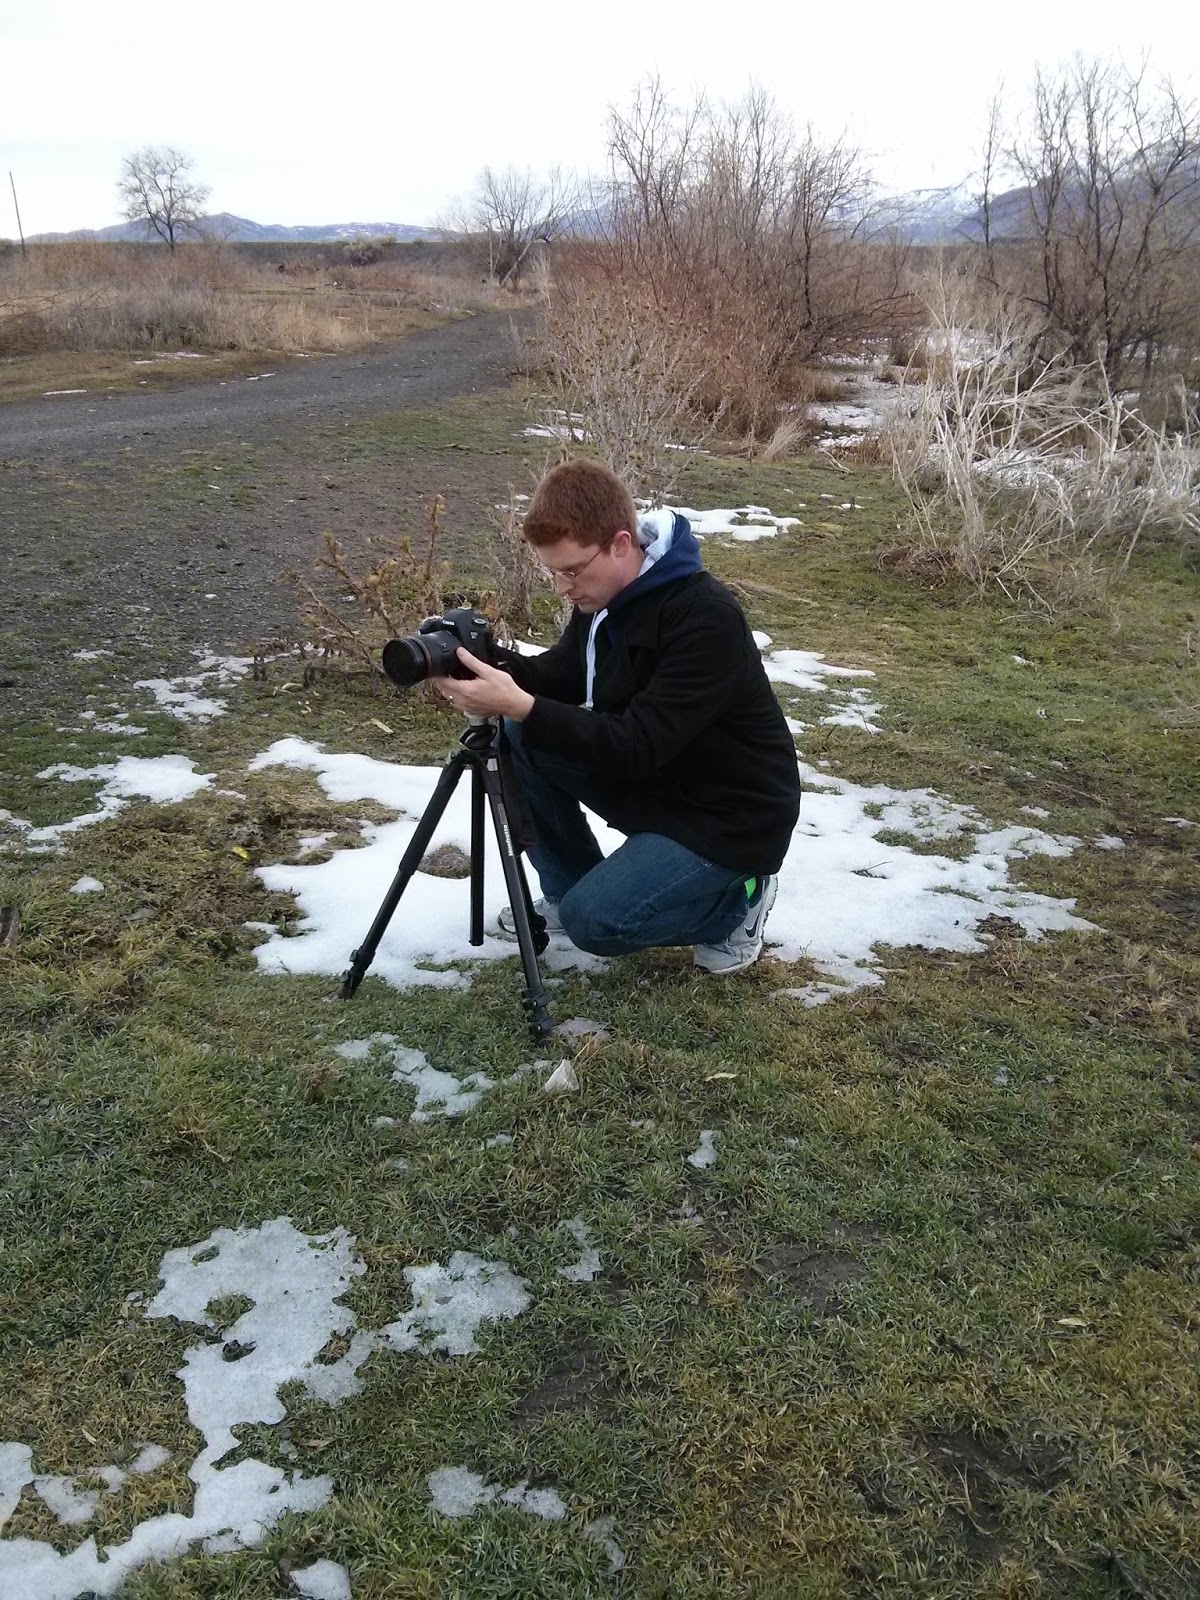 |
| Me, shooting the scene. Notice the green socks. They're my lucky socks I wear on every shooting day. |
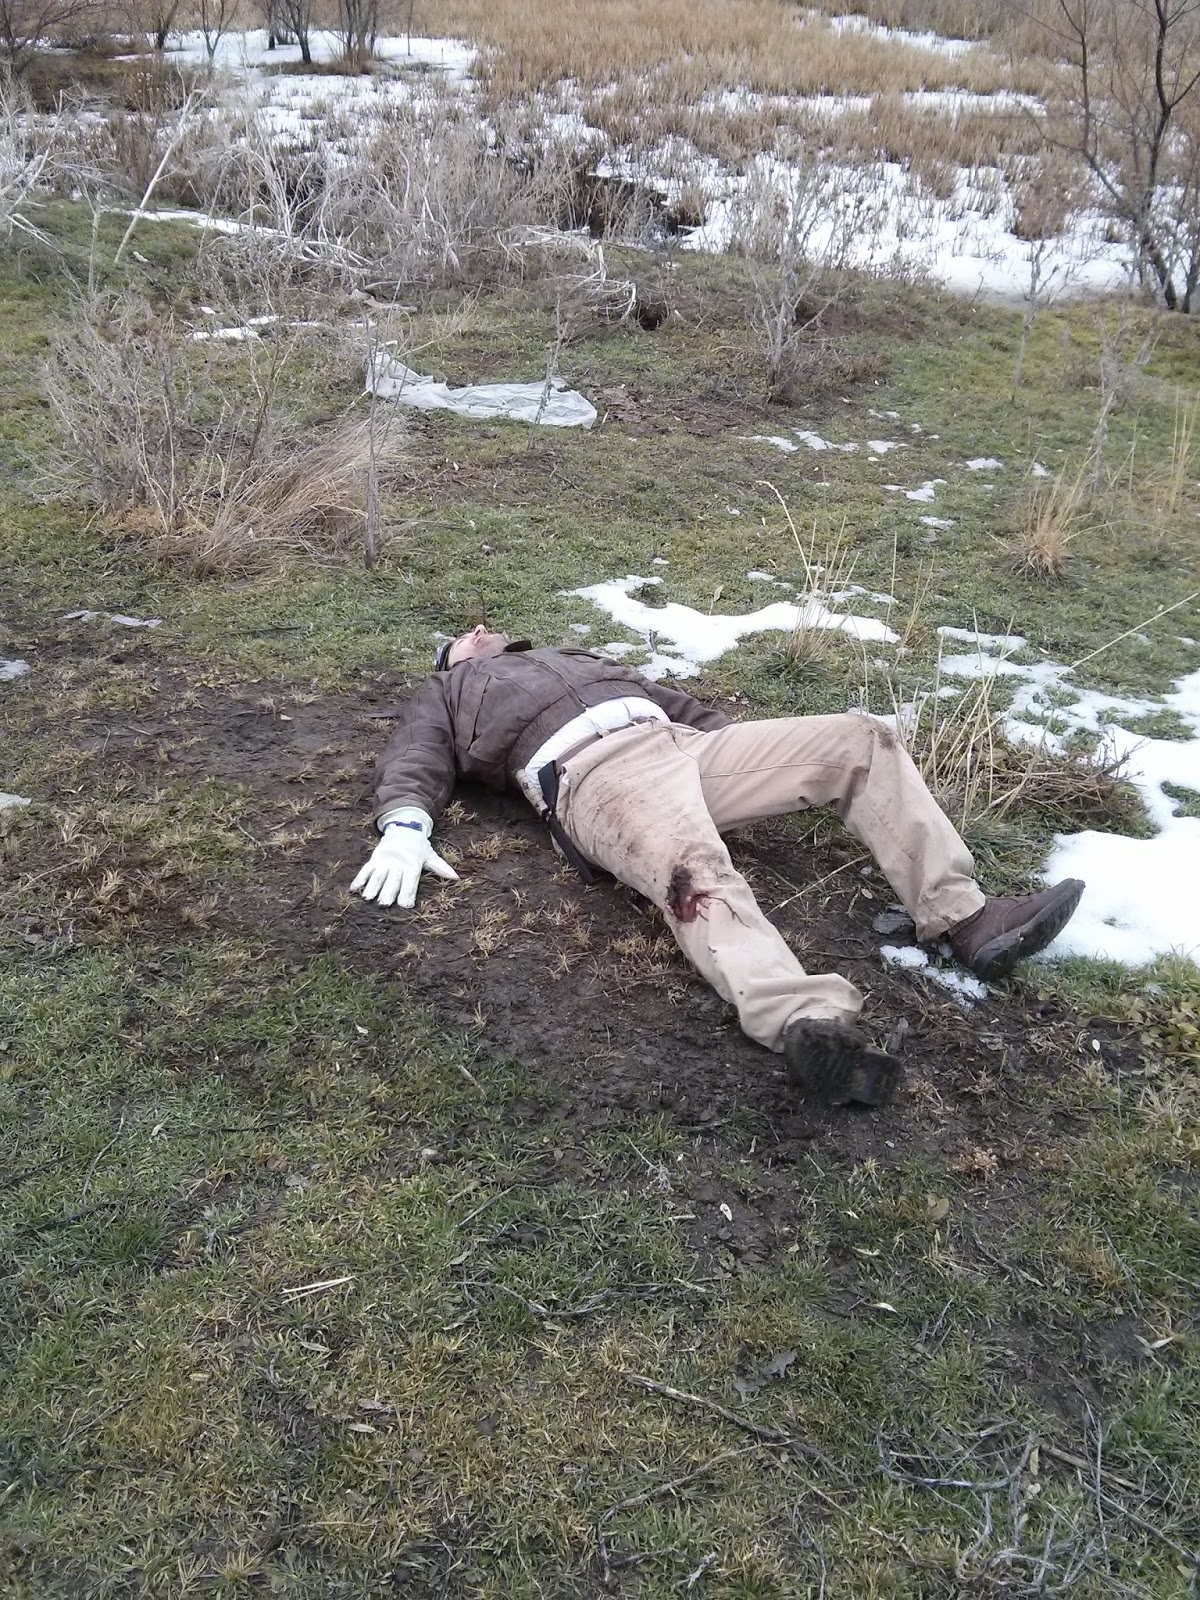 |
| Austin rolled around in the mud to make it look more "authentic". Notice the fake blood on his right knee. A lot was cut from the film to get it down to the 3 minute length required by BYU, but this comes more into play in the director's cut. |
So while we were on the location, we found a 5' water barrel that had been discarded. The script called for Austin to be parachuting to the ground, and so we setup the cameras, climbed up the water tank, and when Austin jumped off, I threw the parachute after him, hoping beyond hope that it would inflate and look decent.
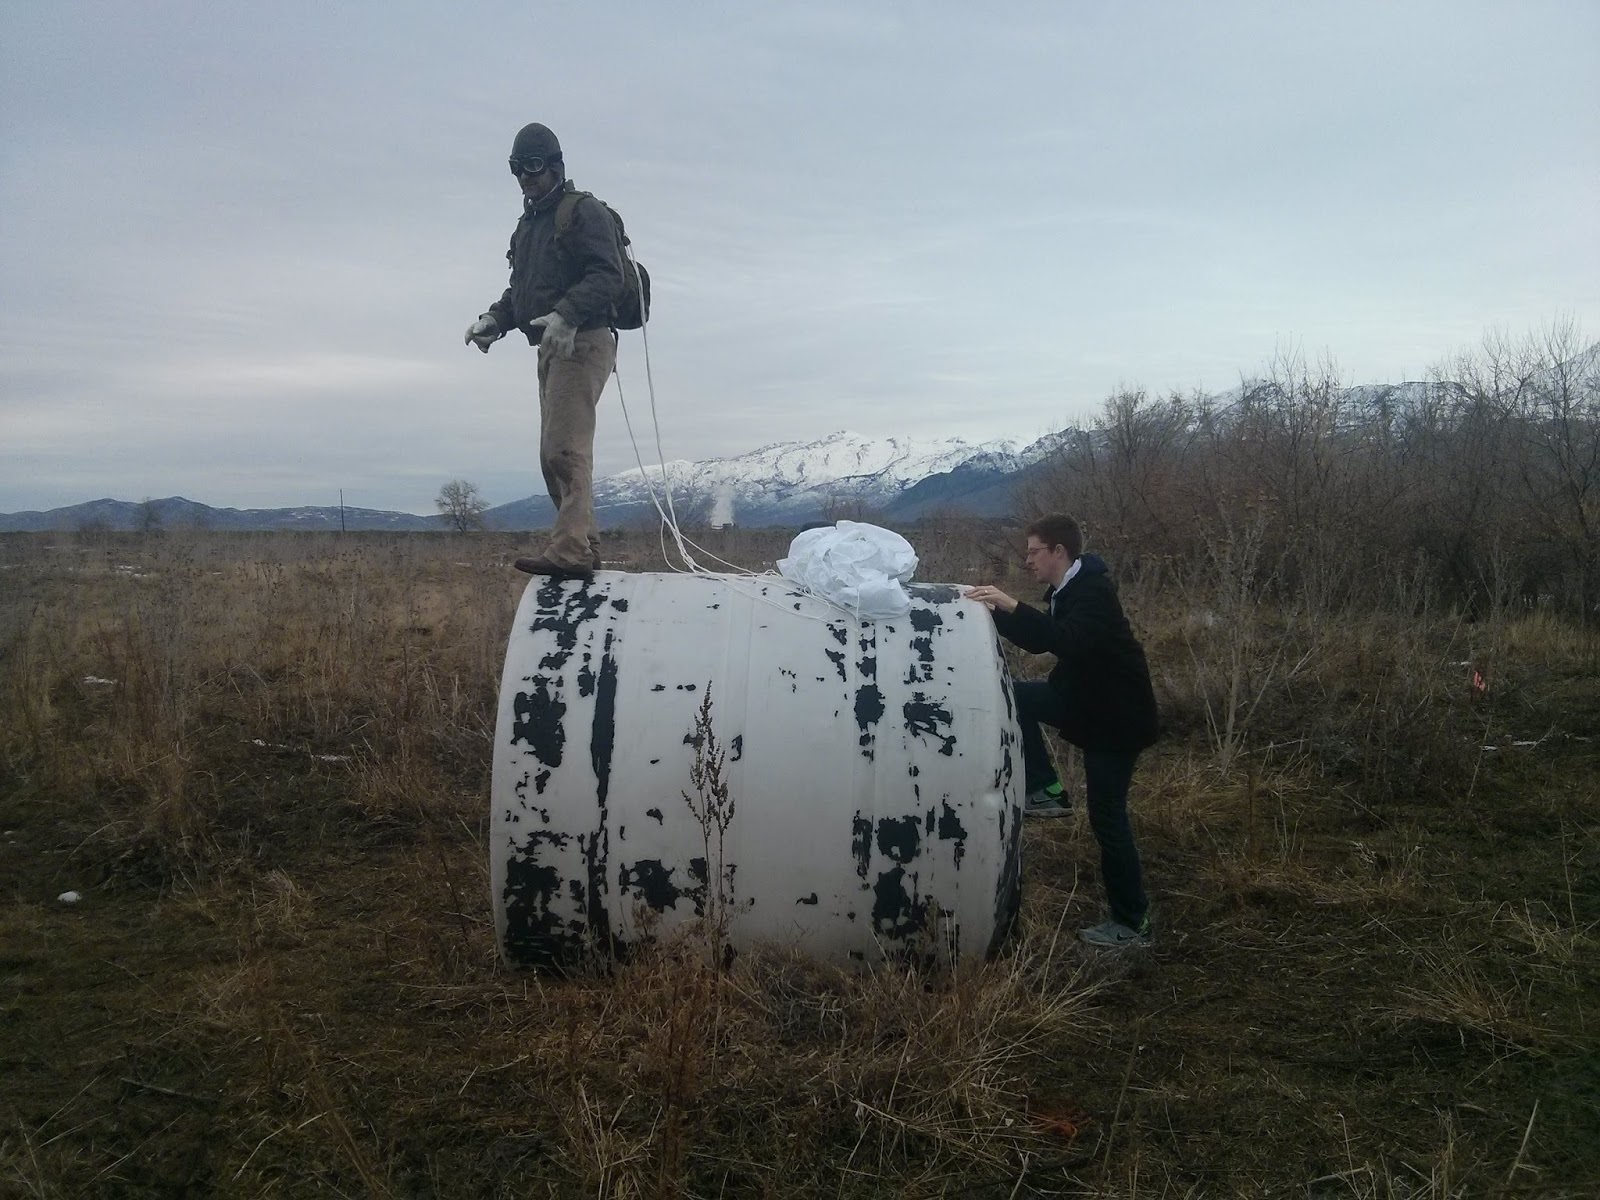 |
| The abandoned water tank. Worked like a charm! |
We filmed from 8am to 11:30am, and it was a really, really good time!
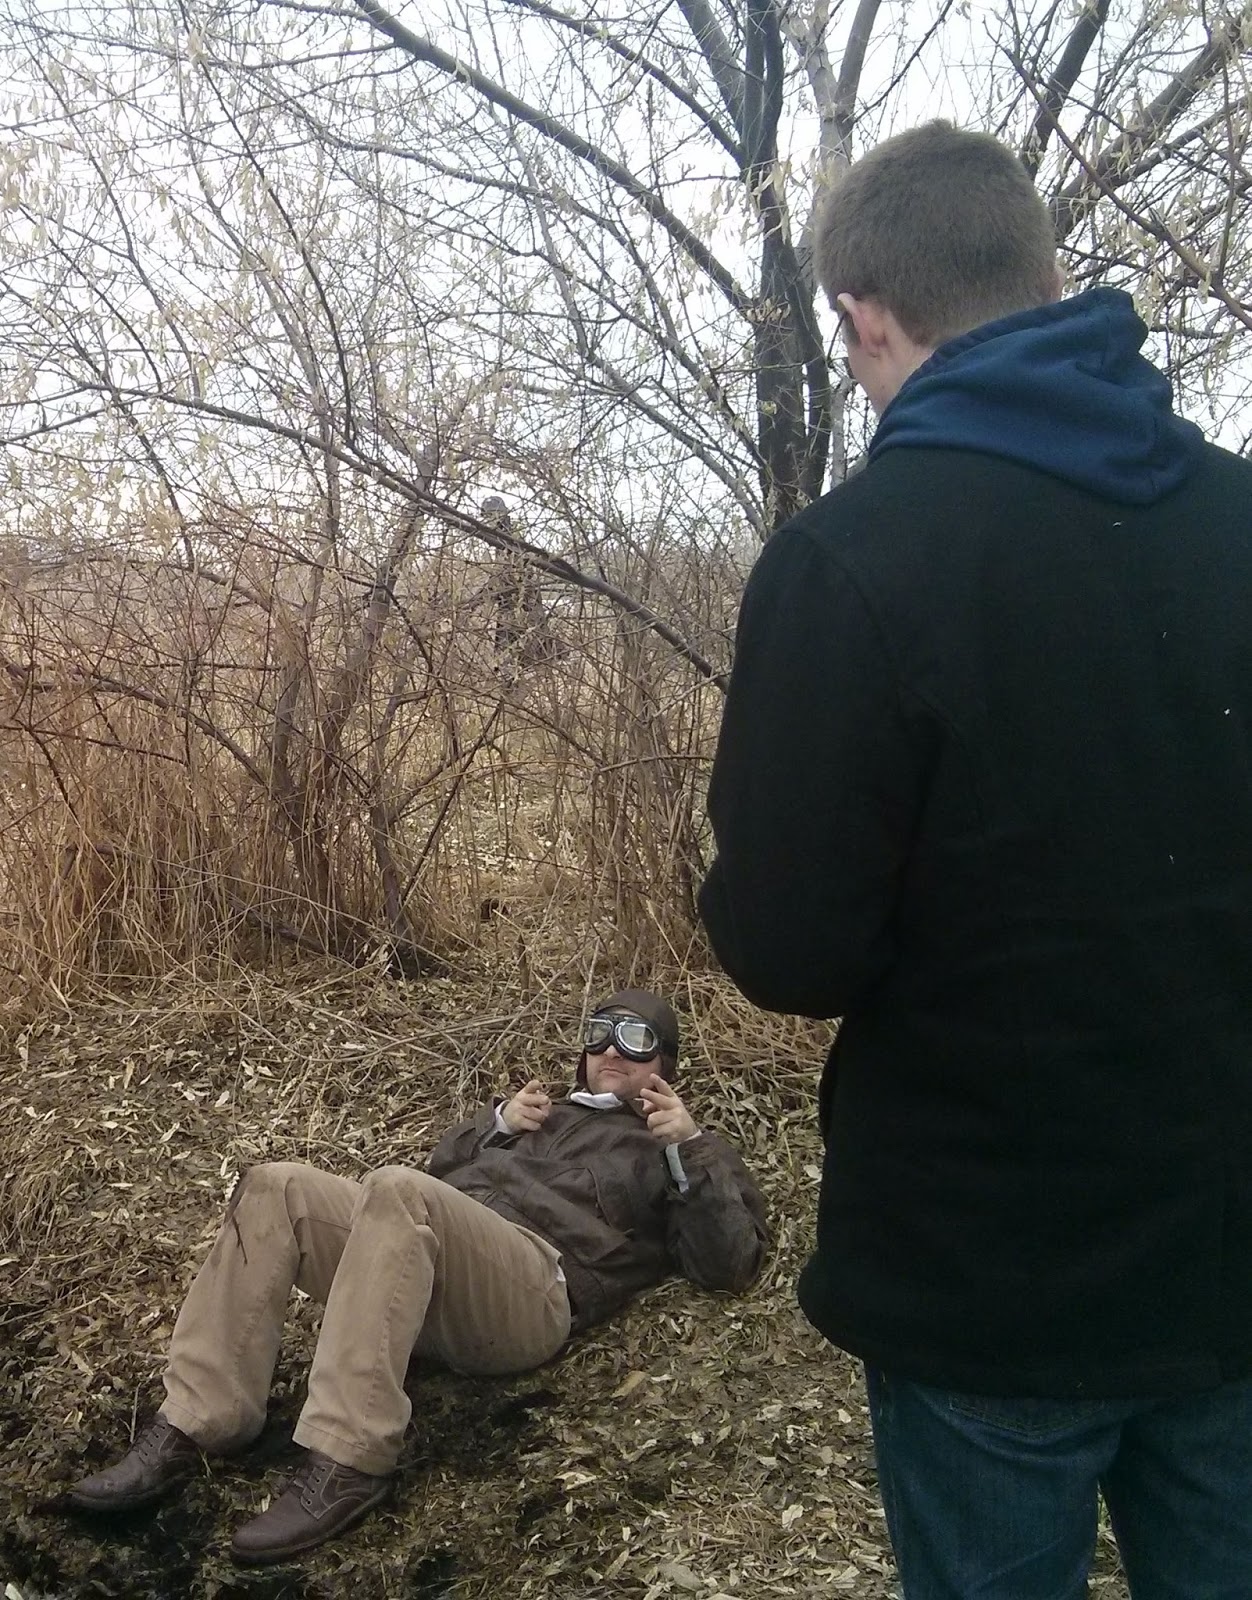 |
| Me directing Austin in the scene |
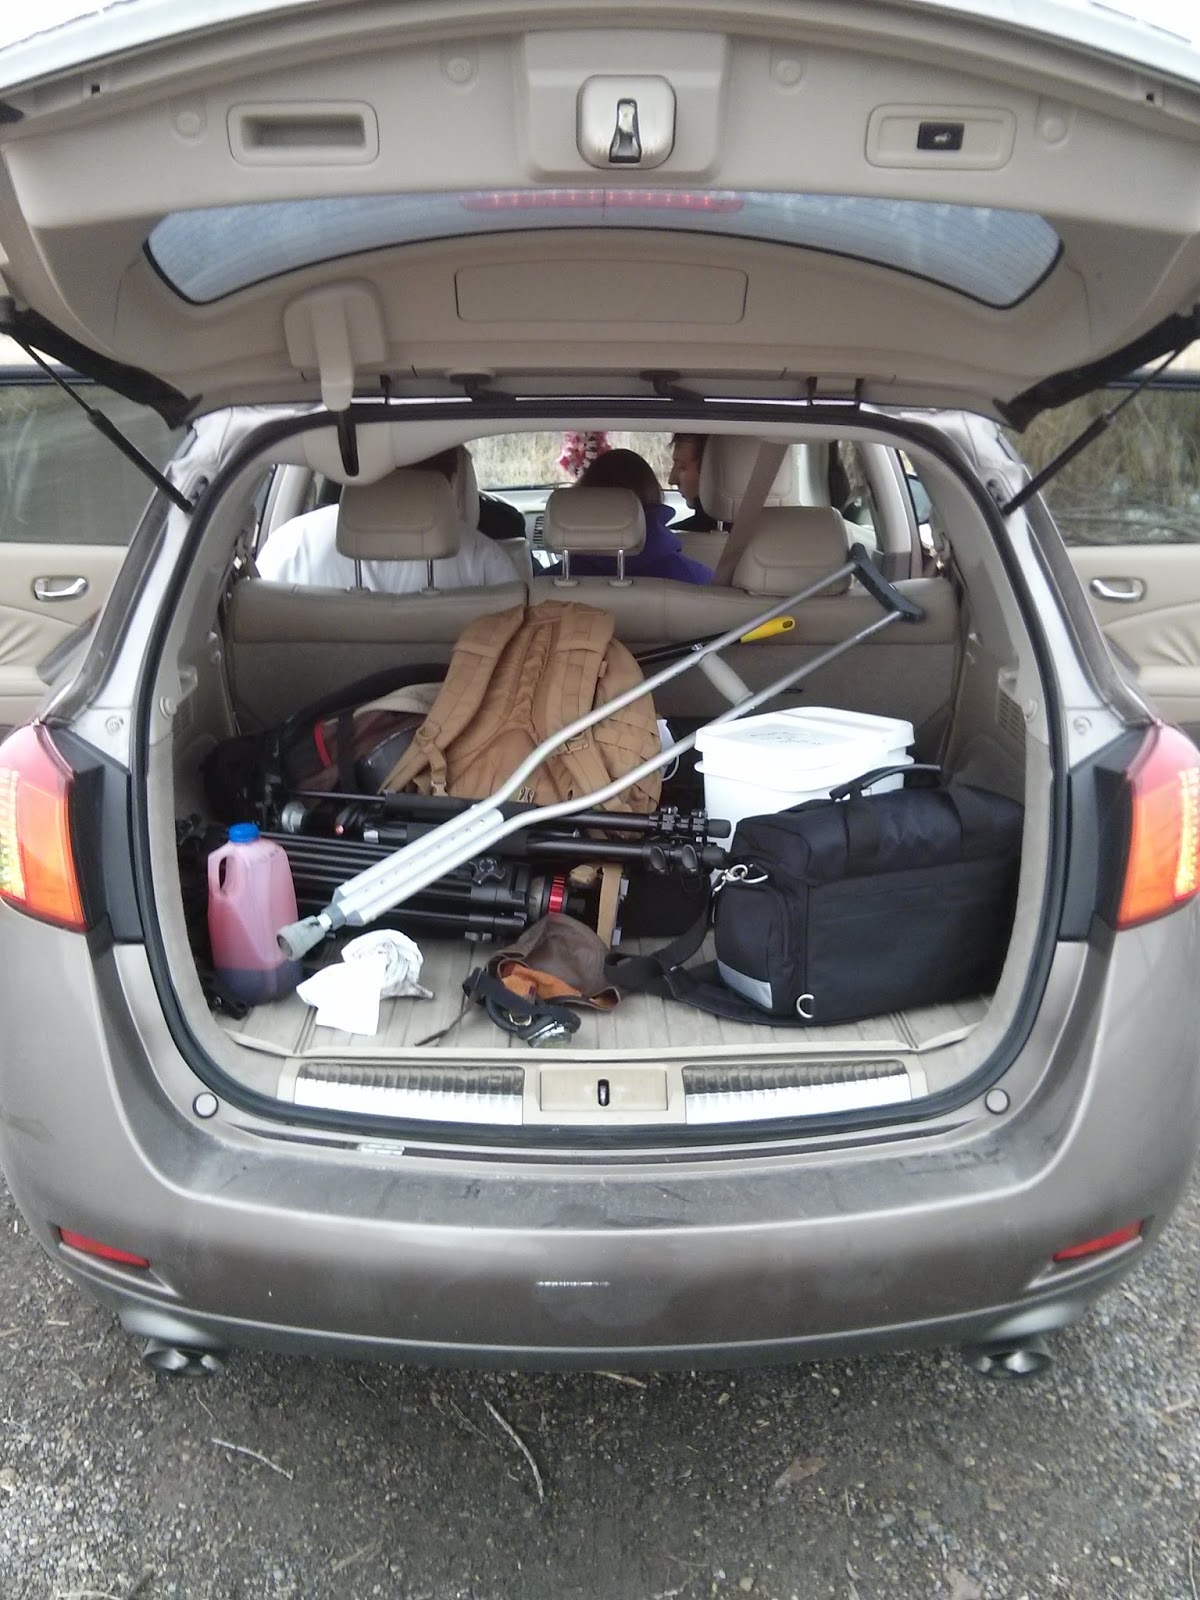 |
| All the props and gear |
A note about the external audio recorder that we used: The Zoom H4N is great, but man is it power-hungry! Our batteries ran out about 1/3 the way through filming (I had JUST replaced them a few days prior to the shoot), and luckily Brandon had some spare AA batteries in his backpack for us to use. So if you're planning on recording your audio with the Zoom H4N, then make sure you have extra AA batteries lying around! It's a lesson I almost had to learn the hard way.
The second day of shooting consisted of shooting the beginning and the ending sequences. This is where Brandon fixes the time-watch and then warps back to 1944 Germany, as well as the end scene where he finds out that it didn't work, and so he grabs the Neuralyzer (from Men in Black) so that he can erase his grandpa's memory so that he doesn't go insane after the war.
Originally, Brandon was going to be working on a large, elaborate time-machine, but with the time constraint, I just didn't have the time to build something like that, so it ended up being a fancy watch that transports him back in time. We shot for 2 hours that night.
 |
| Shooting the garage scenes |
My brother is a part-owner of a small airplane, so I asked him if I could go flying with him and film it for a shot in the cockpit where the airplane is spinning. He loves any excuse to go flying, so we did! Needless to say, after about 3 rolls (we did
3.1 G-force at one point! That's 3.1 times the weight of my body pushing down on me.) I got pretty sick. I didn't end up losing my lunch, but I sure came close!
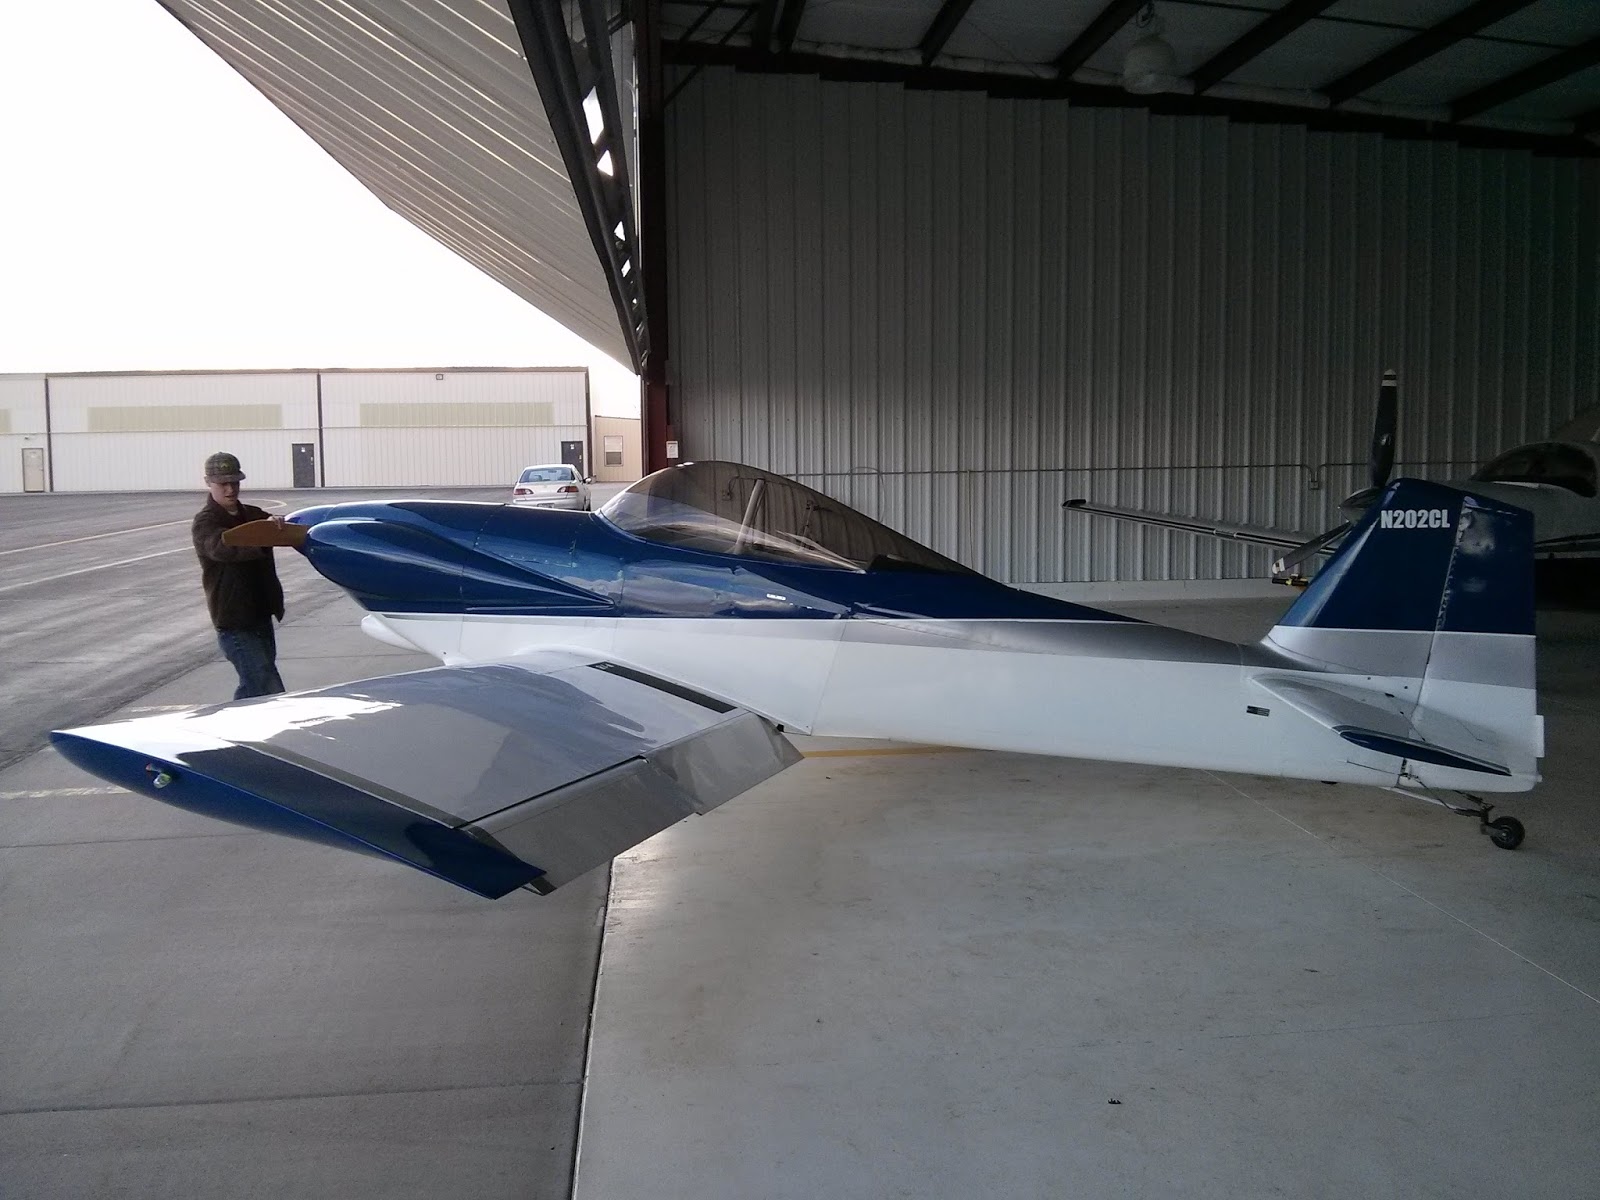 |
| Huge thanks to Brian for letting me go flying with him! |
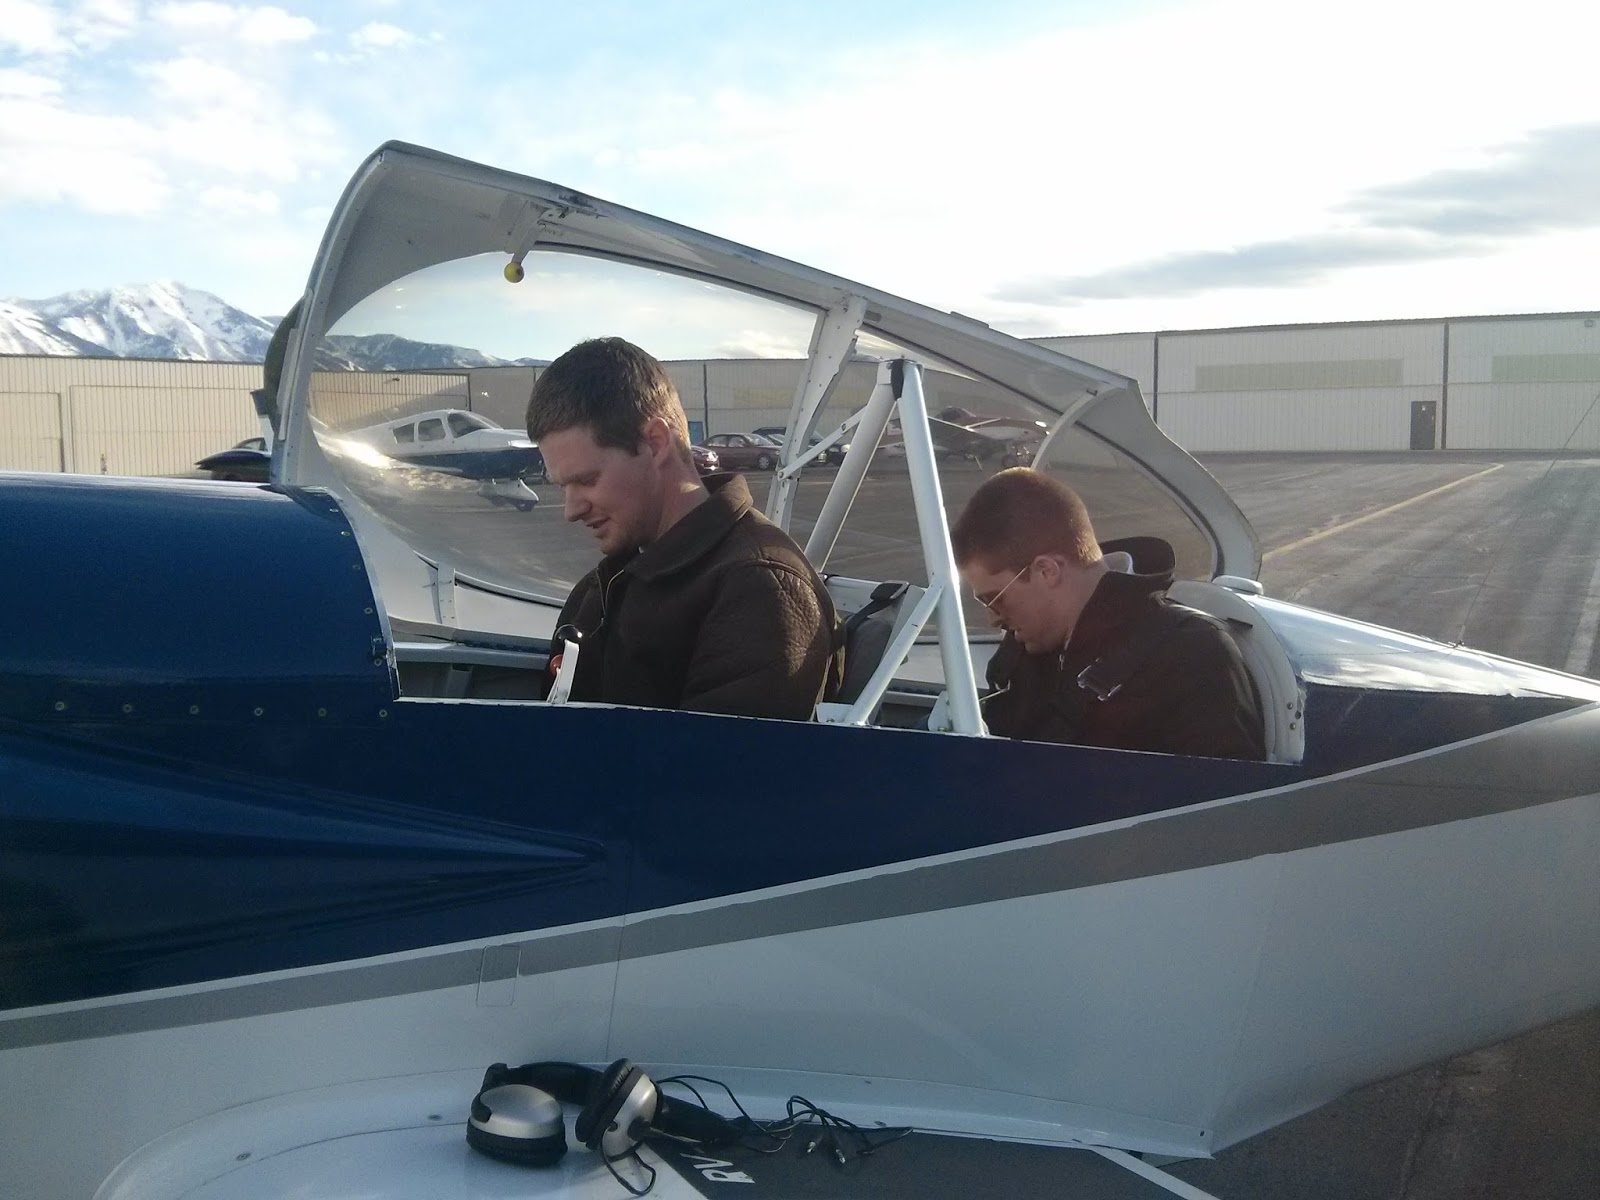 |
| Brian in the front, with me in the back, strapping into the 5-point harness |
I also recorded audio of his plane doing some high-speed passes, which I pitched down a few levels in post to make it sound more beefy. Turned out pretty good, I'd say.
Post-Production
I edited the short over the course of about two weeks, giving myself time to "sleep" on the edit so that I would be able to see potential problems and work out a way to fix them.
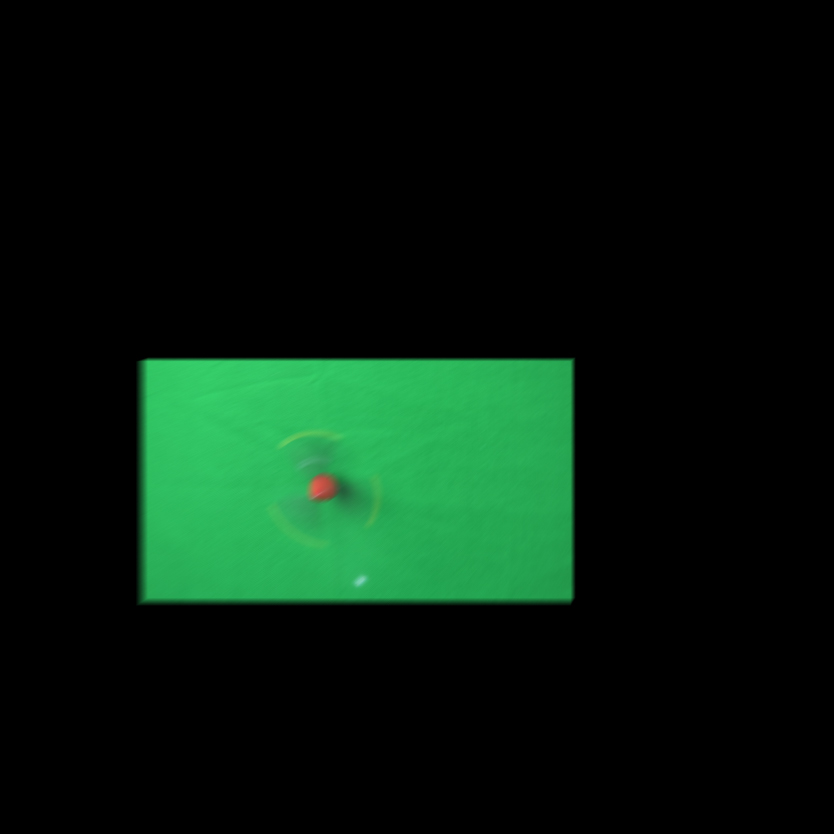
I shot the P-40 model in front of my greenscreen by attaching the steel rod into my drill, and spinning it while filming, so that it would look like the airplane was spinning out of control:
 |
| Greenscreen setup in the basement |
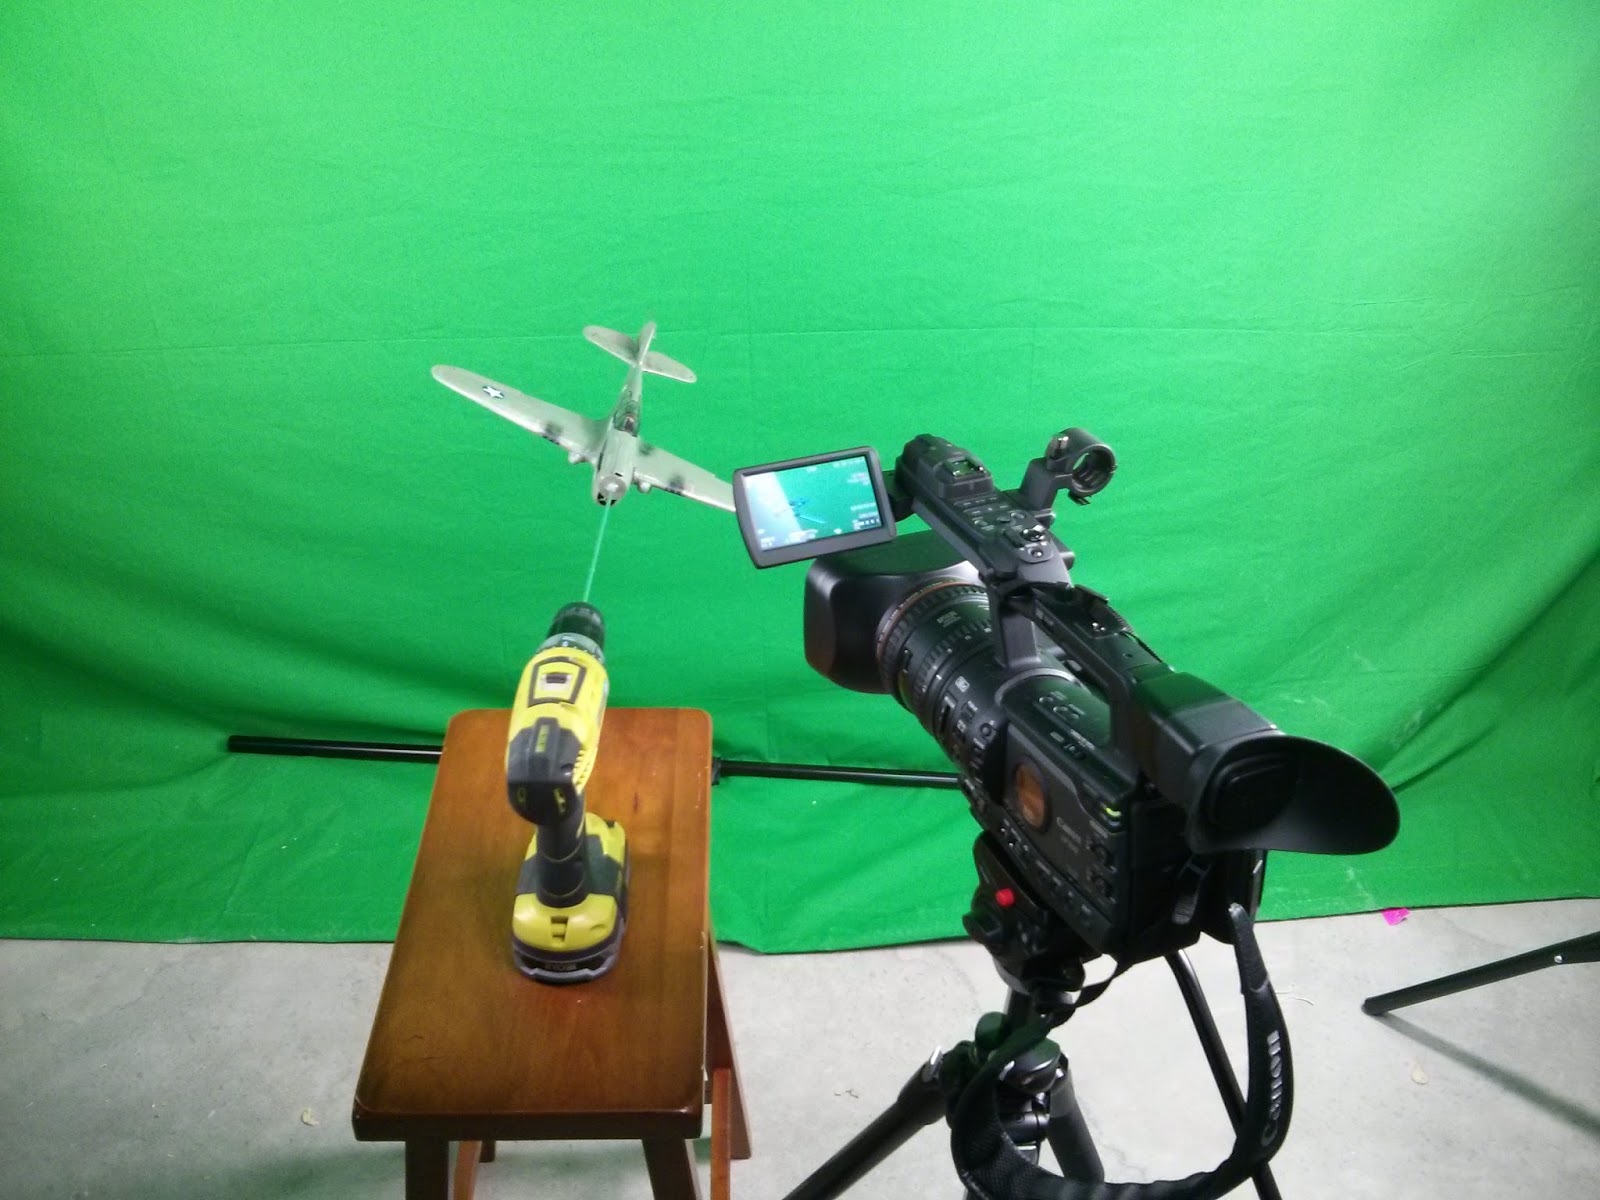 |
| Filming the model against the greenscreen |
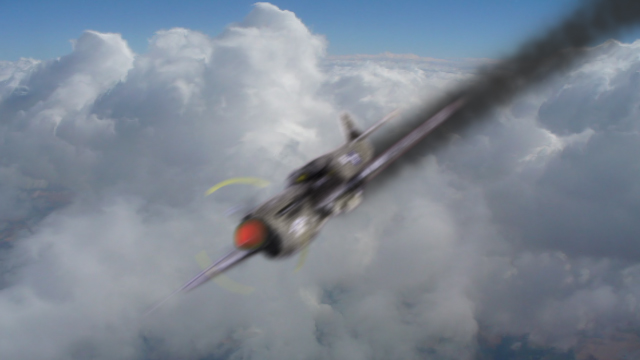
Out of all the things that I DIDN'T think about during pre-production, was painting the model green, and then shooting it in front of a GREENscreen. I really should have caught this earlier, and since I was up against the wall time-wise, I didn't have time (or the money) to get a bluescreen. So what this ended up doing was, if you notice in the final film, the model is actually gray, rather than green. This is because the keyer that I used in After Effects, Keylight, thought that the green color of the plane was due to the green spill from the greenscreen, and it got rid of it. So, note to self: make sure that the object you want to key is DIFFERENT than the color of the greenscreen.
Below is a before and after frame grab. I had to shoot the propeller on a separate pass, and then track and composite that onto the plane in After Effects:
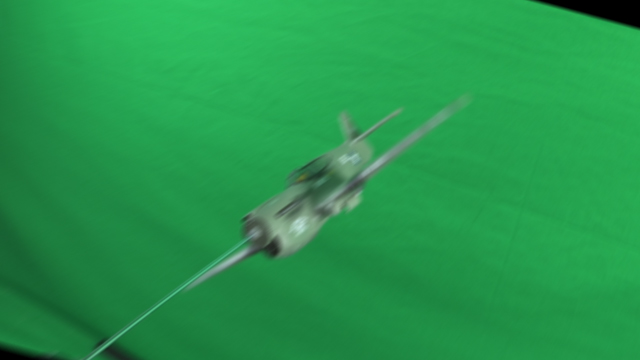 |
| Before |
 |
| The propeller |
 |
| Final frame |
I made a particle system to look like smoke, and then tracked that onto the plane as well. It's nowhere near perfect, but I think it turned out pretty well for what it is.
There's a shot in the film where the plane has just crashed, and the German soldier is walking off towards the crash to investigate, and I needed to add in some dark smoke into the background, and that required some more tracking and rotoscoping in After Effects:
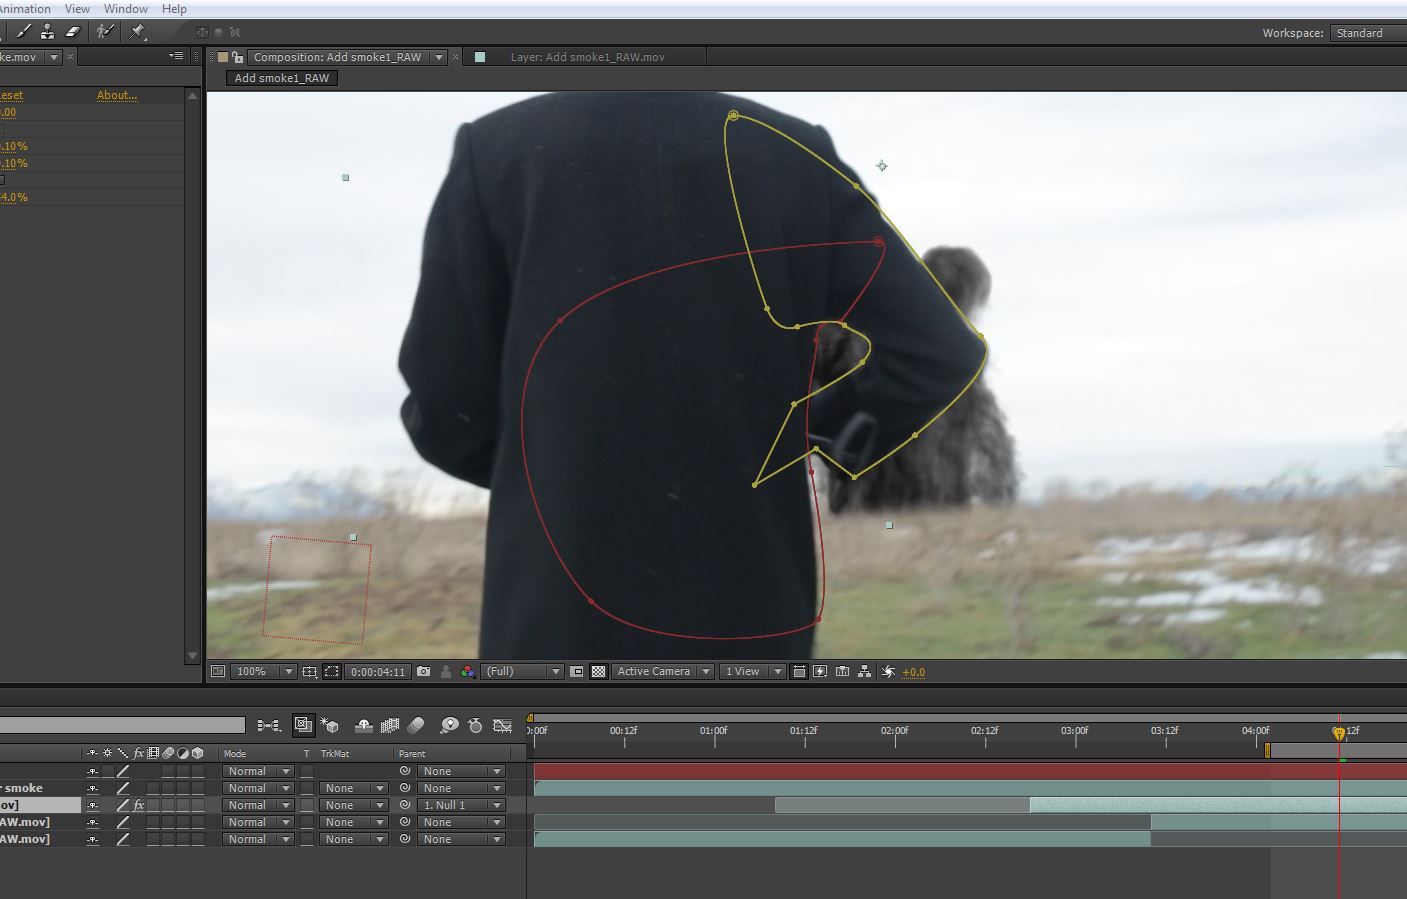 |
| Tracking and rotoscoping in After Effects |
So when Brandon goes back in time for the first time, I wanted to show that visually, somehow. I wanted to show a timelapse of the stars spinning really fast, and then show the earth spinning really fast as well. Well, I did a stars timelapse test outside one night, and it looked terrible. Completely unusable. So I went into After Effects, made a silhouette of a mountain, and then made a starfield using the fractal noise effect, and simply animated the stars to move. It looked great, and that shot is in the film:
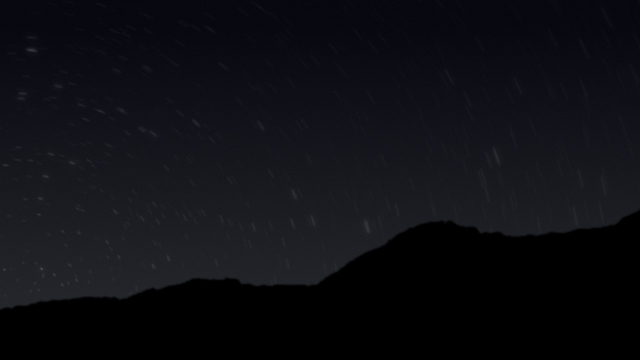 |
| A compromise, made completely in After Effects |
For the earth rotating really fast, I again made a starfield in AE to use as the backdrop, then used the CC Sphere effect in AE to map a 4K Earth image into a sphere, and then simply rotated it really fast until I got the desired effect. I then added a slight camera move, and a lens flare to help sell the effect:
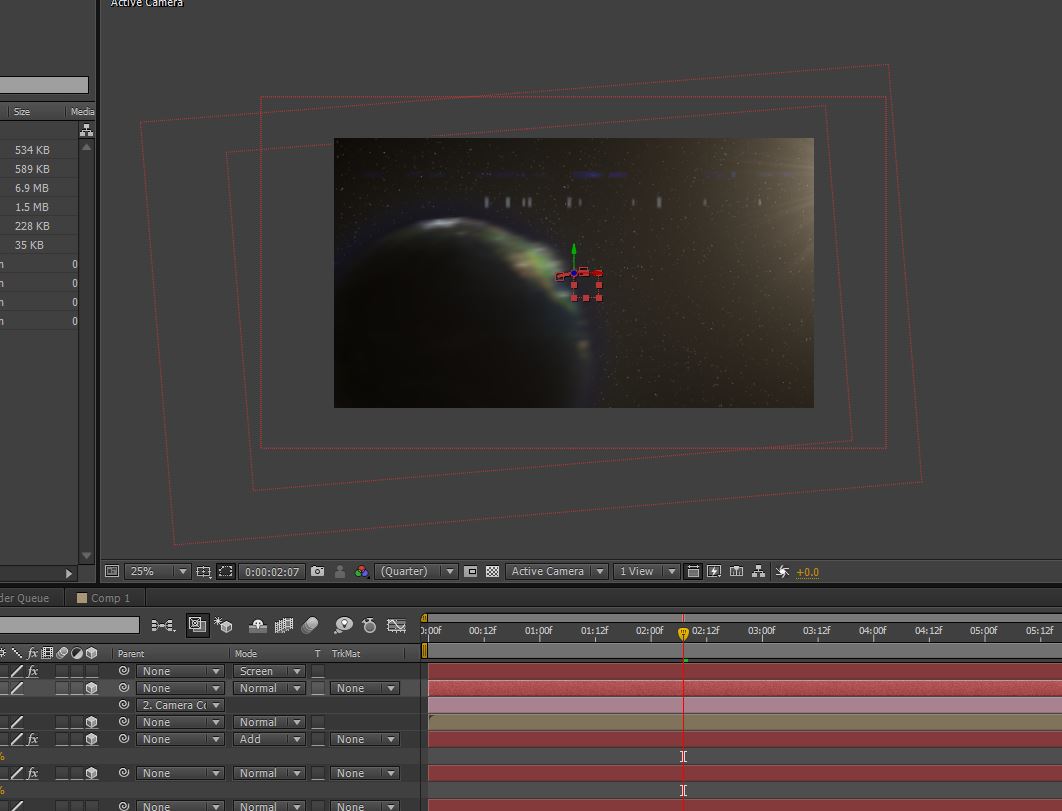 |
| Spinning the globe! |
Some of the technical bits: Shot on the Canon 5DIII and the 6D. All audio recorded with a Sennheiser shotgun microphone, using a Zoom H4N recorder. Edited in Sony Vegas, with visual effects and compositing done in After Effects, and then graded in Filmconvert for Vegas.
Conclusion
If you've made it this far, then you're awesome. If there's anything I've learned during this process, it's that you should never give up on pursuing your dreams. If you have a good idea, and you think you can pull it off, then you'd better go for it, and give it all you've got!
It took a lot of planning and a lot of work to pull this off. All in all, I am pleased with how the final result came out. I couldn't have done it without the support of my wife and my friends who sacrificed their time to help me do this. Also, thanks to my dad and little brother Austin for being my historical/technical advisers, and for letting me pick their brains about model making.
Ultimately, films aren't released, they escape. Thus, since this film escaped today, I will be doing a director's cut shortly, where I can include some more things that were cut due to the 3 minute time constraint. So until then, stay tuned!


